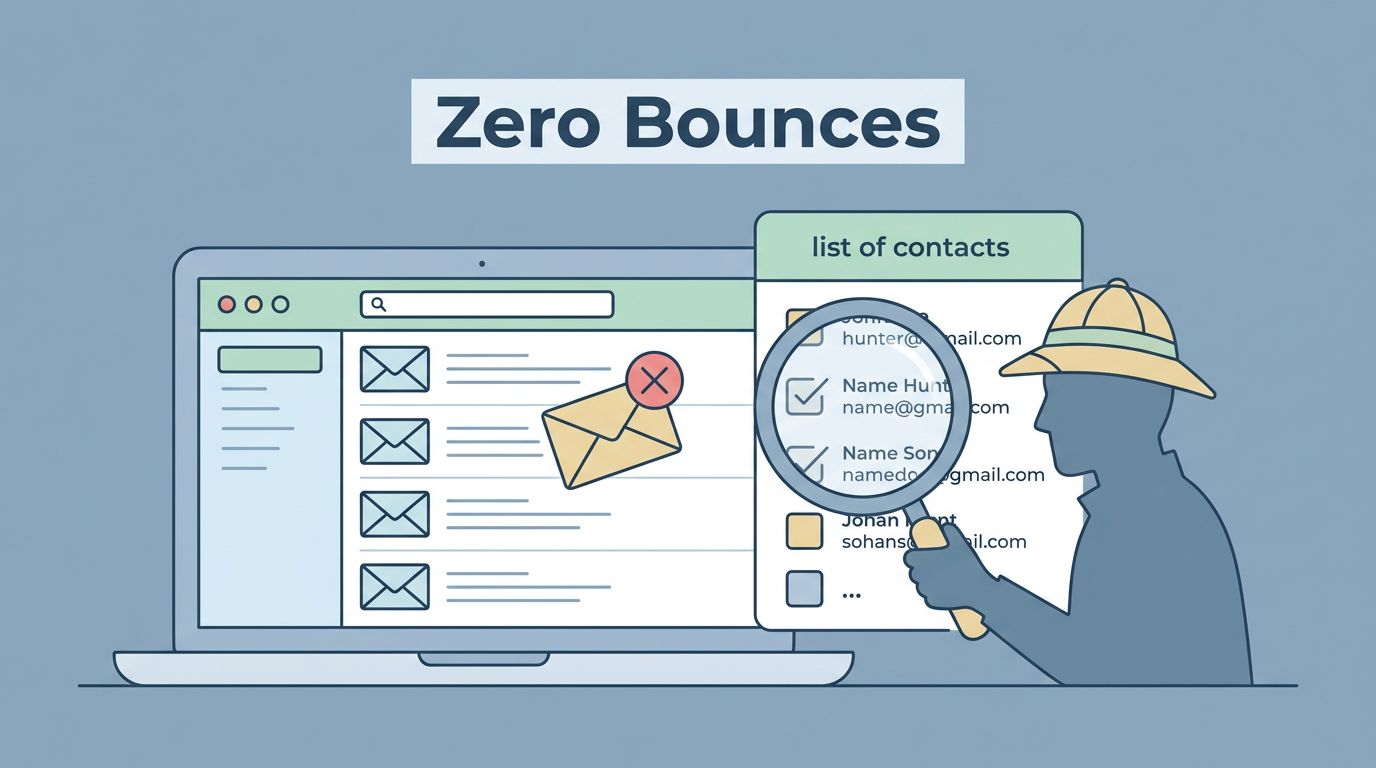
Nothing wrecks a cold outreach campaign faster than bounces. It’s like trying to have a serious conversation while your messages keep coming back stamped “Return to sender.” Your offer might be strong, your copy might be clean, yet your cold email bounce rate can still sink the whole effort before you get a fair shot.
In March 2026, inbox providers are less forgiving when it comes to email deliverability, and sender reputation slips faster than most teams expect. The good news is that list quality is one problem you can control, and Hunter.io gives you a simple way to do it before you hit send.
What “good” looks like for cold email bounce rate in 2026
For most B2B teams, a healthy bounce rate benchmark is under 2% bounces, and top performers often sit below 1%. Meanwhile, plenty of cold campaigns still run far higher, often because of poor list hygiene.
If my bounce rate crosses 2%, I treat it like a fire alarm, I pause and clean the list.
A bounce isn’t just a missed chance. It’s a signal to mailbox providers like Gmail and Microsoft that your sending habits are sloppy. That can trigger spam filters and push future emails into spam, even to valid contacts. If you want a deeper refresher on bounce types and why they happen, I like Hunter’s explanation in their guide on preventing email bounces. For broader benchmarks and current best practices, this 2026 breakdown is also helpful: email bounce rate reduction tips.
So, my goal is simple: protect reputation first, then scale volume. Hunter.io is where I start.
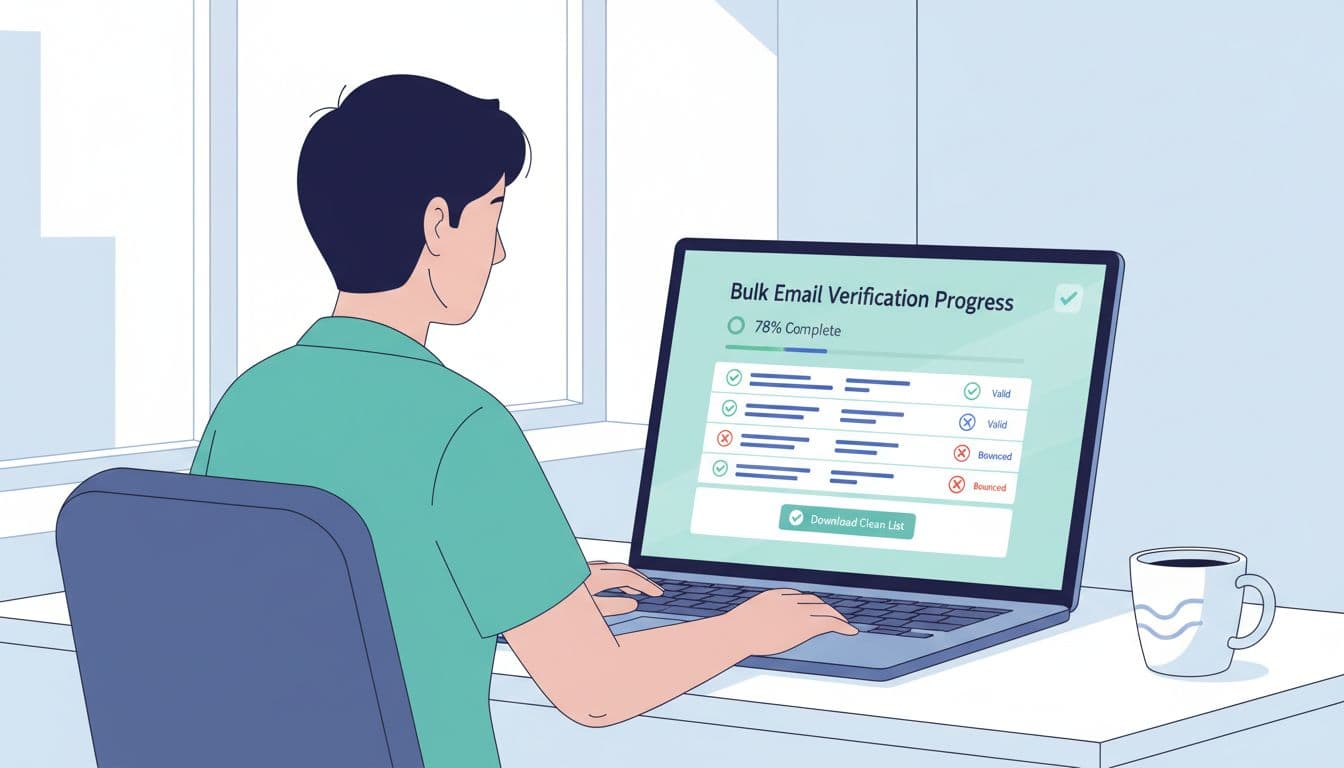
My Hunter.io workflow to reduce cold email bounce rate before sending
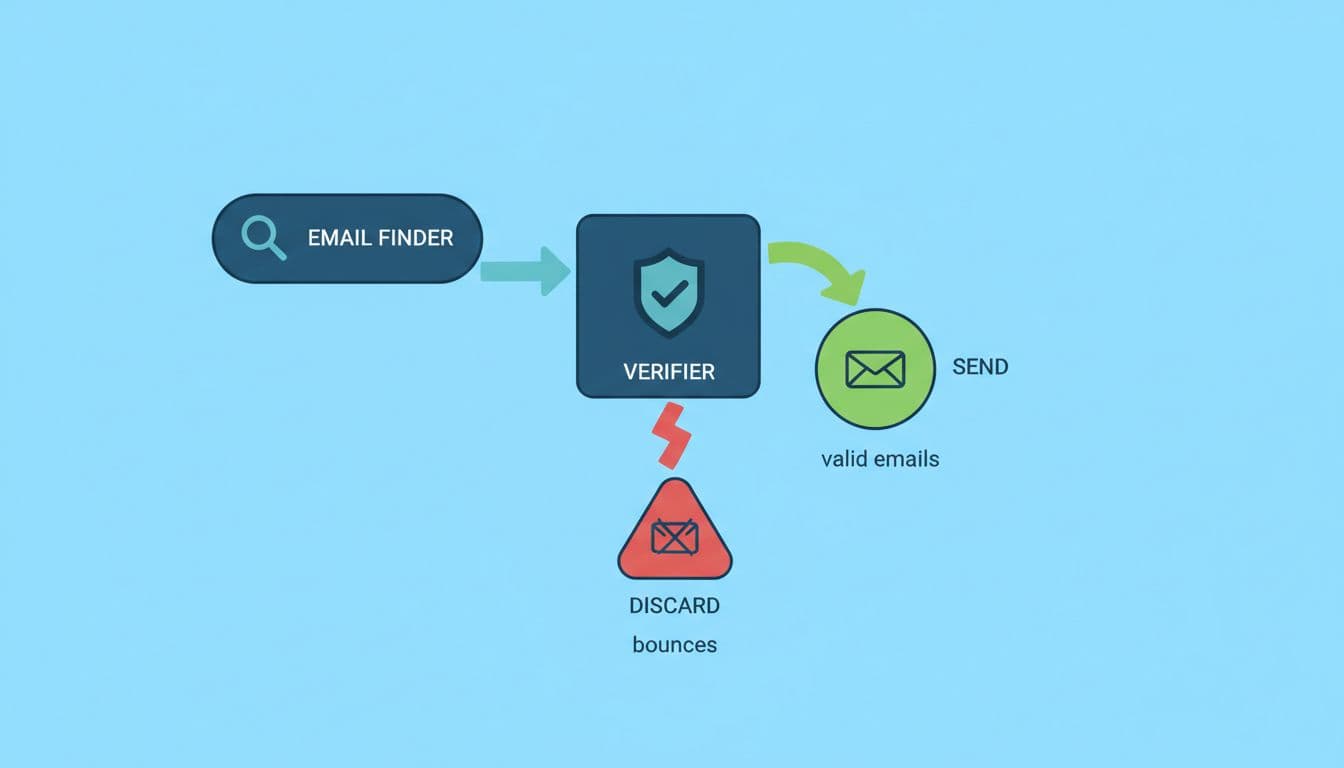
When I’m building high-quality B2B lead lists for cold outreach, I treat Hunter like a two-step filter: find likely addresses, then prove they’re safe enough to mail. I don’t rely on any single signal. Instead, I stack small checks until the list feels solid.
Step-by-step (the exact order I use)
- Start with domains and real people, not random emails
I collect company domains from LinkedIn, directories, events, or intent sources. Then I map them to people (name, role, team). This matters because “just emails” create messy data fast. - Use Hunter Email Finder (or domain-based search) to generate candidates
I prefer formats backed by domain patterns. If the company usesfirst.last@domain.com, I want Hunter producing addresses consistent with that pattern. - Immediately run Hunter Email Verifier for email verification on every candidate
I don’t wait until I’m done building the whole list. Verification is the gate. Hunter’s own write-up on email verification best practices matches how I work: verify early, verify often, and don’t treat “risky” as “good enough.” - Remove obvious bounce traps before I even think about copy
I cut:- invalid email address results (no exceptions)
- Disposable addresses
- Role-based emails like
info@,sales@,support@(they can work sometimes, but they raise risk and lower reply rates in most outbound)
- Segment what’s left into “send tiers”
I label contacts so my sending tool knows what to do next. High-confidence contacts go first. Risky groups go later, if at all. - Send a small test batch before scaling
I like a short “pilot” batch (think dozens, not hundreds). If bounces show up, I stop and diagnose. If it’s clean, I ramp.
Lightweight technical setup for deliverability (quick, but not optional)
Hunter cleans lists, but you still need a decent sending foundation. I keep this part short and boring on purpose:
- Set up domain authentication with SPF DKIM DMARC on your sending domain.
- Use a dedicated sending domain or subdomain (separate from your primary domain).
- Perform domain warmup by ramping volume gradually, especially on new inboxes.
- Remove bounces immediately and don’t re-mail them “just in case.”
This isn’t about being fancy. It’s about avoiding self-inflicted damage.
Bulk verification, catch-all domains results, and smart segmentation (so you send with confidence)
Once my workflow works for 200 leads, I push it to 2,000. That’s where Hunter’s bulk verification becomes my best friend. I upload a CSV, verify at scale, and export results with labels that guide my next move.
What I do with “catch-all” (accept-all) domains
Catch-all domains are tricky. The mail server accepts email for any address, even if the person doesn’t exist. That means you might not get a hard bounce, yet you still waste sends and hurt engagement, open rate, and reply rate.
I treat catch-all as “maybe deliverable,” not “safe.”
My approach is risk control:
- I don’t mix catch-all domains with my best leads. I segment it into a separate email sequence.
- I only send to catch-all when the ICP match is strong.
- I test in small batches and watch bounces, opens, and replies.
- I avoid role-based addresses even more when the domain is catch-all.
If you want a solid list of common Hunter pitfalls that quietly inflate bounce rates, this is worth reading: Hunter.io mistakes that kill results.
My CSV columns and tags (so the list “drives itself”)
Here’s the structure I use so segmentation stays simple in any sending tool or CRM.
| Column | Example | Why I keep it |
|---|---|---|
| j.taylor@acme.com | Primary send field | |
| first_name | Jordan | Personalization |
| last_name | Taylor | Matching and dedupe |
| company | Acme Co | Context and merge fields |
| domain | acme.com | Patterns and filtering |
| title | IT Director | Targeting checks |
| source | Traceability | |
| hunter_verdict | valid | My main gate |
| hunter_risk | low | Send-tier logic |
| catch_all | no | Separate sequences |
| role_based | no | Risk control |
| tracking_domain | track.acme.com | Monitor campaign health without affecting main domain |
| last_verified_at | 2026-03-10 | Re-verify timing |
| send_tier | Tier 1 | Routing in campaigns |
My takeaway: tags prevent arguments later. When a campaign underperforms, I can see if it was list quality, targeting, or message.
A simple SOP to keep bounce rates low after every campaign
List cleaning isn’t a one-time chore. People change jobs. Domains expire. Mailboxes get locked. Failing to handle bounces can get you blacklisted, so I run a short routine after each campaign cycle for long-term list health.
- Export bounce events from my sending tool the same day they happen.
- Suppress hard bounces immediately (global block list, not campaign-only).
- Re-verify “soft bounce” and “unknown” contacts in Hunter before re-mailing.
- Re-verify the whole active list monthly if I’m running steady outbound, while respecting sending limits to avoid triggering provider alerts.
- Include an unsubscribe link in every email to keep the list clean.
When I stick to this, my cold email bounce rate stays boring, and boring is what I want.
Conclusion
Lowering your cold email bounce rate isn’t about sending fewer emails, it’s about sending fewer bad ones. I use Hunter.io to find realistic addresses, verify them in bulk, and segment risk before any sequence goes live. This process protects your domain reputation and improves inbox placement. If you set up your sending domain properly and keep a simple cleaning SOP, bounces stop being a surprise and start being a rare exception. Try A/B testing on different list segments to continuously optimize results.