Adding natural voice synthesis to your product shouldn’t require complex token mathematics or opaque credit systems. When your application needs to read notifications aloud, narrate articles, or power interactive voice agents, you need an endpoint that handles payloads reliably and returns clean audio. You want clear infrastructure choices, transparent character billing, and predictable latency.
The Speechify text to speech API gives engineering teams programmatic access to high-performance voice models via straightforward REST endpoints. You send text or speech markup, and the system returns production-ready audio files or streamed byte chunks. Setting up this integration requires a secure configuration pipeline, clean environment variables, and careful selection between batch synthesis and real-time streaming routes.
Key Takeaways
- Generate your API credentials through the developer platform and store them securely in environment variables rather than hardcoding keys into client applications.
- Use the batch endpoint for complete audio files accompanied by billing totals and precise speech mark metadata for visual highlighting.
- Use the streaming endpoint for low-latency playback of long-form text using HTTP chunked transfer encoding.
- Select appropriate audio formats based on your delivery needs, keeping in mind that WAV formatting applies only to batch generation while streaming serves compressed formats like MP3 and AAC.
- Monitor your character consumption against your plan limits to maintain predictable operational costs as your user base scales.
Setting Up Your Developer Account and API Credentials
Before writing any integration code, you need to establish your account and generate an authentication token. Go to the Speechify developer portal to create your organization workspace. Once inside your dashboard, navigate to the API Keys section to view your default key or generate a fresh token for your project.
Never expose your API key in client-side codebases, mobile apps, or public repositories. Exposing secrets allows unauthorized users to drain your character quota and run up unexpected usage bills. Store your secret key in your server environment variables under a clear identifier like SPEECHIFY_API_KEY.
Your backend server should read this variable at runtime and attach it to outgoing requests. Every call to the service requires an authorization header formatted with your bearer token. If you want to check out additional platform options and voice engineering workflows, you can review the official Speechify text to speech API documentation for complete parameter lists and schema references.
Choosing Between Batch Synthesis and Real-Time Streaming
Speechify structures its developer tools around two primary operational modes. Your application architecture dictates which endpoint you should call for a given user interaction.
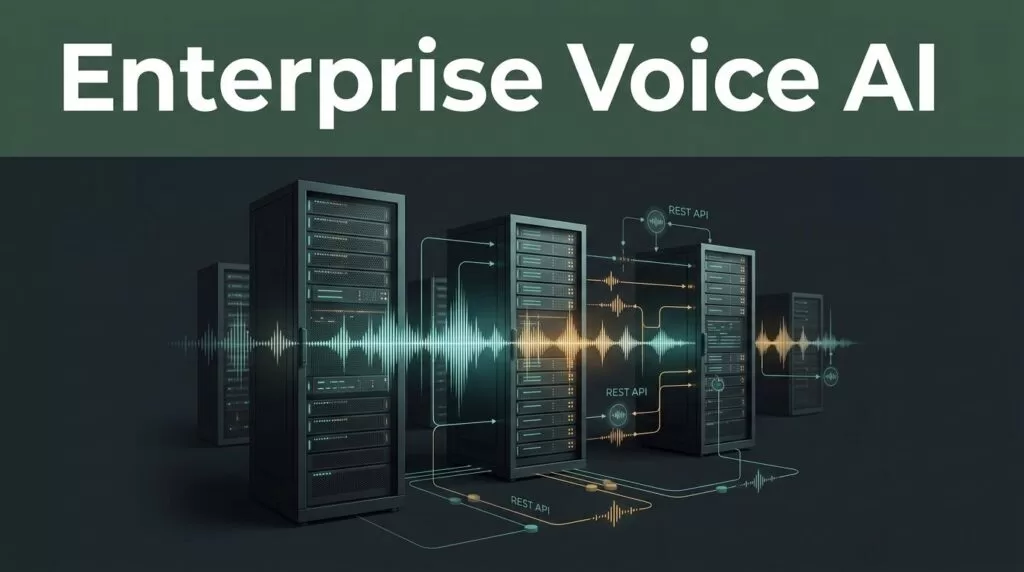
The batch endpoint handles requests sent to POST /v1/audio/speech. This route accepts your text input, voice identifier, and target audio format, returning a complete audio file along with detailed billing figures and speech-mark metadata in a single JSON payload. Use this method when you need precise timing data to drive synchronized visual word highlighting on your user interface.
The streaming endpoint targets POST /v1/audio/stream. This route delivers audio progressively using HTTP chunked transfer encoding, making it ideal for interactive assistants or long documents where waiting for a complete file render introduces unacceptable lag. Streaming returns audio bytes directly without metadata, keeping time-to-first-byte metrics as low as possible. For a broader overview of how modern teams evaluate audio integration strategies, explore the insights on Speechify Text to Speech API integrations.
Implementing a Basic Batch Request in Node.js
Building a backend integration requires a simple HTTP client to dispatch payloads to the API host at https://api.speechify.ai. You pass your parameters inside a JSON body while authenticating via your secure environment variable.
const fetch = require('node-fetch');
const fs = require('fs');


async function generateSpeech() {
  const response = await fetch('https://api.speechify.ai/v1/audio/speech', {
    method: 'POST',
    headers: {
      'Authorization': `Bearer ${process.env.SPEECHIFY_API_KEY}`,
      'Content-Type': 'application/json'
    },
    body: JSON.stringify({
      input: 'Welcome to our application. Your audio generation is complete.',
      voice_id: 'geffen_32',
      audio_format: 'mp3',
      model: 'simba-3.2'
    })
  });


  if (!response.ok) {
    throw new Error(`API request failed with status ${response.status}`);
  }


  const data = await response.json();
  const audioBuffer = Buffer.from(data.audio_data, 'base64');
  fs.writeFileSync('output.mp3', audioBuffer);
  console.log('Audio file saved successfully.');
}


generateSpeech();
This script sends a structured payload containing your text string, your chosen voice identifier such as geffen_32, your desired output format, and the simba-3.2 model parameter. The server returns a base64-encoded string which your backend decodes and writes directly to disk or passes down to a client session.
Handling Audio Formats and Language Parameters
Selecting the right container format prevents playback errors on client devices. The platform supports multiple encodings including MP3, AAC, OGG, PCM, and WAV.
Keep in mind that high-fidelity WAV outputs function exclusively through the batch endpoint. If you use the streaming route, stick to compressed container types like MP3 or AAC to ensure smooth browser playback without heavy bandwidth spikes.
Language configuration requires attention when handling multi-lingual content. If you know the exact input language, supply the optional language parameter using standard locale strings like en-US or fr-FR. Providing this code improves pronoun articulation and acoustic rhythm. If your incoming text contains mixed languages or dynamic user-generated content, omit the parameter and let the model auto-detect the spoken dialect. For teams researching broader voice tech updates and platform expansions, you can read more about the Speechify text to speech API launch details.
Managing Character Quotas and Pricing
Production monitoring requires keeping a close eye on your usage volume. Speechify prices its developer service based on a per-character model rather than complex token conversion formulas or minute-based tiers.
Plans typically include a monthly free allowance, after which usage is billed per million characters processed. You can check your current consumption metrics inside your developer dashboard. Set up usage alerts so your engineering team receives notifications before your account exhausts its monthly allowance.
Caching frequently requested static audio assets on your own object storage prevents redundant API calls and reduces operational overhead. For dynamic content like personalized user notifications, generate audio on demand while keeping request payloads concise.
Conclusion
Deploying text-to-speech capabilities requires clean authentication management, reliable error handling, and a clear split between batch rendering and real-time streaming. By keeping your API keys out of client repositories and structuring your backend requests correctly, you establish a robust voice pipeline for your application. Review your character limits today, provision your environment variables, and test your first production audio stream.