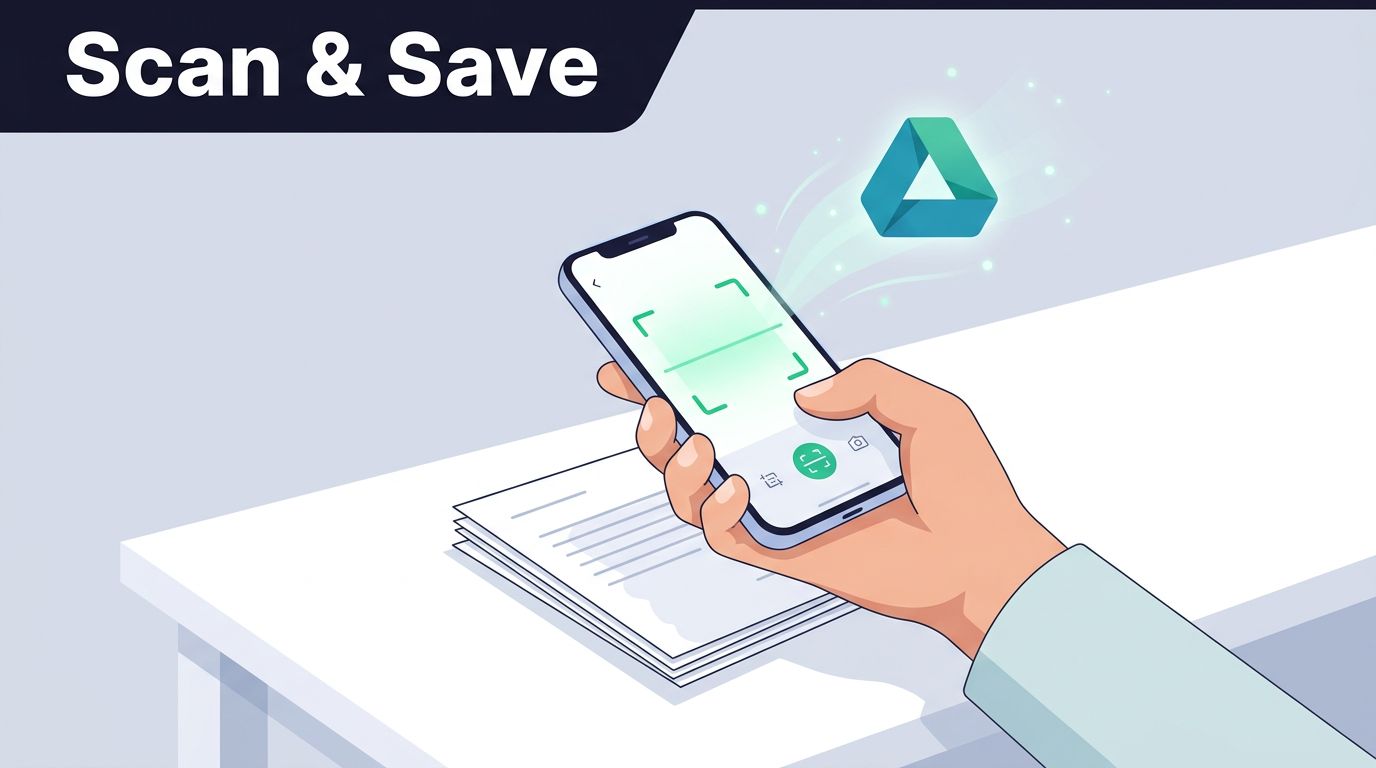
Paper piles grow fast. My phone clears them in minutes, and Google Drive keeps the PDF where I can find it later. When I need to scan documents to Google Drive, I want the shortest path, not a desk full of steps. I use this for receipts, contracts, forms, and anything else I need to save fast.
The taps change a little on Android and iPhone, and app layouts shift by version. Still, the workflow stays familiar. I set up the page, capture it, clean it up, and save it with a name I can search later.
What I set up before I scan
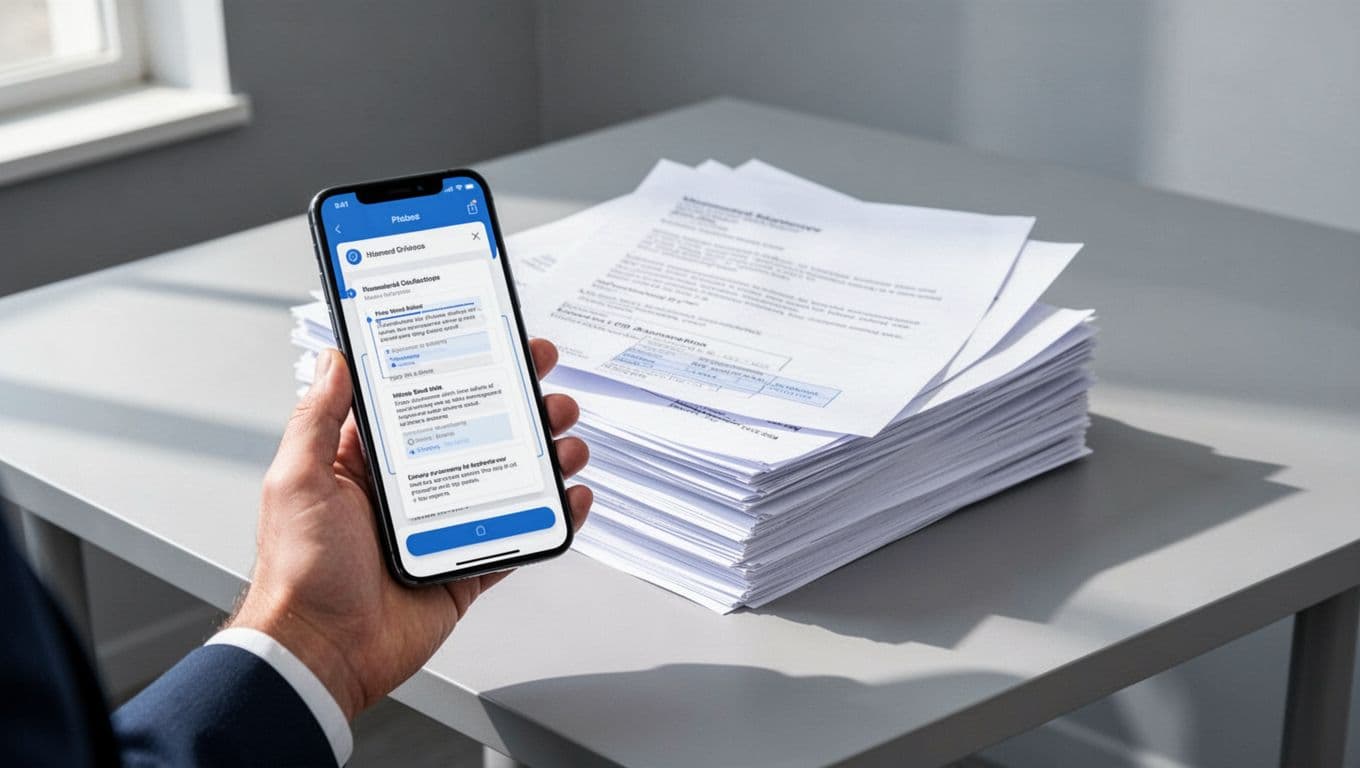
Before I open the app, I flatten the paper and clear the desk. Creases throw off the edges, and shadows make cropping harder. I also use bright, even light. A window or a desk lamp works well. I avoid backlight, because it turns the page into a gray blur.
I also make sure Drive is signed in to the right account. That matters when I switch between personal and work email on the same phone. If the document belongs to my team, I want it in shared storage right away. For that, I often use Google Workspace Shared Drives setup for small teams so the file stays with the business.
How I scan on Android
On Android, the Google Drive app usually hides Scan behind the plus button. Google’s Android scan guide shows the same path, although your menus may look a little different.
- I open Google Drive and tap +.
- I choose Scan.
- I point the camera at the page and keep all four corners in view.
- I tap the shutter, or I let auto-capture grab the page if that option appears.
- I crop the edges, rotate the image if needed, and tap Save.
- I rename the file before I leave the screen.
That last step matters more than people think. “Receipt-Office-Supplies-2026-04” is far easier to find than “scan0007”. If I have several pages, I keep adding them before I save, so the final PDF stays in one place. If I do not see Scan, I update the app and open it again.
How I scan on iPhone or iPad
On iPhone and iPad, the flow feels almost the same. I still open Drive, tap the plus button, and look for Scan. The labels can move around after an app update, so I do not assume every screen will match the last one. Google’s iPhone scan guide shows the current path.

- I open Google Drive and tap +.
- I select Scan.
- I line up the paper so the edges show clearly.
- I take the photo or let the app capture it automatically.
- I check the crop, add another page if I need one, then save the PDF.
- I move the file into the right folder right away.
The biggest difference I notice is button placement. On one phone, the scan option sits close to the bottom. On another, it hides in a menu. The function is the same, so I search for the word “Scan” instead of hunting for a perfect layout. That saves time and keeps the process calm.
Make the scan cleaner and easier to search
A good scan starts with the page, but it ends with the file. I watch the crop closely, because a clean edge makes the whole PDF look more professional. I also wipe the camera lens first. A smudge can turn black text into a soft haze.
I trust a clean crop more than a perfect memory.
Google Drive usually saves the result as a searchable PDF. That searchability comes from OCR, so typed words in the scan can show up in Drive searches later. If I need to find a policy number, I can search the text instead of opening every file. Google’s mobile PDF scan guide covers that behavior well.
I keep my file names short and predictable:
- “Invoice-ClientName-2026-04”
- “Receipt-VendorName-2026-04-15”
- “Signed-Contract-ProjectName”
If the scan has several pages, I add them before I save. That keeps the PDF tidy. I also check the text after saving. If one page looks crooked, I rescan that page instead of living with a bad file.
When I use Google Drive, and when I don’t
I reach for Google Drive when I want a quick PDF that lands in the cloud right away. It works well for receipts, signed forms, and a few pages at a time. For that kind of job, speed beats fancy features. Google’s computer help page also notes that the web version doesn’t offer scanning, so I always use the mobile app for paper jobs.
When I need batch cleanup, stronger export options, or a heavy stack of papers, I may use a different scanning app first. Then I upload the file to Drive. That route makes sense when I want more control over rotation, page order, or naming. For team documents, I also keep configuring Drive sharing permissions in mind before I send the file.
Drive stays my default because it is already on my phone and the PDF is easy to file. That simplicity matters on a busy day.
Scanning paper documents to Google Drive from my phone saves me from piles, folders, and later guesswork. I keep the process simple, good light, clean edges, clear names, and the right destination folder.
When I treat each scan like a file I’ll need again, the PDF stays useful. For business papers, I store it in the right shared space and keep sharing tight. That small habit turns a paper task into something I can finish in a minute.