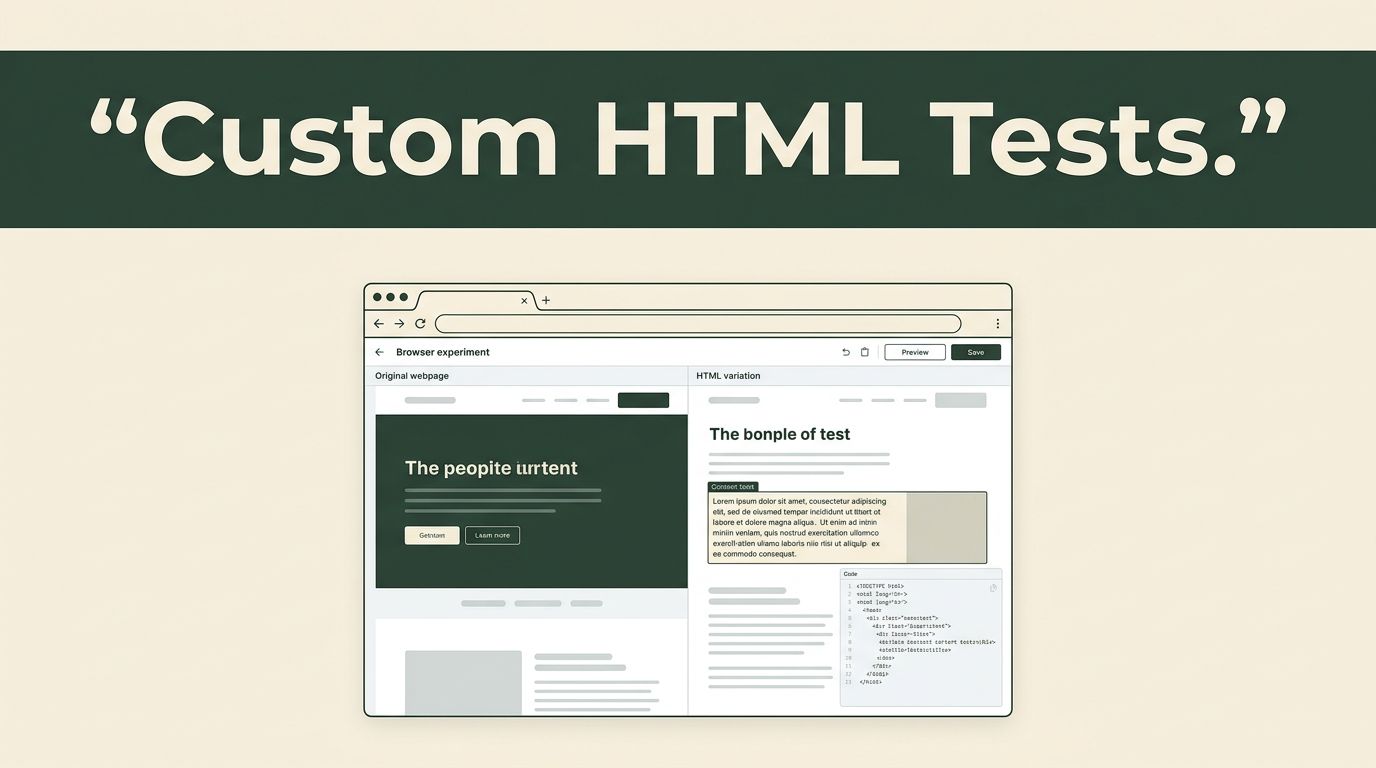
Your first A/B test shouldn’t require a full production deploy. With custom HTML testing code in Mida.so, you can change page content inside one experiment, compare it with the original version, and remove the change without editing your main templates.
The hard part isn’t writing markup. It is choosing a stable target, isolating the variation, and testing the result before visitors see it. Use the workflow below to build custom HTML tests that are readable, reversible, and measurable.
Key Takeaways
- Use a unique wrapper class for every HTML variation.
- Choose stable selectors before writing CSS or JavaScript.
- Add code through the experiment’s variation editor, then test in preview and QA.
- Keep HTML, CSS, and JavaScript separate when Mida.so provides separate fields.
- Measure the business action, not only whether the new element appeared.
Decide What the HTML Variation Should Change
Custom HTML testing code changes what visitors see in a selected experiment variation. It can add a message, replace a content block, insert a call to action, or adjust the structure around an existing component.
HTML controls the content and structure. CSS controls presentation. JavaScript changes page behavior or modifies elements after the page loads. These layers often work together, but they don’t have the same job. The MDN HTML documentation is a useful reference when you need to check an element, attribute, or semantic pattern.
Start with one clear hypothesis.
For example, you might test whether a shipping message near the purchase button increases checkout starts. The control keeps the existing page. The variation adds the message. The primary metric is checkout starts, not banner views.
Write down these details before opening Mida.so:
- The page or URL where the test will run.
- The exact element you will add, replace, or modify.
- The control experience and the proposed variation.
- The primary conversion event.
- The guardrail metrics, such as bounce rate, revenue, or checkout errors.
Keep the change narrow. A new headline, a reassurance message, and a redesigned button in the same variation make the result harder to interpret. If the test wins, you won’t know which change caused the improvement.
Use semantic HTML where possible. A paragraph, heading, button, or navigation element gives browsers and assistive technology useful context. Don’t insert a clickable div when a real link or button fits the action.
Prepare Stable Selectors Before You Add Code
Your test code needs a reliable way to find the page element. Inspect the live page and identify a class, ID, or data attribute that stays consistent across sessions.
Avoid selectors based on position, generated class names, or visible text. A selector such as .product-card:nth-child(3) can stop working when the product order changes. A class created by a front-end build process can change after a routine deployment.
Use a stable selector that belongs to the component itself. If your development team controls the site, ask for a test ID or data attribute. The MDN CSS selectors reference covers the selector patterns supported by modern browsers.
Create a unique root class for the new content. The class prevents your test styles from affecting the rest of the page.
For example:
<div class="mida-variant-message" role="note">
  <strong>Free shipping on orders over $50.</strong>
  <a href="/shipping">View shipping details</a>
</div>
The mida-variant-message class belongs only to this experiment. It gives you one place to apply CSS and one clear element to remove later.
Don’t reuse a broad class such as .message, .content, or .button. Those names often appear in several parts of a website. A broad selector can create changes outside the test area.
Check the target at different widths before you write the variation. Responsive layouts often use different containers or markup on mobile. A selector that works on desktop may point to a hidden element on a small screen.
Add Custom Code in the Mida.so Experiment
Mida.so workspaces can expose experiment and variation controls in different ways. Don’t rely on a guessed menu path or a label from an older interface. Open the experiment, select the page variation you want to edit, and use the custom-code or code-based editing area available in your account.
Follow this sequence:
- Create the experiment and define the page URL or audience condition.
- Add the control and variation experiences.
- Open the variation where the custom change belongs.
- Paste the HTML into the supported HTML field or code editor.
- Add CSS and JavaScript in their separate areas when those fields are available.
- Save the variation and open its preview.
- Check the page in a test or QA environment before publishing traffic.
- Set the audience and traffic allocation only after the change passes review.
If Mida.so provides separate inputs for HTML, CSS, and JavaScript, keep each type in its intended location. Don’t wrap CSS in a <style> element or JavaScript in a <script> element unless the editor explicitly requires it.
If the editor accepts a complete HTML fragment, paste only the fragment needed for the variation. Avoid copying the entire page document. Full-page markup can create duplicate headings, forms, metadata, or tracking elements.
Use a short comment in your internal experiment notes to record the purpose of the change, the selector used, and the date. The comment helps the next operator understand the test without opening the site codebase.
Your variation should also be easy to disable. A single wrapper class and a small code block make rollback simple. Avoid changes that require edits across several unrelated page sections.
Use Small, Scoped HTML, CSS, and JavaScript Snippets
The following example adds a shipping message below an existing product summary. The selector .product-summary is an example. Replace it with a stable selector from your own page.
HTML example
<div class="mida-variant-message" role="note">
  <strong>Free shipping on orders over $50.</strong>
  <a href="/shipping">View shipping details</a>
</div>
Add the fragment where the variation should appear. Don’t duplicate an existing message if the page already contains one. If the experiment can run more than once during a single-page session, use a unique class check before inserting the element.
CSS example
.mida-variant-message {
  margin: 12px 0;
  padding: 10px 12px;
  border: 1px solid #d7e3ec;
  border-radius: 6px;
  background: #f4f9fc;
  color: #17324d;
  font-size: 14px;
  line-height: 1.4;
}


.mida-variant-message a {
  margin-left: 6px;
  color: #075ea8;
  text-decoration: underline;
}
Scope every rule under the variation class. A rule such as .mida-variant-message a is safer than a global a rule. Check contrast, spacing, and focus states after the code loads.
JavaScript example
JavaScript is useful when the test needs to modify an existing element or respond to an interaction.
const button = document.querySelector('.checkout-button');


if (button && !button.dataset.midaVariantApplied) {
  button.textContent = 'Start checkout';
  button.dataset.midaVariantApplied = 'true';
}
The MDN querySelector() guide explains how the browser finds the first matching element.
This script changes the button text only when the target exists. The data attribute prevents the update from being applied twice. If the selector returns null, inspect the page structure and code timing. The target may load after the experiment script runs.
Don’t place API keys, passwords, customer data, or private endpoints in custom JavaScript. Browser code is visible to visitors. Use your existing analytics integration for event collection, and verify the event in the analytics debugger before starting the test.
Test the Variation Before Sending Traffic
Preview is the first check, not the final approval. Open the variation and confirm that the HTML appears in the correct location. Check the control as well. A control page that accidentally receives the new markup invalidates the comparison.
Review the browser console for JavaScript errors. Test a clean session, a returning session, and a page refresh. If your website is a single-page application, move between routes and confirm that the variation doesn’t duplicate itself.
Before publishing, check these points:
- The variation appears only on the intended URL and audience.
- The control remains unchanged.
- The layout works on desktop, tablet, and mobile widths.
- Links, buttons, forms, and keyboard focus still work.
- The new text meets your accessibility requirements.
- The page doesn’t show a flash of incorrect content.
- The variation doesn’t create horizontal scrolling.
- Analytics records the intended conversion event once.
- The code doesn’t add duplicate elements after navigation or refresh.
Use the W3C Web Content Accessibility Guidelines when reviewing contrast, keyboard access, labels, focus behavior, and semantic structure.
Pay close attention to page speed and script timing. A small HTML fragment usually has little cost, but a large script or external dependency can delay interaction. Avoid adding third-party libraries for a minor text or style test. Use the browser APIs already available on the page.
Test the variation against the site’s current release candidate. A selector can work in preview and fail after a template update. Record the target selector and ask the developer responsible for the page to review it before launch.
Measure the Action That Matters
HTML does not prove that a variation worked. It only changes the experience. Your measurement setup needs to connect the variation with a business action.
Choose one primary metric before traffic starts. For a pricing page, that could be trial starts or paid conversions. For a product page, it could be add-to-cart clicks. Keep supporting metrics available for problems that the primary result may hide.
Review the data for both the control and variation. Check conversion rate, sample volume, device type, browser, and important audience segments. A variation that performs well on desktop but causes mobile checkout errors needs investigation before release.
Don’t stop the test after a few early conversions because the first result looks positive. Let the experiment collect enough data for your normal testing process, then review the result with product and analytics owners.
When the test ends, choose one of three actions:
- Keep the control and remove the variation.
- Promote the winning HTML into the main site codebase.
- Continue testing with one new change based on the result.
Remove temporary code after the experiment. Leaving old selectors, styles, and scripts in the page creates maintenance work and can conflict with future tests.
Conclusion
Custom HTML testing code lets you change a focused part of a page without waiting for a full release. The reliable process is simple: define one hypothesis, select a stable target, scope the code, and test the variation in preview and QA before publishing.
Keep the markup small and the measurement clear. When a test wins, move the final change into production code and remove the experiment-specific implementation. A controlled variation gives you useful evidence without turning the page into a collection of temporary patches.