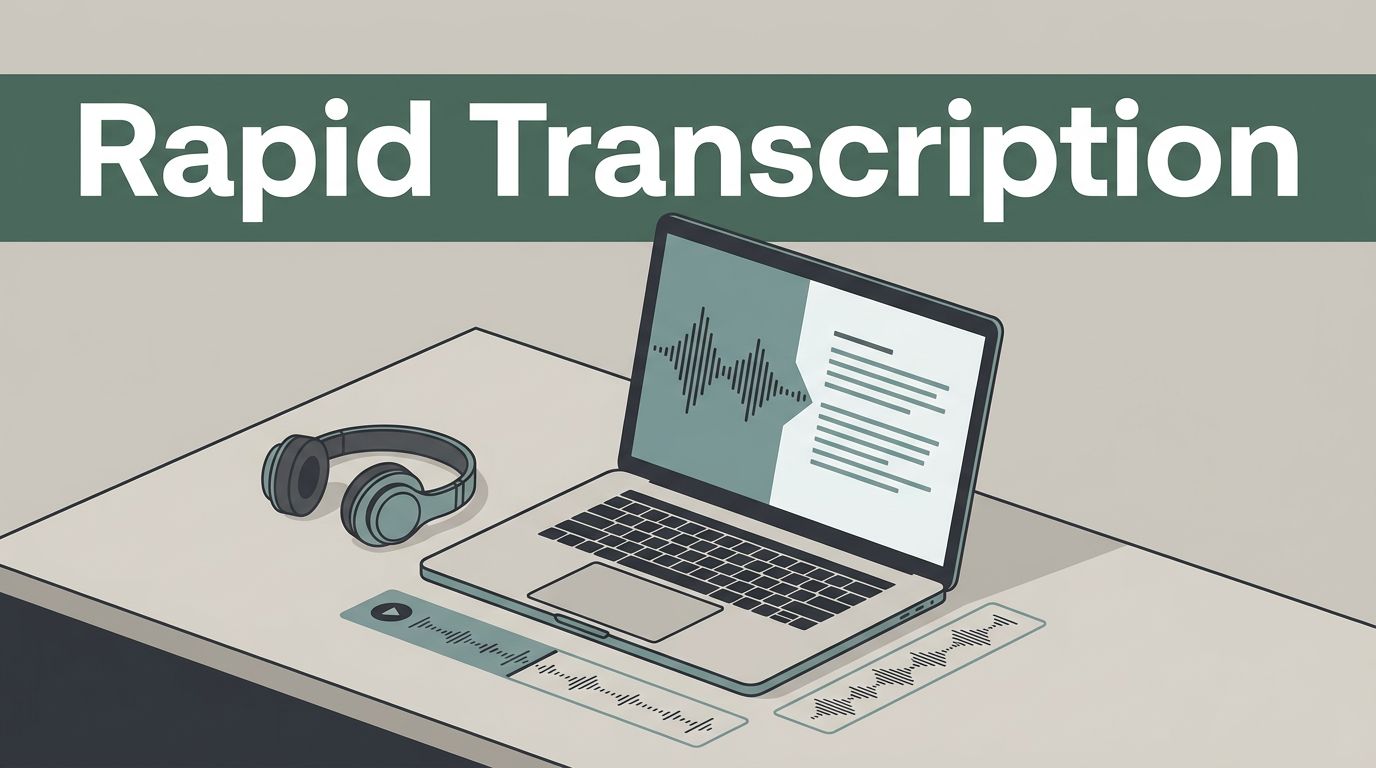
Getting audio files converted into clean, editable text doesn’t need to be a manual chore. When you manage heavy interview schedules, client calls, or research recordings, waiting hours for traditional transcription services slows down your entire operation. You need a fast, reliable pipeline to turn spoken words into usable written documents without losing hours to cleanup.
Using Speechify transforms your audio processing routine by combining high-speed automated recognition with smart formatting layers. Whether you’re handling raw voice notes, video files, or live meeting recordings, knowing the right setup steps helps you clear your queue efficiently. Let’s look at how to set up your files, configure your tools, and speed up your workflow.
Key Takeaways
- Organize your audio files into clean folders by project before starting transcription to prevent context switching.
- Upload clear audio or video files into your workspace to let the platform handle automated speech recognition.
- Enable synchronized text highlighting during playback to track the AI output and catch errors instantly.
- Export your finalized transcripts directly into TXT or SRT formats to streamline your writing workflow.
Preparing Your Audio Files and Workspace
Disorganized files cause friction before transcription even begins. Dumping random recordings into a single upload queue makes it difficult to track your projects or manage client deliverables. Create a structured folder system by client, project name, or date before you touch any software settings.

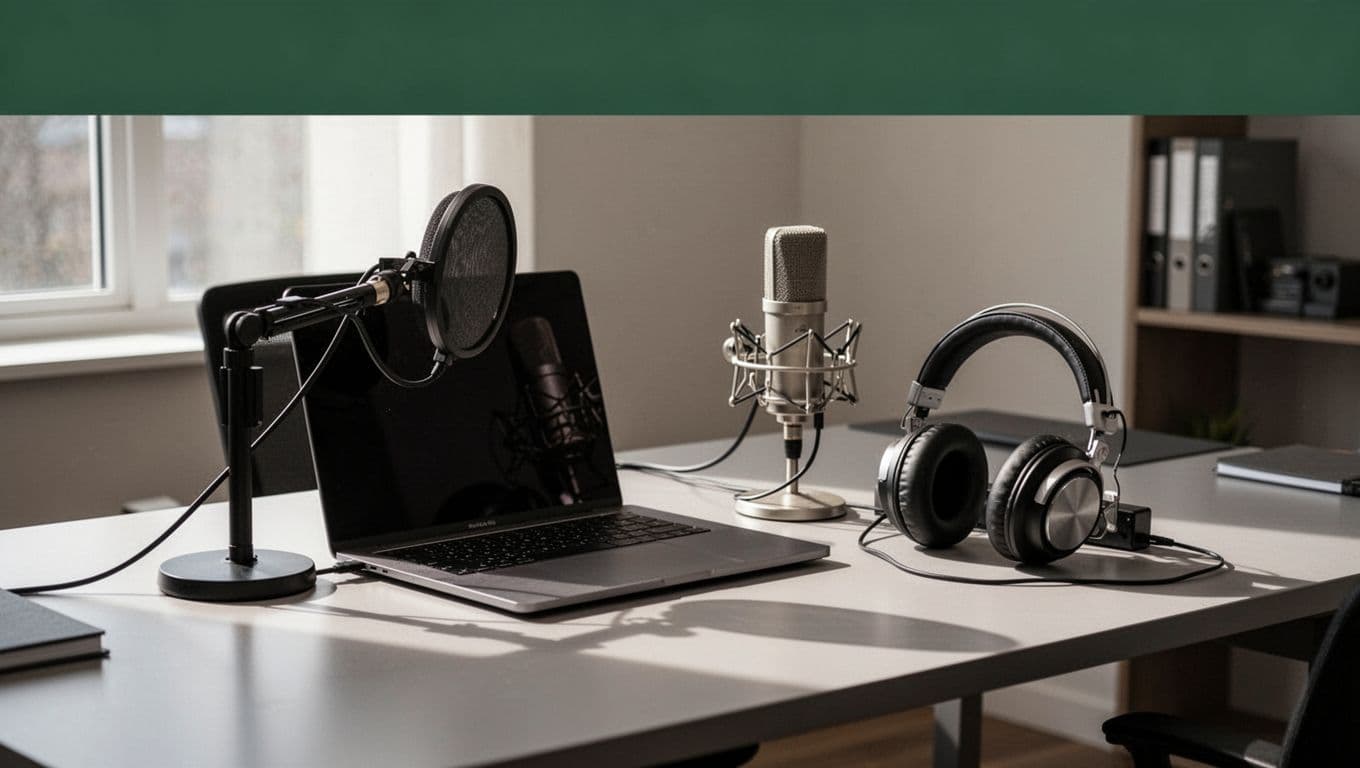
Photo by Tima Miroshnichenko
Clean preparation ensures your automated pipeline runs smoothly from start to finish. Check your audio recordings for excessive background noise or overlapping speakers before importing them. While modern AI transcription models handle standard speech well, clipping or muffled audio introduces errors that require tedious manual correction later.
Import your cleaned MP3, WAV, or video files directly into your workspace. Setting up your library correctly saves time during batch processing and keeps your output files organized for immediate export.
Configuring Speechify for Speed and Accuracy
Once your files are loaded, you need to configure your processing preferences to match the complexity of your material. Industry news briefings or casual interviews handle fast processing well, while technical discussions or legal calls require close attention to exact terminology.
Select a natural-sounding voice model that matches your preference. A jarring voice model creates cognitive friction and breaks your focus during review sessions. If you are exploring broader listening tools alongside your transcription queue, you can check out this overview of the 10 best text-to-speech tools for ADHD study to understand how different engines manage auditory pacing.
Adjust your playback speed based on the density of the content. Use these calibrated ranges to review transcripts without missing critical details:
| Material Type | Recommended Speed | Primary Processing Focus |
|---|---|---|
| Industry News and Briefings | 1.5x to 2.0x | Quick intake and broad skimming |
| Research Interviews and Notes | 1.25x to 1.5x | Comprehending background facts |
| Legal Contracts and Technical Audio | 1.0x to 1.25x | Close attention to exact clauses |
Keep your playback settings calibrated to the actual density of the content rather than chasing high vanity metrics. Pushing playback speed past your comprehension threshold turns productive review into wasted time.
Maintaining Focus With Synchronized Highlighting
Audio playback pushes forward continuously unless you actively pause or skip backward. That forward momentum creates a specific risk for distracted operators, as it is easy to zone out during a long discussion of complex topics.
You prevent comprehension loss by combining listening routines with active annotation tools. Enable synchronized text highlighting in your application settings view so words underline automatically as the software speaks them. Seeing words underlined while you listen reinforces retention, especially when reviewing unfamiliar terminology or dense theoretical arguments.
Your eyes follow the text anchor while your ears process the cadence, creating a dual sensory input loop that keeps your attention locked onto the source material. When you spot a critical passage or striking piece of evidence, use the bookmarking tool to flag the exact timestamp and text block for later citation. If you notice your mind wandering or find yourself missing key arguments, dial your playback speed back down for a session.
Reviewing and Exporting Your Transcripts
Automated transcription gets you ninety percent of the way there, but human verification remains essential for flawless delivery. Play your audio back while following along with the synchronized text to catch missing punctuation, awkward line breaks, or misattributed speakers.
Keep your editing window open alongside your audio player to fix minor errors on the fly. If you want to explore deeper platform capabilities, you can read the official Speechify text to speech overview to see how web and mobile apps synchronize across devices.
Once your review pass is complete, export your text into standard formats like TXT or SRT files. Moving your finalized transcript directly into your writing workspace or content management system eliminates tedious copy-pasting and accelerates your entire publishing pipeline.
Conclusion
Automating audio transcription on Speechify turns messy voice recordings into structured, actionable text without wasting hours on manual typing. By organizing your files, calibrating your playback speeds, and locking in visual tracking with synchronized highlighting, you build a reliable workflow that scales with your workload. Set up your library folders today, drop in your first recording, and let automated processing clear your daily transcription backlog efficiently.