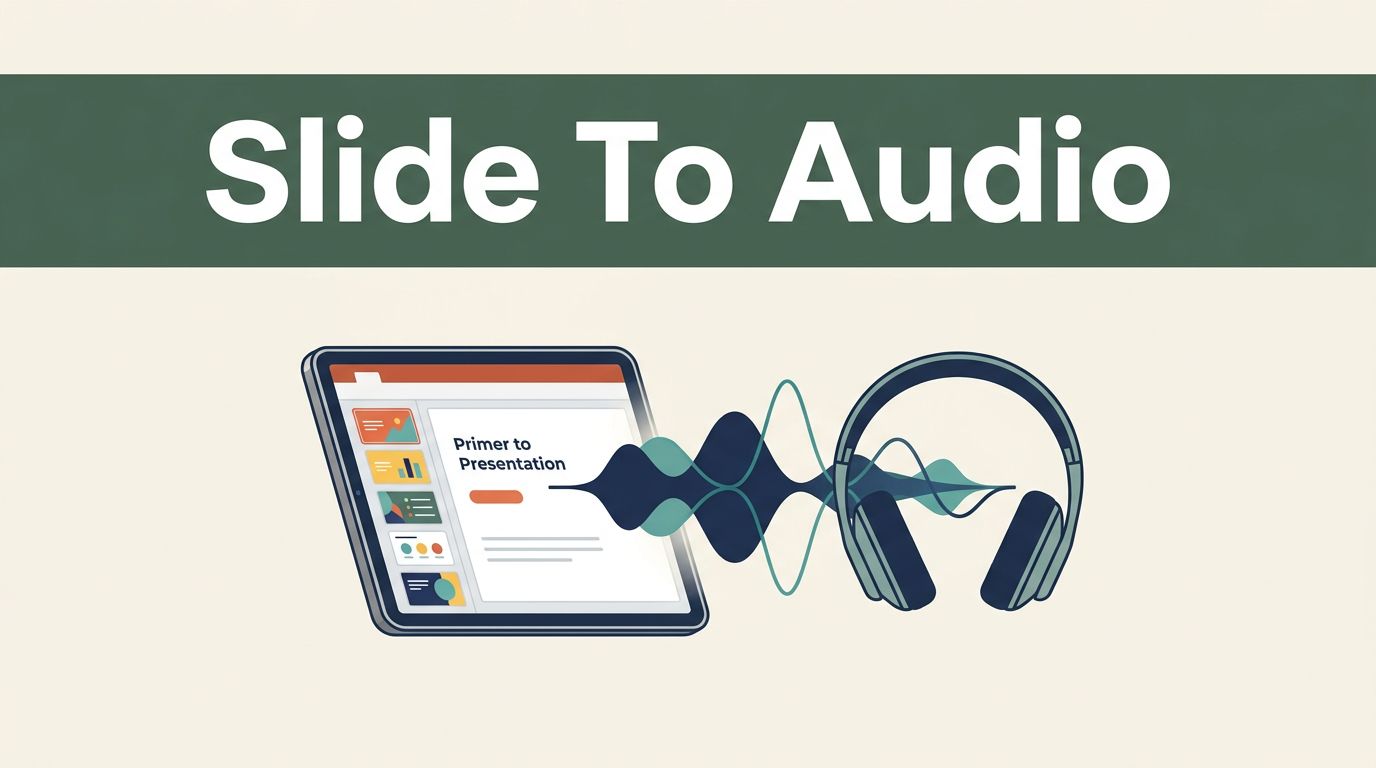
Slide decks often trap valuable information behind bullet points and design grids. When you need to review a dense pitch deck, a corporate briefing, or an educational slideshow during a commute, visual reading fails. You need a practical way to convert presentations to audio so you can listen to your slide content anywhere.
Speechify bridges the gap between visual slides and spoken audio streams. Whether you want to listen on your mobile phone during a flight or generate clean voice overs for a project, understanding the right workflows saves hours of manual effort.
Key Takeaways
- Import your slide files or associated text documents directly into your Speechify workspace to begin conversion.
- Prepare your slide deck by ensuring text blocks are selectable and speaker notes are clean.
- Configure natural-sounding voice models and adjust playback speeds gradually for optimal comprehension.
- Utilize synchronized text highlighting to maintain focus and retention while listening to dense slide summaries.

Preparing Your Presentation Files for Clean Conversion
Before you open Speechify, you need to prep your presentation so the software reads the text smoothly. Raw slide decks often contain text boxes, floating shapes, and images with hidden text layers that confuse processing parsers.
Start by cleaning up your slide layout. Remove unnecessary decorative elements and ensure your core bullet points are formatted as standard text boxes rather than embedded images. If your presentation relies heavily on images or scanned diagrams, run an optical character recognition check so the text becomes selectable.
Next, check your speaker notes. Many presenters hide the real meat of their presentation inside the notes section rather than on the slides themselves. Clean speaker notes provide much better conversational context for text to speech conversion than disjointed slide bullet points.
Save your finished deck as a PDF file or export the text into a clean document format before importing it into your reading library. Clean inputs prevent stuttering, skipping, and mispronounced terms during playback.
Importing and Setting Up Your Workspace on Speechify
Once your presentation files are ready, open the Speechify web application or mobile app to build your listening queue. Organizing your materials properly keeps your workflow efficient and prevents constant context switching.
Create dedicated project folders in your library for different clients, courses, or business topics. Grouping your documents prevents clutter and keeps your active presentation files easy to find.
Import your file into the workspace using the direct ingestion paths available in the app dashboard. You can drag and drop your exported PDF files from your local drive or sync documents directly from cloud storage providers like Google Drive, Dropbox, or OneDrive.
Select a natural-sounding voice model that matches your personal preference. A jarring voice model creates unnecessary friction and breaks your focus during long listening sessions. Once your voice model is locked in, you are ready to configure your speed settings.
Calibrating Playback Speed and Visual Tracking
Listening to slide content at high speeds requires a deliberate approach to avoid missing critical data points. Jumping straight to maximum speed on your first try creates a wall of unintelligible noise.
Start your listening session at standard speed to establish baseline comprehension. Scale your playback speed upward gradually as your auditory processing adapts to the faster pacing.
| Material Type | Recommended Speed | Processing Focus |
|---|---|---|
| Slide bullet summaries | 1.5x to 2.0x | Quick intake and broad skimming |
| Detailed slide notes | 1.25x to 1.5x | Comprehending background facts |
| Technical architecture decks | 1.0x to 1.25x | Close attention to exact data points |
Match your speed settings to the actual density of the content rather than chasing high numbers. Complex technical decks require slower pacing than high-level marketing overviews.
Enable synchronized text highlighting in your settings view. Seeing words underlined while you listen reinforces retention, especially when reviewing unfamiliar terminology or dense theoretical arguments. For a deeper look at how assistive features improve study habits, you can review this guide on tools for reading comprehension.
Exporting Audio and Turning Slides Into Videos
Depending on your specific subscription tier and project goals, you may want to move beyond simple playback and export your presentation content into standalone files.
If you are working with video formats, Speechify workflows allow you to import presentation decks into specialized video production environments. These tools let you extract slide content into editable video segments, add background music, and layer AI voice overs across your slides.
When you need a portable audio file for offline listening, you can check your export menu options for MP3 downloads. This lets you move your converted presentation audio directly to your mobile device, car stereo, or podcast player for convenient offline review.
Always review your exported audio files for pacing errors before sharing them with clients or team members. Clean audio exports turn static slide decks into accessible media assets that reach a wider audience.
Conclusion
Turning static slide decks into spoken audio frees you from your desk and helps you clear your reading backlog during transit or lab work. By preparing clean text inputs, organizing your library folders, and calibrating your playback speeds, you transform dense presentations into digestible audio streams. Audit your current slide review volume and test these workflows to reclaim valuable hours in your daily operational routine.