Automate YouTube Voiceovers Fast With Speechify
Production bottlenecks kill channel momentum. When you spend ten hours recording audio, cleaning background hums, and re-tagging mispronounced words, your upload schedule slips. Top creators rely on structured automation to scale their outp...
Production bottlenecks kill channel momentum. When you spend ten hours recording audio, cleaning background hums, and re-tagging mispronounced words, your upload schedule slips. Top creators rely on structured automation to scale their output without lowering audio quality. Generating natural sounding tracks with Speechify YouTube voiceovers lets you focus on scripting and editing rather than endless mic checks.
Key Takeaways
- Use Speechify Pricing for the Free & Premium TTS Plans to evaluate whether standard reader accounts or creator studio subscriptions fit your workflow.
- Structure your scripts in advance so synthetic pauses and punctuation marks guide the neural voice models correctly.
- Review generated audio files for pacing anomalies before syncing them to your timeline in your video editor.
- Export finished voiceovers in high-compatibility formats like MP3 or WAV to ensure crisp playback across devices.
Understanding the Speechify Workflow for Video Creators
Before you touch any software settings, you need to understand how Speechify functions within a production pipeline. The platform separates casual listening from professional audio creation. If you try to use a basic consumer reader app for commercial video publishing, you will hit limits on commercial licensing and export flexibility. You need Speechify Studio for dedicated voiceover creation. Studio is built specifically for creators who need downloadable audio files to drop straight into Premiere, DaVinci Resolve, or Final Cut.
The typical production loop starts inside your scriptwriting software. You paste your final YouTube script into the Studio dashboard, pick a voice model that matches your channel niche, and adjust speed sliders. The platform translates your text into a fully synthesized voice file in seconds. You download that asset and import it directly into your video timeline. This simple loop replaces manual recording sessions, pop filters, and multi-take voice pickups.
Setting Up Your First Voiceover Project
Getting clean audio starts with proper workspace configuration. Log into your Speechify Studio account and create a dedicated project folder for your upcoming video. Organizing files by campaign or video title keeps your production queue structured and prevents context switching when you work on multiple uploads.
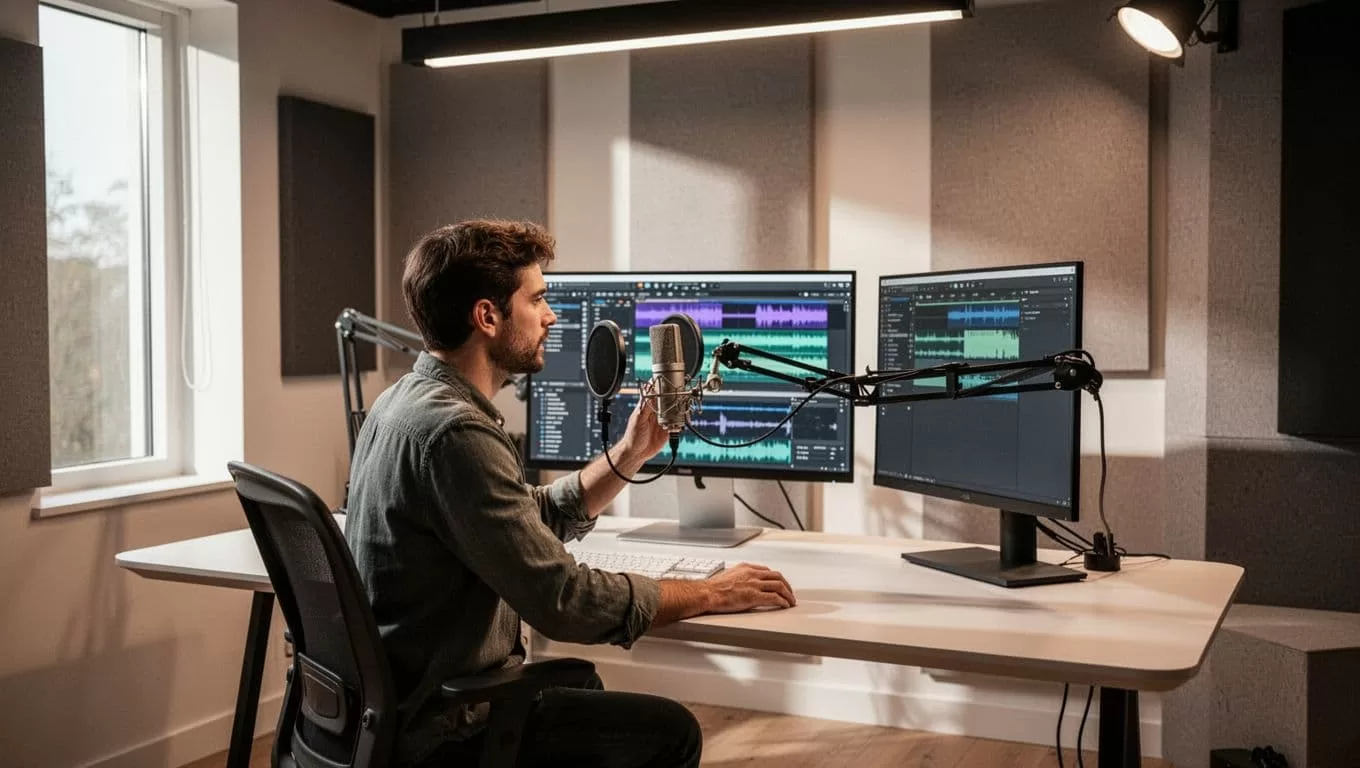
Select a voice model that matches your content tone. Educational channels often benefit from measured, authoritative tones, while fast-paced commentary channels require energetic delivery. Test a few preview paragraphs before generating the full script. Pay close attention to how the engine handles acronyms, numbers, and niche terminology. If the voice stumbles over a proprietary product name, you can add manual pronunciation rules or tweak the spelling in your source text.
Quick Setup Checklist
- ✓ Create project folder in Studio
- ✓ Paste clean, proofread script text
- ✓ Select target voice model
- ✓ Test pronunciations on technical terms
Optimizing Pacing and Pronunciation for Retention
Synthesized speech reacts differently to punctuation than human speakers do. If your script lacks commas and periods, the voice model rushes through sentences without taking natural breaths. You need to insert strategic pauses by adding punctuation marks or breaking long sentences into shorter blocks. This simple habit keeps your synthetic voiceovers sounding human and engaging.
Guard against listener fatigue by managing your overall playback speed and emotional inflection. While you can speed up audio during review, your primary voiceover track should run at a comfortable pace that matches your visual b-roll cuts. You can explore Speechify: Text to Speech & Voice Typing AI Assistant to test different voice personalities and see how they handle emphasis on technical points. When your audio pacing matches your visual edits, your viewer retention rates climb.
Exporting and Integrating Audio Into Your Video Editor
Once your script generation is complete, export the files in an uncompressed or high-bitrate format. Most editing suites accept MP3, OGG, or WAV files without conversion friction. Place your new voiceover track on a dedicated audio channel separate from your background music and sound effects. This separation lets you apply audio compression and EQ adjustments independently.
Check your exported tracks against your timeline markers to ensure lip-sync or action-sync points align correctly. If a particular sentence runs slightly too long for a specific visual transition, use the editor’s time-stretching tool or trim the silent gaps between paragraphs. Keeping your files organized from generation to final export prevents version control errors when you manage multiple video projects simultaneously.
Conclusion
Automating your channel audio removes major production friction and lets you publish consistent content on a predictable schedule. By setting up structured project folders, fine-tuning your script punctuation, and exporting clean audio files directly into your editing timeline, you reclaim hours of manual work every week. Take your current script draft, load it into your voice generator today, and test how fast you can build a polished production workflow.
