Travelpayouts Car Rental Widget Deployment Guide
A car-rental page can get plenty of readers and still produce zero booking activity. The usual problem is placement, tracking, or a widget that doesn’t match the reader’s destination. A car rental widget gives visitors a direct...

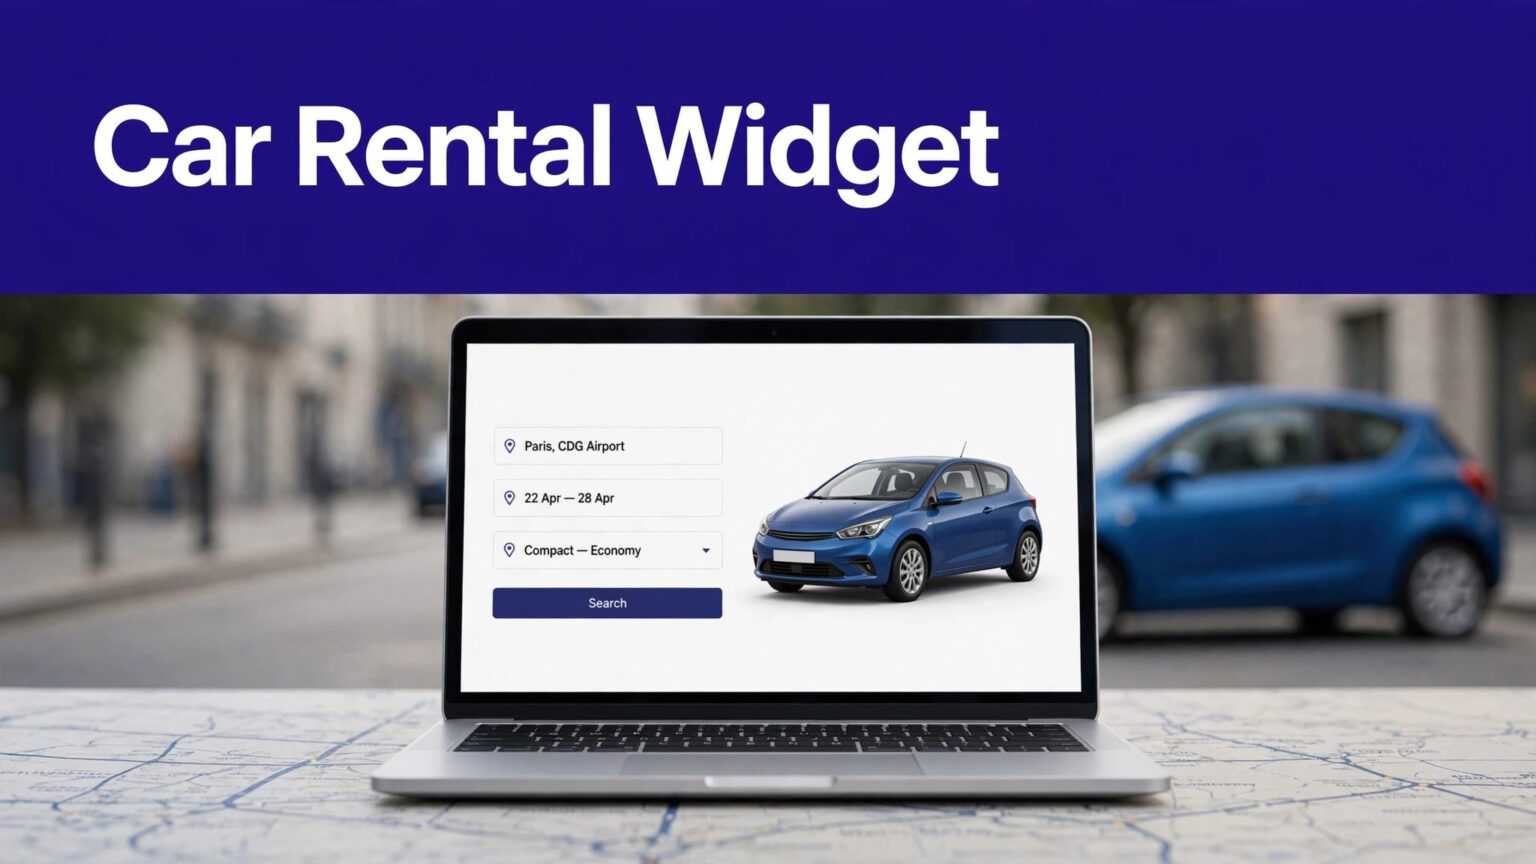
A car-rental page can get plenty of readers and still produce zero booking activity. The usual problem is placement, tracking, or a widget that doesn’t match the reader’s destination.
A car rental widget gives visitors a direct way to search dates, locations, and vehicles without leaving your guide first. Travelpayouts provides widgets through individual affiliate programs, not one universal rental tool. Set up the program connection first. Then install, test, and measure the result.
Deploy a car rental widget through the right program
Start with a Travelpayouts account and create a Project for the website where the widget will run. A Project connects your domain, affiliate tools, and reporting data.
Travelpayouts lists car-rental brands separately. Current options have included Rentalcars.com, EconomyBookings, QEEQ, Discover Cars, Localrent, Klook, and Auto Europe. Review the available car-rental partner programs before selecting one.
Connect the program before looking for code
In the dashboard, open Programs and search for the rental brand you want to promote. Open the program card, review its details, then select Connect to program.
Some programs approve access automatically. Others may require a review. Widget availability, reward conditions, permitted traffic sources, and attribution rules can differ by brand.
After approval, open the connected program and go to Tools, then Widgets. Travelpayouts explains that programs can offer links, banners, search forms, and widgets through its affiliate platform tools.
Configure the widget settings
A customizable widget usually lets you select settings such as language, currency, title, and visual style. Ready-made widgets may only offer Get the Code.
Select the correct Project before copying the code. If your account has a staging site and a live site, don’t guess. Choose the Project assigned to the live domain.
Add a SubID when the widget supports it. Use a short naming format that identifies the page and placement, such as:
rome-guide-topiceland-car-sidebarmiami-airport-footer
SubIDs make reporting usable. Without them, you may know a rental program earned money, but not which page or widget position produced it.
A widget can look active while attribution fails. The generated code must use the correct Project and partner settings.
Add the widget to your website safely
Copy the generated widget snippet from Travelpayouts. Paste it into a Custom HTML block, template area, or page builder HTML element that allows scripts.
Don’t paste affiliate widget code into a standard text block. Many CMS platforms strip scripts or convert characters, which can stop the widget from loading.
Use a page that has buying intent
Place the widget where the reader has a reason to rent a car. Good examples include an airport transfer guide, a driving itinerary, or a destination page where public transport is limited.
A guide called “7 Days in Sicily by Car” is a strong fit. A broad article about Italian food is not.
Put the first widget after the reader understands why a car helps. A short callout works well:
Renting a car makes it easier to reach Noto, Ragusa, and smaller coastal towns on your own schedule.
Avoid placing the same widget three times on a short page. Too many booking blocks make a guide harder to read and can split your reporting data.
Check responsive design before publishing
Most travel searches start on mobile. Test the car rental widget on a narrow phone screen, a tablet, and a desktop browser.
The page needs enough horizontal space for the form. Don’t place it inside a narrow sidebar or a container with fixed-width CSS. Use a full-width content block when the provider’s widget supports it.
Responsive design means the page adjusts to screen size and resolution. Review MDN’s responsive design guidance if your theme causes the form to overflow, clip fields, or create horizontal scrolling.
Your page should also load over HTTPS. Mixed HTTP and HTTPS resources can trigger browser warnings or prevent embedded scripts from working correctly.
Test affiliate attribution before sending traffic
Publish the page, then run a controlled test. Open the page in a private browser window or a device where you are not logged in to Travelpayouts.
Check these points:
- Confirm the widget loads without a blank frame, error message, or broken layout.
- Search a real route, pickup location, and future date range.
- Confirm the visitor reaches the expected rental partner site.
- Review the destination URL and widget settings in your dashboard.
- Check reports after the program’s normal reporting delay.
Don’t complete a booking only to test tracking unless you genuinely need the rental. A search and outbound journey can still identify broken code or the wrong Project.
Handle cookies and disclosure properly
Affiliate tracking often relies on cookies or similar technology. Travelpayouts states that attribution and cookie duration can vary by program, so read the live program terms before making claims in your content.
Update your privacy policy if the widget or partner site collects identifiers, uses cookies, or redirects visitors to a booking provider. If your audience is in regions with consent requirements, configure your cookie banner so it handles third-party marketing or affiliate technologies correctly.
Add a clear affiliate disclosure near the first commercial recommendation. Keep it plain: you may earn a commission if a reader books through a qualifying link or tool, at no extra cost to them.
A click, search, or booking doesn’t guarantee a commission. Bookings can cancel, fail a program condition, fall outside the attribution window, or later reverse.
Measure the car rental widget after launch
Check reporting monthly. Separate widget visibility, bookings, pending rewards, approved rewards, reversals, and paid earnings. The available labels can vary by program.
Keep one spreadsheet row for each page, traffic source, program, SubID, and reporting period. Record the page URL, clicks or widget events, pending rewards, approved rewards, reversals, and payment date.
Use this calculation:
Net affiliate earnings = approved percentage rewards + approved fixed rewards – reversals
Compare pages using approved EPC
Clicks don’t tell you whether a page is commercially useful. Calculate approved earnings per click using the same date range:
Approved EPC = approved earnings / outbound clicks
A page with 120 clicks and $48 in approved earnings has stronger value than a page with 1,000 clicks and $30 in approved earnings. Update the stronger page, add internal links to it, and build related destination content.
Don’t overwrite a commission when it changes. Add an adjustment row with the date and reason. Cancellations and reversals are part of travel affiliate reporting.
Dashboard labels, program terms, and widget options can change. Check the current Travelpayouts program documentation before changing your setup or forecasting revenue.
Final checks before you scale
A working car rental widget needs more than pasted code. It needs the correct program, a clear page-to-offer match, responsive placement, privacy controls, and a verified attribution path.
Start with one destination page and one SubID. Track approved earnings, not hopeful dashboard totals. The pages that produce confirmed value are the pages worth expanding.

