Install a Travelpayouts Hotel Widget on Your Site
A hotel search box can turn a useful destination guide into a page where readers can compare stays and continue to a booking partner. The Travelpayouts hotel widget gives you that booking path without building a search engine. You generate...

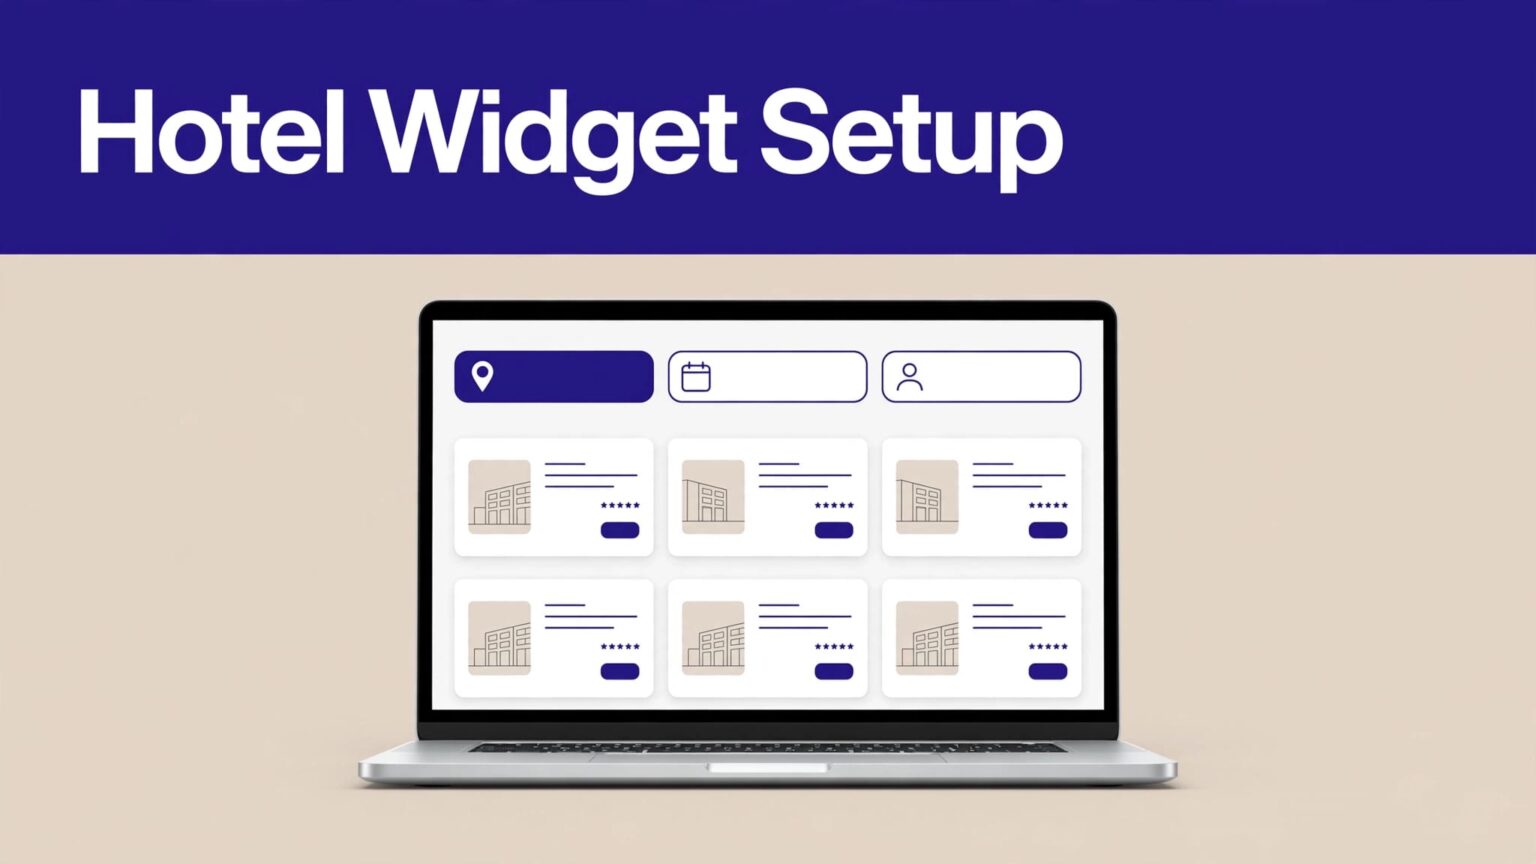
A hotel search box can turn a useful destination guide into a page where readers can compare stays and continue to a booking partner.
The Travelpayouts hotel widget gives you that booking path without building a search engine. You generate the widget in your account, copy the code, and paste it into a page that accepts third-party scripts.
The setup takes minutes. The checks after installation matter more.
CHECK YOUR ACCOUNT AND PAGE BEFORE YOU START
You need an active Travelpayouts account and access to the relevant affiliate program before the widget tools appear. Widget availability is tied to connected programs, not only to your account.
Travelpayouts groups these tools under Programs, Tools, and Widgets. Its widget overview lists a responsive Search form widget and a Widget for exact hotel. Use the search form when readers need to choose a city and dates. Use an exact-hotel widget when your page recommends one property.
Choose the page with booking intent
Place a hotel search form where a reader is close to planning a stay. Destination guides, neighborhood pages, itinerary articles, and hotel roundups are strong options.
Avoid placing it at the top of a broad travel story with no lodging context. A reader searching for “things to do in Lisbon” may not be ready to book a room. A reader comparing Baixa and Alfama hotels is different.
Match the widget to the page promise. If the guide is about family hotels in Tokyo, introduce the search block after the hotel advice. The visitor then has a reason to use it.
Confirm your editor can accept scripts
The generated Travelpayouts code usually includes a script tag. Your website must allow third-party JavaScript in the location where you plan to place the widget.
Rich-text editors often strip scripts for security. A normal paragraph block is not the right place. You need an HTML, Custom HTML, Code, Embed, or equivalent block.
Paste the complete generated widget snippet. Removing the script tag or editing its tracking values can stop the form from loading or break attribution.
CREATE THE TRAVELPAYOUTS HOTEL WIDGET CODE
Start inside your Travelpayouts account. Open Programs, select the connected travel brand or use its Tools button, then open Widgets.
Choose the hotel-related search form available for that program. Some widgets have a Set up button. Others are pre-configured and only show Get the Code. Travelpayouts explains this flow in its widgets setup guide.
Configure only the options you need
A configurable widget may let you select language, currency, colors, layout, and other presentation details. Use settings that match your site.
Set the display language to match the article. Choose a currency your readers recognize. A US-focused guide can use USD. A page for UK readers can use GBP when that choice is available.
Keep the first version simple. A plain form with readable labels usually beats a heavily branded box that looks disconnected from the page.
When the widget dialog includes a Project selector, select the website or project where the code will run. This keeps reporting organized when you manage more than one site.
Add a useful SubID before copying code
Use the SubID field if it appears in the widget dialog. A SubID is your own tracking label. It helps separate performance by page, section, placement, or traffic test.
Use names that stay readable six months later:
lisbon-hotels-topfor a search form near the start of a Lisbon hotel guide.italy-itinerary-sidebarfor a desktop sidebar placement.tokyo-family-hotels-inlinefor a form placed after family-hotel recommendations.
Don’t use a new SubID for every small copy edit. Keep the label tied to a meaningful placement or page group. You need enough data before comparing results.
Click Get the Code or Copy Code after configuration. Save the original snippet in a document before pasting it into your CMS. That gives you a known-good version if an editor changes or strips the code later.
PASTE THE WIDGET CODE IN THE RIGHT PLACE
The safest placement is inside the article body, below a relevant paragraph and above the next major section. This keeps the search form near the decision it supports.
For example, place it below a section that explains the best area to stay in Barcelona. Do not bury it after the conclusion where few readers will see it.
Add it to a plain HTML website
Open the HTML file or template that renders the target page. Find the exact location where the search form should appear.
Paste the entire generated widget snippet inside the page’s <body> section. Put it between the surrounding content elements, not inside the <head> area.
For a blog template, that usually means placing it after the article paragraph that introduces hotel options. Publish the file, clear any site cache, then load the live URL in a private browser window.
Don’t paste the snippet into a site-wide header unless you want it on every page. A repeated site-wide widget can distract readers and make performance reporting harder to interpret.
Add it in WordPress, Elementor, Wix, or Webflow
In the WordPress Block Editor, add a Custom HTML block where the widget should appear. Paste the complete code into that block. Preview the page before publishing.
If you use the Classic Editor, switch from the Visual tab to the Text tab. Paste the code at the intended article position. Switching back to Visual mode can alter scripts on some setups, so check the published page.
Elementor users should add an HTML widget, then paste the full Travelpayouts snippet into its code field. Place it in a full-width or single-column section when the search form needs room.
In Wix, use an Embed Code element that accepts custom code. In Webflow, use an Embed element. In both platforms, publish the page and test the live version. Designer previews do not always execute third-party scripts the same way as a public page.
Use a code-capable block. Don’t paste the snippet into a button, text field, image caption, or custom CSS panel.
Use the correct location for White Label Web
White Label Web uses a different placement method. Open White Label Web settings in your Travelpayouts account, then select Custom HTML code.
Find the tpwl__content tag and paste the generated hotel widget code inside that area. Travelpayouts’ White Label placement instructions state that this option is available for Page-type White Labels, not Widget-type White Labels.
A White Label hotel widget is usually a supporting block below the main search form. Don’t replace core page markup unless you know how the template works.
MAKE THE HOTEL SEARCH FORM WORK ON MOBILE
Most travel readers research on a phone. They switch between maps, airline emails, group chats, and browser tabs. Your widget needs to load cleanly in that environment.
Travelpayouts describes its Search form widget as responsive. That does not remove the need to test your own page layout.
Give the widget room to render
Place the form in a container that can use the full width of the article column. Avoid narrow sidebars, split columns, and containers with fixed pixel widths.
A 320-pixel phone screen exposes layout problems fast. A form that looks good inside a 1,200-pixel desktop container can wrap labels, crop buttons, or force horizontal scrolling on mobile.
Check these points after publishing:
- The city field, dates, and search button remain visible without sideways scrolling.
- Text is readable at normal phone zoom.
- The search button is easy to tap.
- The widget does not overlap a cookie banner, sticky header, or chat button.
- The page does not jump after the form loads.
If the form is cramped, move it below the main content column. Don’t hide it with CSS before you confirm whether the generated widget supports the layout you want.
SET UP TRACKING, DISCLOSURES, AND PRIVACY
A Travelpayouts hotel widget is an affiliate tool. Readers who search or click can be sent to an advertiser’s booking page. Your content needs a clear affiliate disclosure near the relevant recommendation or in a visible site-wide disclosure area.
Use plain language. For example: “This page may contain affiliate links. We may earn a commission if you book through them, at no extra cost to you.”
Track approved earnings, not only clicks
Clicks show interest. They do not confirm income. Hotel bookings can remain pending, cancel, reverse, or fail program conditions.
Review your reports by the program’s actual labels, which may include Earnings, Reward, or Affiliate Reward. Separate pending amounts from approved amounts in your own reporting.
Track at least these fields for each important placement:
| Metric | What it tells you |
|---|---|
| Page URL | Which content creates searches and clicks |
| SubID | Which widget position or content group performs |
| Clicks | Whether readers use the hotel form |
| Pending rewards | Potential earnings still under review |
| Approved rewards | Earnings that count as confirmed |
| Reversals | Bookings or rewards later removed |
A page with fewer clicks can outperform a high-traffic page if it produces more approved rewards per visitor. Keep the original report record when a reward changes. Add a correction row for reversals instead of overwriting the earlier number.
Treat privacy as a site-level responsibility
The Travelpayouts widget documentation does not state a separate consent rule for hotel widgets. That does not remove your obligations under the privacy laws that apply to your visitors.
Review what your privacy policy says about third-party embeds, affiliate links, cookies, and data sharing. Check your consent platform before loading marketing or third-party scripts for visitors in regulated regions.
Don’t state that the widget is cookie-free unless Travelpayouts and the booking partner confirm it in current documentation. Your site, analytics tools, and consent setup may also affect what loads on the page.
If your team needs a review of affiliate tracking, disclosure placement, and conversion reporting, Book A Call before rolling the widget across a large content library.
TEST THE WIDGET BEFORE YOU PROMOTE THE PAGE
A published form is not proof that tracking works. Test the visitor path and record what you checked.
Open the live page in an incognito or private browser window. Run a hotel search with a real destination and future dates. Confirm that the results page opens and that the search values transfer correctly.
Test the page under normal conditions
Check desktop and mobile. Use at least one current Chrome-based browser and Safari on an iPhone if your audience uses iOS.
Test with your cookie banner visible. Test after accepting or declining optional categories, based on your consent setup. A banner that covers the button can destroy a good placement.
Also check caching and optimization plugins. Script-delay tools, JavaScript minification, and content security policies can block third-party code. If the widget disappears after a performance plugin update, compare the current page source with your saved original snippet.
Keep a small installation record
Record the page URL, installation date, widget type, selected project, SubID, and the person who tested it. Add a screenshot of the working desktop and mobile version.
Review the result after the page receives enough traffic to make the data useful. Don’t move the widget every few days. You need a stable placement before you can compare clicks and approved rewards.
If the widget fails, restore the last working snippet first. Then check the CMS editor, script optimizer, browser console, and current Travelpayouts settings. Change one factor at a time.
FINAL THOUGHTS
A Travelpayouts hotel search widget works when it sits on a page with real booking intent, loads on mobile, and carries a tracking label you can read later.
Generate the code in Programs > Tools > Widgets, place the full snippet in a script-capable editor block, and test the live booking path before driving traffic.
The useful measure is not how many widgets you publish. It is how many placements produce reliable searches, clicks, and approved rewards.

