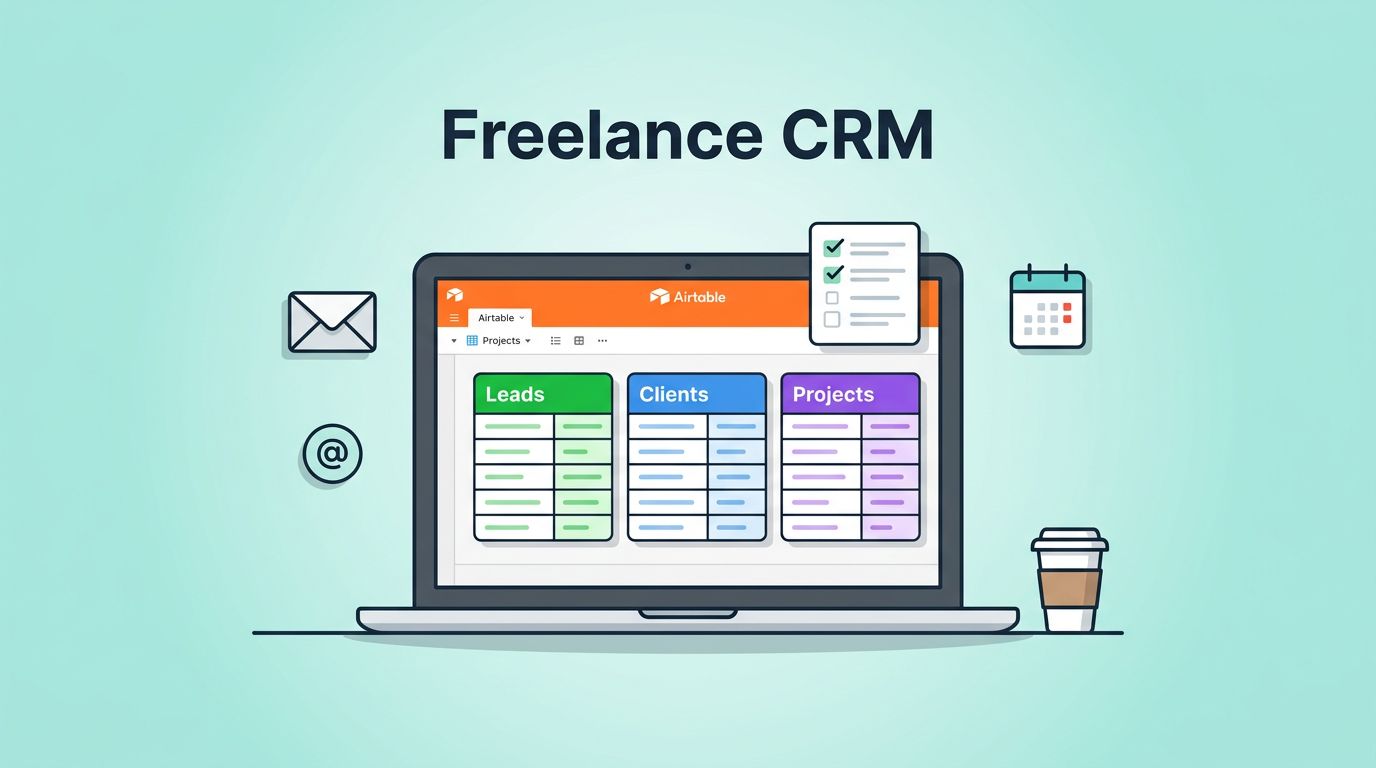
I start every freelance CRM Airtable build with one simple rule, if I can’t spot the next action fast, the setup is too messy. A clean base helps me track leads, clients, projects, and follow-ups in one place, which matters when a new inquiry lands during a packed week.
That matters even more for freelancers and small service businesses, because one missed follow-up can turn into lost work. I keep the system light at first, then add structure only where it saves time.
Start with the smallest CRM that still works
I like to build one base, not a stack of separate spreadsheets. That keeps the sales side and the delivery side close together.
The simplest version of a freelance CRM in Airtable needs three core tables, plus one optional table for follow-ups. I usually sketch the structure before I touch any fields. That saves me from rebuilding later.
| Table | Why I use it | Suggested fields |
|---|---|---|
| Leads | New inquiries land here first | Name, Email, Source, Status, Next Action, Date Added |
| Clients | Paid work and active accounts live here | Client Name, Main Contact, Email, Billing Notes, Active Project |
| Projects | Delivery work stays visible here | Project Name, Client, Stage, Due Date, Budget, Priority |
| Follow-ups | This keeps tasks from hiding in notes | Related Record, Task, Due Date, Done, Notes |
I keep Status and Stage as single select fields. That gives me clean filters and simple reports. I also use linked records for Client and Project, because repeated names become a mess fast.
If a field doesn’t help me choose the next move, I leave it out.
For a broader example of table planning, I sometimes compare my setup with Airtable’s freelancer CRM example. It shows the same idea in a different workflow.


Build the Leads table first
The Leads table is where everything starts, so I make it easy to scan. I want to know who reached out, where they came from, and what I need to do next.
I usually add these fields first:
- Name for the lead or company contact.
- Email so I can reply without hunting.
- Source for the channel, like referral, website form, or LinkedIn.
- Status for the current step, such as New, Contacted, Discovery Booked, Proposal Sent, Won, or Lost.
- Next Action for the one task that keeps the lead moving.
- Date Added so I can see old leads that need attention.
The most important part is Next Action. Without it, the table becomes a contact list, not a CRM. I want every lead to tell me what happens next.
I also use a form connected to this table. That gives me one intake link for my website, email signature, or social profile. If a lead comes in through a form, it lands in the same system as referrals and manual entries.
If I want a second build reference, I check this step-by-step Airtable CRM guide. It’s useful when I want to compare table choices before I lock mine in.

Link clients, projects, and follow-ups
Once the Leads table works, I connect the rest of the base. That is where Airtable starts feeling like a real CRM instead of a notebook.
My usual flow looks like this:
- Leads become clients after the work is signed.
- Clients link to one or more projects.
- Follow-ups link back to the lead, client, or project that needs attention.
I keep the Clients table focused on relationship details. That means billing notes, preferred contact method, contract dates, and any details I need before sending an invoice or starting new work. I do not stuff every project note into this table.
The Projects table is where delivery lives. I use Stage, Due Date, Priority, and sometimes Budget. If I work with retainers, I also add a simple Billing Cycle field. That gives me a quick view of active work without opening every record.
For follow-ups, I like a tiny table with a few clear fields. Task, Due Date, and Done are enough at the start. If I need more, I add notes later. I often link follow-up tasks to the related client record, so nothing gets lost in a list of loose reminders.
This is also where a small business can save hours. A client handoff, a payment reminder, and a project check-in can all sit in one linked chain. If I want another plain example of this structure, I sometimes read Airtable CRM build guide and borrow only the parts that fit my workflow.

Add views, forms, and automations that save time
After the base is linked, I build views that match how I work. This keeps the CRM useful day to day.
The views I reach for most are:
- New Leads for fresh inquiries.
- Follow-up Today for anything due now.
- Active Projects for work in progress.
- Won Clients for accounts that are ready for delivery or upsell.
Filtered views stop me from drowning in one giant table. They also help me focus on one task type at a time. For example, I can open the Follow-up Today view each morning and move down the list without scanning old records.
Then I add a few simple automations. I might create a reminder when a lead moves to Proposal Sent. I might also trigger a task when a project stage changes to In Review. Small automations matter because they reduce the number of places I have to remember things.
Reporting can stay simple, too. I group leads by status, count projects by stage, and watch which source brings the best work. That gives me a clear picture without building a heavy dashboard.
Keep your CRM light enough to use every day
The best freelance CRM in Airtable is the one I keep open, not the one I admire once and forget. If the base stays small, I can update it after a call, before a proposal, or while a project is still fresh.
I build for speed first, then add detail only when the work demands it. That keeps the system easy to trust, and a CRM only works when I trust what I see.
If you want the payoff in one sentence, it’s this, less clutter means faster follow-up. That’s how a simple Airtable base turns into a steady part of the way I work.