Run Teleprompter Text To Speech With Speechify
Producing polished video scripts takes time, and recording them without sounding robotic is even harder. Staring down a camera lens while trying to remember lines creates instant friction. When you pair a robust text-to-speech engine with y...
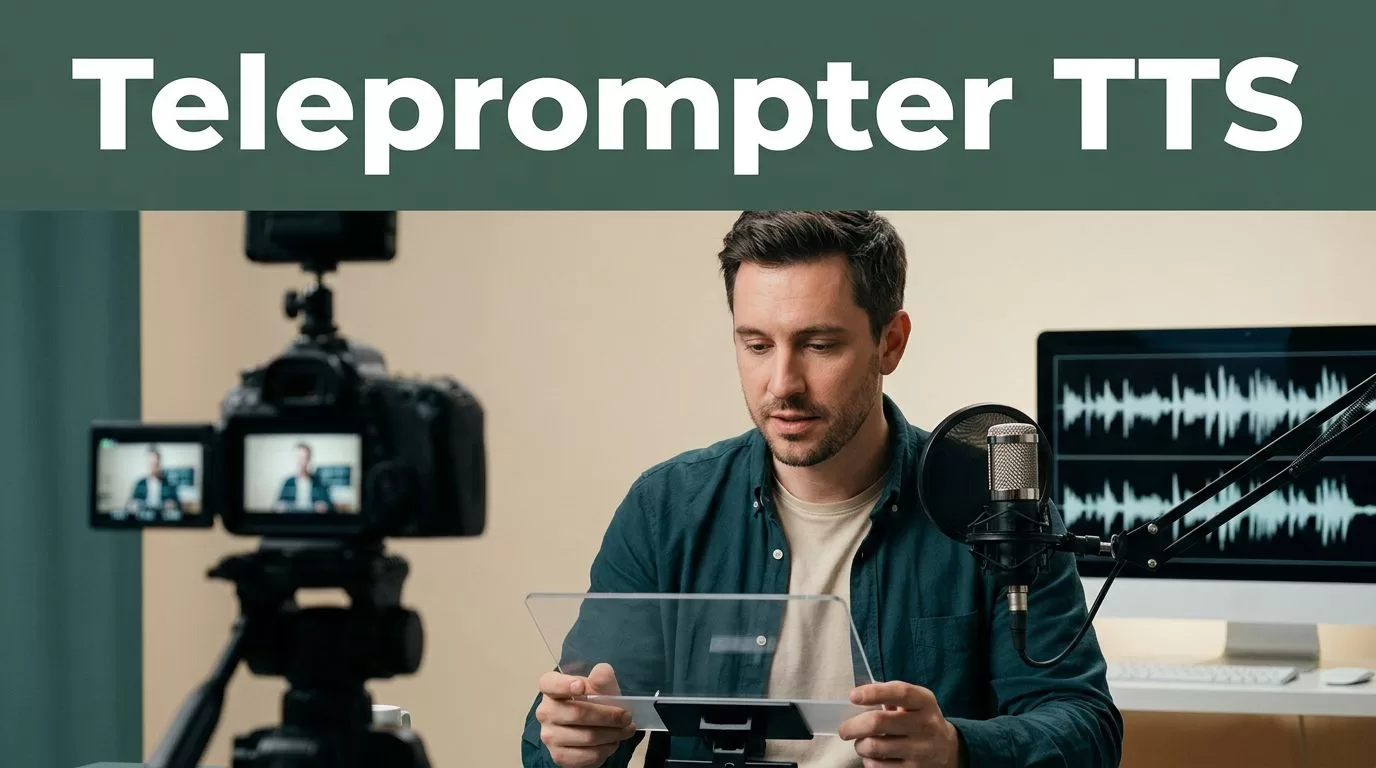
Producing polished video scripts takes time, and recording them without sounding robotic is even harder. Staring down a camera lens while trying to remember lines creates instant friction. When you pair a robust text-to-speech engine with your daily video production workflow, you eliminate the guesswork of script pacing and tone.
This guide shows you how to use Speechify teleprompter text to speech workflows to generate natural audio, structure your scripts, and record with absolute confidence. Let’s break down the exact operational steps to streamline your next recording session.
Key Takeaways
- Convert raw scripts into ultra-realistic audio files using Speechify voice generation to test pacing before you record.
- Organize your script files into dedicated digital folders to prevent context switching and keep your production queue structured.
- Export finished audio tracks in standard formats like MP3 or WAV to drop straight into your video editor or teleprompter app.
- Enable synchronized word highlighting during your audio review to catch awkward phrasing and tongue-twisters before hitting the studio.
Understanding the Speechify Audio Generation Pipeline
Speechify operates primarily as a text-to-speech platform and voice workspace rather than a basic reader. You paste or upload your script, select an AI voice model, and generate high-fidelity audio. For a deeper look at the core platform capabilities, review Speechify’s official platform guide.
When you convert a video script into spoken audio first, you hear exactly how your sentences flow. Sentences that look fine on paper often sound clunky when spoken aloud. Listening to the generated voice allows you to trim long clauses, fix rhythm issues, and adjust breathing points before you turn on your camera.
Listening to your script read aloud exposes hidden phrasing errors and awkward pacing that silent proofreading always misses.
Creators often struggle with reading speed. You can test your script at different playback rates to ensure your delivery matches your target video length. For more context on how these tools affect auditory intake, explore this breakdown of text-to-speech tools.
Preparing Your Script for Voice Generation
Good audio output starts with clean text formatting. If your script contains messy line breaks or run-on paragraphs, the speech engine will pause awkwardly or rush through critical points.
Break your script into short paragraphs that match natural breath groups. When you import your text into Speechify, organize your files into dedicated library folders by project name or video topic. This keeps your production queue structured and prevents context switching when you manage multiple client revisions or weekly content schedules.
You can also use the Chrome extension to pull text from web pages, outlines, or Google Docs directly into your workspace. If you want to explore specialized workflows for dramatic or dialogue-heavy scripts, check out this guide on how to use Speechify for screenplays.
Recording Workflow Overview
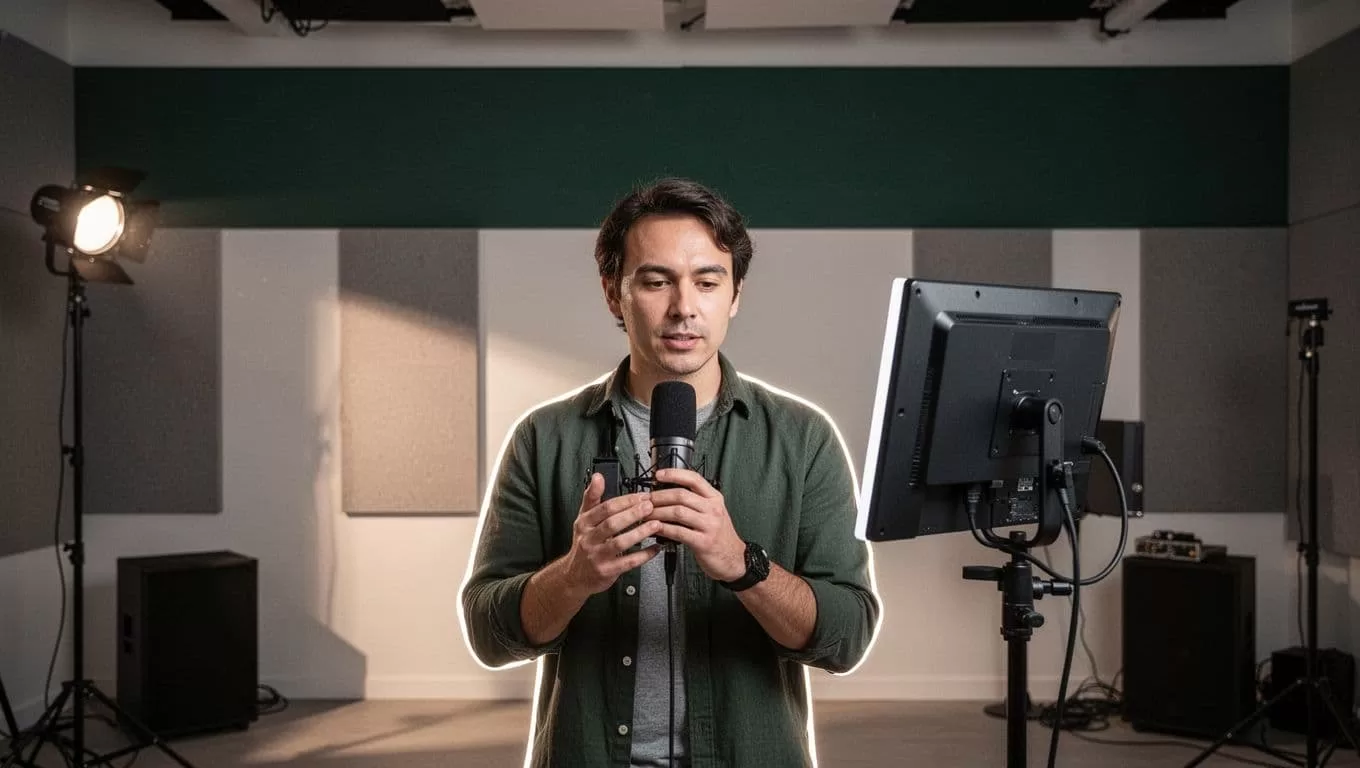
Transitioning from a text script to a recorded video requires a repeatable sequence. You generate the audio reference, adjust your delivery, and export the file for your editing timeline.
- Paste your finalized video script into your Speechify workspace or Voiceover Studio dashboard.
- Select a natural-sounding voice model that matches your brand tone and audience expectations.
- Listen to the generated audio while enabling synchronized text highlighting to check word pacing.
- Export your finished audio file in your preferred format to use as a pacing track or voiceover guide.
According to official product documentation, you can export either individual text blocks or entire files as audio. For a single text box, open the three-dot menu and select export. For the full project, use the primary export button in the top right corner. The platform supports standard formats like .wav, .ogg, and .mp3.
Fine-Tuning Voice Settings and Pacing
Voice selection dictates whether your generated script sounds professional or robotic. Spend time testing different voice models until you find one that fits your delivery style.
Adjust your playback speed gradually during the review phase. Start at normal speed to check comprehension and clarity, then scale upward if you want to test how tight your script sounds at a faster cadence. If you notice your mind wandering or detect clipped syllables, dial the speed back down.
When you need a script voice generator that handles heavy formatting and multi-paragraph layouts, you can review options on the Speechify screenplay voice generator page. Matching your audio pacing to your physical speaking ability ensures you won’t stumble when reading your final lines on camera.
Conclusion
Producing confident video content relies on eliminating friction between your written script and your verbal delivery. By using text-to-speech audio generation to test your pacing, organizing your scripts into clean project folders, and exporting polished voice files, you build a reliable production pipeline. Audit your current script workflow, test your next video draft in Speechify, and record your next project with total clarity.
