Change Speechify Voice Pitch Settings in Studio
A voice can be clear and accurate but still sound wrong for your project. Pitch controls whether an AI voice sounds higher, lower, warmer, sharper, or more natural. Speechify handles this differently across its products. Direct pitch adjust...

A voice can be clear and accurate but still sound wrong for your project. Pitch controls whether an AI voice sounds higher, lower, warmer, sharper, or more natural.
Speechify handles this differently across its products. Direct pitch adjustment is available in Speechify Voiceover Studio, but the standard reading app may not show the same control. Use the correct workspace first, then adjust pitch without confusing it with speed or volume.
Key Takeaways
- Speechify’s direct pitch slider is available in Voiceover Studio.
- Pitch changes the perceived highness or lowness of a voice.
- Speed and volume are separate controls.
- Pitch can apply to individual text boxes in Studio.
- Availability may vary by platform, plan, and selected voice.
Identify Where Speechify Pitch Controls Are Available
Speechify has more than one voice product. The reading app focuses on listening to articles, documents, and web pages. Voiceover Studio focuses on creating narrated audio and video.
That difference matters. If you’re listening to a document in the regular Speechify app, you may see controls for voice selection, reading speed, and playback. You may not see a dedicated pitch slider. Don’t treat a missing control as a software error before checking the product you’re using.
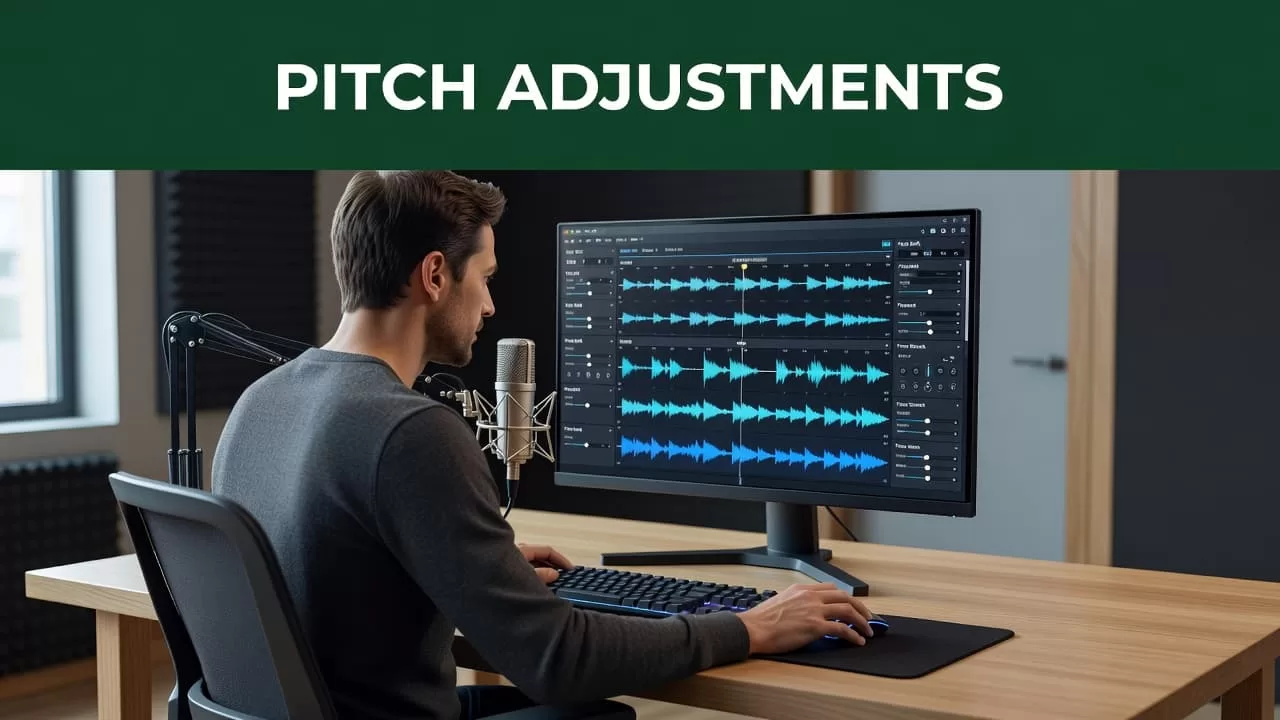
Speechify’s current Voiceover Studio workflow includes an edit voice toolbar. The toolbar appears after you select the voice icon next to a text box. It includes controls for speed, volume, and pitch. The pitch control changes the voice’s register, while the other sliders affect timing and loudness.
If your goal is voice production, use Voiceover Studio. If your goal is personal listening, the available playback controls may be more limited.
The exact interface can change by platform, subscription, voice model, or account. A voice available in Studio may expose different settings than a voice in the reader app. Browser access also tends to show more production controls than mobile playback screens.
For a visual introduction to the workspace, review this Speechify Voice Studio beginner guide. Use it to confirm that you’re working in the correct product before troubleshooting pitch settings.
How to Change Voice Pitch in Speechify Studio
Follow these steps in the browser-based Voiceover Studio.
- Open a Studio project. Create a new project or open an existing script. Add the text you want Speechify to narrate.
- Select the voice. Click the voice option beside the relevant text box. Choose an AI voice from the available library. The selected voice determines which editing controls appear.
- Open the edit voice toolbar. Look on the right side of the Studio interface. You should see controls for speed, volume, and pitch.
- Move the Pitch slider. Drag the control toward the higher or lower setting. Make small changes first. A slight adjustment usually sounds more usable than a large shift.
- Preview the text box. Listen to the same sentence several times. Check pronunciation, vocal weight, and the way the voice handles pauses.
- Apply settings by text box. Studio supports separate voice adjustments for individual text boxes. Use this when a narrator needs a different tone for a quote, warning, character line, or section heading.
- Use the Advanced tab when available. Some Studio workflows let you enter pitch as a percentage instead of relying only on the slider. A setting such as minus 5% creates a lower variation without changing the selected voice.
Preview each change before exporting. Pitch affects how the words feel, but it doesn’t fix poor punctuation or incorrect pronunciation. If the narration still sounds unnatural, revise the script and test the voice again.
This Speechify Studio walkthrough on pitch and tone covers the same production controls, including speed and pitch adjustments. Interface labels may differ slightly from your account.
Set Pitch for Listening, Narration, and Accessibility
The right pitch depends on the job. Don’t select a setting because it sounds impressive for five seconds. Select one that stays comfortable across the entire script.
For personal listening, begin with a small change. A lower pitch may make a voice feel less sharp. A higher pitch may improve clarity for some listeners. Test a full paragraph instead of a single sentence.
For business narration, keep the voice consistent. Use one pitch for most of the script, then create small variations only when the content needs them. Training videos, product explainers, and internal presentations usually benefit from a stable narrator.
For character dialogue, separate text boxes help. Assign a different voice or pitch to each speaker. Keep the changes controlled so listeners can identify speakers without hearing an exaggerated effect.
For accessibility, comfort comes first. A voice that is easy to follow at one speed may become tiring at another pitch. Test pitch and speed together, but change one setting at a time. This makes it easier to identify what improved or reduced clarity.
Pitch isn’t the same as tone. Speechify may not provide a separate tone control in every workspace. The selected voice, pitch, speed, pauses, and pronunciation all shape the perceived tone.
A third-party Speechify text-to-speech guide also outlines the voice selection and reading-speed workflow. Treat outside guides as orientation only, because Speechify’s controls can change.
What to Do When the Pitch Slider Is Missing
Start with the product. If you’re in the standard reader app, switch to Voiceover Studio and open a project. The direct pitch control is documented for the Studio editing workflow, not every Speechify playback screen.
Next, check the selected voice. Some voices may expose different controls because Speechify supports multiple voice types and models. Change the voice temporarily and check whether the edit toolbar updates.
Then check your account and platform. A feature can depend on your plan, browser workspace, or current product version. Refresh the project, sign out and back in, and test Speechify in a supported desktop browser.
Don’t confuse the controls:
- Pitch changes how high or low the voice sounds.
- Speed changes how quickly the words play.
- Volume changes loudness.
- Voice selection changes the underlying speaker and vocal style.
Developers have another option. Speechify’s API supports pitch customization through SSML. That route requires an API workflow and isn’t the same as changing playback settings in the consumer reader.
Conclusion
Speechify voice pitch settings are most useful in Voiceover Studio, where you can adjust pitch beside speed and volume. Select a voice, open the edit toolbar, make a small change, and preview the result before exporting.
If the control isn’t visible, check the product, platform, plan, and selected voice. The practical rule is simple: use Studio for direct pitch control, and treat the standard reader as a playback tool with fewer voice-editing options.
