Webflow A/B Testing With Mida: A Practical Setup Guide
A polished Webflow page can still lose conversions because of one weak headline, one unclear button, or one extra form field. Guessing which change matters wastes traffic and creates opinions instead of evidence. Webflow A/B testing with Mi...

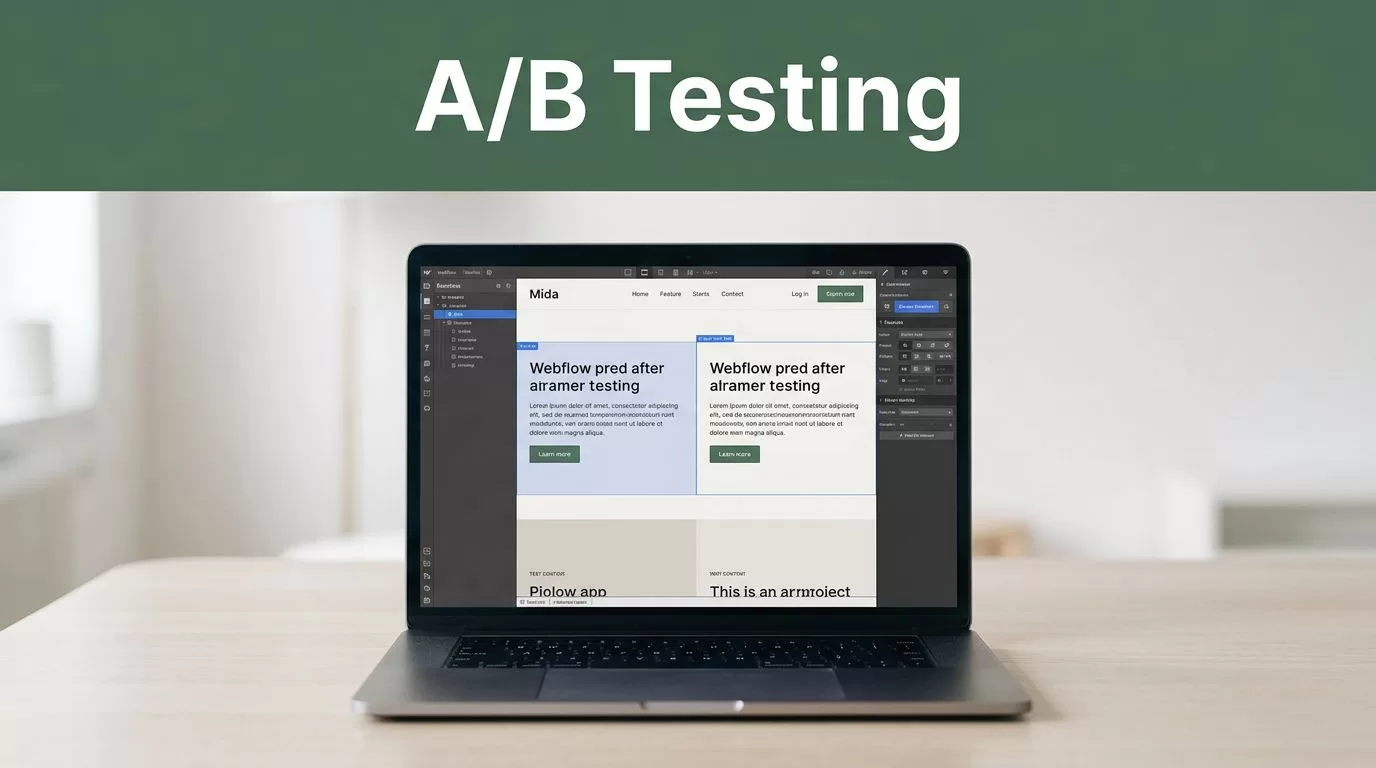
A polished Webflow page can still lose conversions because of one weak headline, one unclear button, or one extra form field. Guessing which change matters wastes traffic and creates opinions instead of evidence.
Webflow A/B testing with Mida gives you a controlled way to compare page variations. Webflow hosts the site and page structure. Mida handles experiment assignment, tracking, and results. This guide covers the setup, practical test ideas, and rules that keep your data useful.
Key Takeaways
- Mida runs the experiment on your Webflow site. Webflow does not control the split.
- Add Mida’s tracking snippet through Webflow’s site-wide custom code settings.
- Test one main conversion idea at a time, with one primary goal.
- QA both variations before sending paid or organic traffic to the test.
- Keep the experiment running long enough to account for normal traffic changes.
How Mida Works With Webflow
Webflow gives you the visual site builder, CMS, hosting, forms, and responsive layouts. Mida adds the experimentation layer. It assigns visitors to different versions of a page and records how those visitors behave.
This distinction matters. You aren’t creating a native Webflow A/B test inside the Webflow Designer. You build the page in Webflow, then use Mida to change or compare the live experience.
| Webflow handles | Mida handles |
|---|---|
| Page structure and content | Visitor assignment |
| Styles, layouts, and CMS data | Variation delivery |
| Forms and interactions | Goal and conversion tracking |
| Hosting and publishing | Experiment reporting |
Mida’s A/B testing platform is designed for teams that need to test live websites without rebuilding their entire site. You can keep your existing Webflow project and add experiments around specific pages.
The usual process is straightforward:
- Create a Mida project for the Webflow site.
- Add Mida’s tracking code to Webflow.
- Publish the site.
- Create an experiment and select the target page.
- Build the control and variation.
- Define the conversion goal.
- Run the test and review the results.
Mida needs to load on the page before it can identify visitors and apply the experiment. Add the script site-wide unless you have a clear reason to limit it to selected pages. Site-wide installation gives you more flexibility when testing landing pages, pricing pages, signup flows, and CMS templates later.
Don’t add multiple analytics snippets while troubleshooting. Confirm which tool owns the test, which tool records the goal, and whether both tools use the same page or event definition.
Install Mida on a Webflow Site
Start with the installation instructions inside your Mida account. Copy the project-specific snippet provided by Mida. Don’t rewrite the code or replace it with a generic script found in another project.
In Webflow, open the site settings and go to the custom code area. Paste the Mida snippet into the Head code field. Webflow’s custom code guidance covers where site-wide scripts belong and how publishing affects them.
The head placement is important because Mida may need to load before the page interaction you want to measure. A footer script can work for some tracking tasks, but it may load too late for an experiment that changes visible content.
Use this deployment sequence:
- Open the Mida project and copy the installation snippet.
- Add it to Webflow’s site-wide Head code field.
- Save the site settings.
- Publish the site to the domain where visitors will run the test.
- Open the live page in a private browser window.
- Return to Mida and confirm that the project receives activity.
A saved script is not the same as a deployed script. Webflow changes normally need to be published before visitors can receive them. Test the published URL, not only the Designer preview.
Check the browser console if Mida doesn’t detect the page. Look for blocked scripts, consent settings, content security rules, ad blockers, or a snippet added to the wrong Webflow project. If your site uses a consent management platform, decide whether experimentation can load before consent and configure both tools according to your legal requirements.
You also need to check the page on mobile. A variation can look correct on desktop and fail because of a wrapped headline, a hidden button, a broken interaction, or a form that no longer submits.
Mida should be installed once at the site level. The experiment itself should control which pages and visitors receive a variation.
Don’t install the same project snippet in multiple custom code fields. Duplicate installation can produce duplicate events or confusing visitor counts. Remove old testing scripts from previous platforms before you start.
Build Your First Webflow Experiment
Choose a page with a clear business action. A landing page with a demo form, signup button, checkout action, or contact request is easier to measure than a page with several unrelated goals.
Write the hypothesis before you change the design. Use a simple format:
Changing [page element] for [audience] will improve [primary action] because [reason].
For example, a B2B software company might test a headline that names the user’s operational problem instead of describing the product. The primary goal could be completed demo requests. The hypothesis gives the test a decision rule before the results influence your judgment.
Practical Webflow landing page tests
Webflow pages give you several useful test areas:
- Hero headline: Compare a specific outcome with a broad product statement.
- Call-to-action copy: Test “Book a demo” against copy that describes the next step.
- Form length: Compare a short form with a form that asks for qualification details.
- Social proof placement: Move customer logos or a short testimonial closer to the primary CTA.
- Pricing presentation: Test a clearer package comparison or a different default plan.
- Page structure: Compare a shorter landing page with a version that answers common objections.
- Navigation: Test a focused landing page without extra exit links against the standard navigation.
Start with one meaningful change. If you change the headline, form, pricing, and layout at the same time, you may see a conversion difference without knowing what caused it.
Mida’s editor and experiment workflow may vary by account version. Follow the controls shown in your workspace to select the page, create the variation, and choose the goal. If the editor cannot select a Webflow element reliably, use a stable class, ID, or page selector rather than a generated element path.
Webflow interactions need extra testing. Hover effects, animations, tabs, sliders, and conditional visibility can depend on the original class structure. A text or style change may be safe. A structural change can break the interaction sequence.
Set a primary goal that directly matches the page’s purpose. Use completed forms instead of button clicks when the form submission is the real business outcome. Track a secondary event, such as CTA clicks or scroll depth, only when it helps explain the primary result.
Don’t count a page view as success for a lead-generation page. More views can indicate traffic quality, but they don’t prove that the page improved business performance.
Keep Webflow Test Results Reliable
Good A/B testing depends on traffic quality and test discipline. Mida can report the observed difference, but your setup determines whether that difference means anything.
Before launching, check five items:
- Both versions load on current desktop and mobile browsers.
- The main CTA works in each version.
- Form submissions reach the correct CRM or email destination.
- Analytics and Mida use the same conversion definition.
- No other campaign or site release changes the tested page.
Split traffic as evenly as your experiment design allows. Keep the audience definition stable. If paid traffic, returning users, and organic visitors behave differently, record those sources and review them as segments after the test has enough data.
Avoid stopping the test because one variation leads for a few hours. Early results can move sharply when the sample is small. A weekend, product launch, email campaign, or paid traffic change can also distort the result.
Use a sample-size estimate before launch. You need a baseline conversion rate, a minimum improvement worth acting on, and an estimate of daily visitors or conversions. A small page may need weeks to produce a useful result. A high-volume page may reach a decision sooner.
Set the test duration around your traffic pattern. Run through complete business cycles when possible. A B2B site may receive different visitors on Monday than on Saturday. A subscription site may need time for visitors to return and complete a delayed action.
Don’t run several tests on the same page unless you understand how the tools assign traffic. Overlapping experiments can contaminate each other’s results. If you must test multiple elements, use a planned multivariate design or test them in sequence.
When the result is available, review more than the winning percentage. Check the number of visitors, conversions, traffic sources, device types, and any implementation errors. A variation that wins only on one small segment needs more investigation before you make it the permanent page.
If Mida reports statistical significance, treat that result as evidence within the test conditions, not as a guarantee of future performance. A statistically significant difference can still be too small to justify a costly redesign. Compare the measured gain with the effort and risk of publishing the change.
Publish the Winner Without Losing the Learning
A completed experiment should leave a record. Store the hypothesis, page URL, audience, primary goal, launch date, result, and final decision. This prevents your team from repeating failed tests or forgetting why a page changed.
If the variation wins, reproduce the winning change in Webflow rather than depending on the experiment to run forever. Update the original page, publish it, and confirm that the live page matches the winning version.
Then decide whether to keep the Mida test active for a short verification period or archive it. Do not leave old experiments running without an owner. Old scripts, overlapping tests, and forgotten audiences can make later results harder to interpret.
If neither variation wins, keep the control. A neutral result is still useful when the test had enough traffic and a clear hypothesis. It tells you that the proposed change didn’t produce a measurable improvement under those conditions.
Use the result to choose the next test. If a shorter form improves completed submissions but lowers lead quality, review downstream CRM outcomes. If a new headline raises CTA clicks but not form completions, inspect the promise and the form experience together in a later test.
Conclusion
Webflow gives you control over the page. Mida gives you a structured way to compare page experiences and measure the result. The setup is simple, but the quality of the test depends on correct installation, a clear hypothesis, reliable conversion tracking, and enough traffic.
Start with one high-value Webflow landing page. Test one meaningful change. Publish the winning version only after the result survives basic QA and statistical review. That process turns page improvements into measured decisions instead of design preferences.

