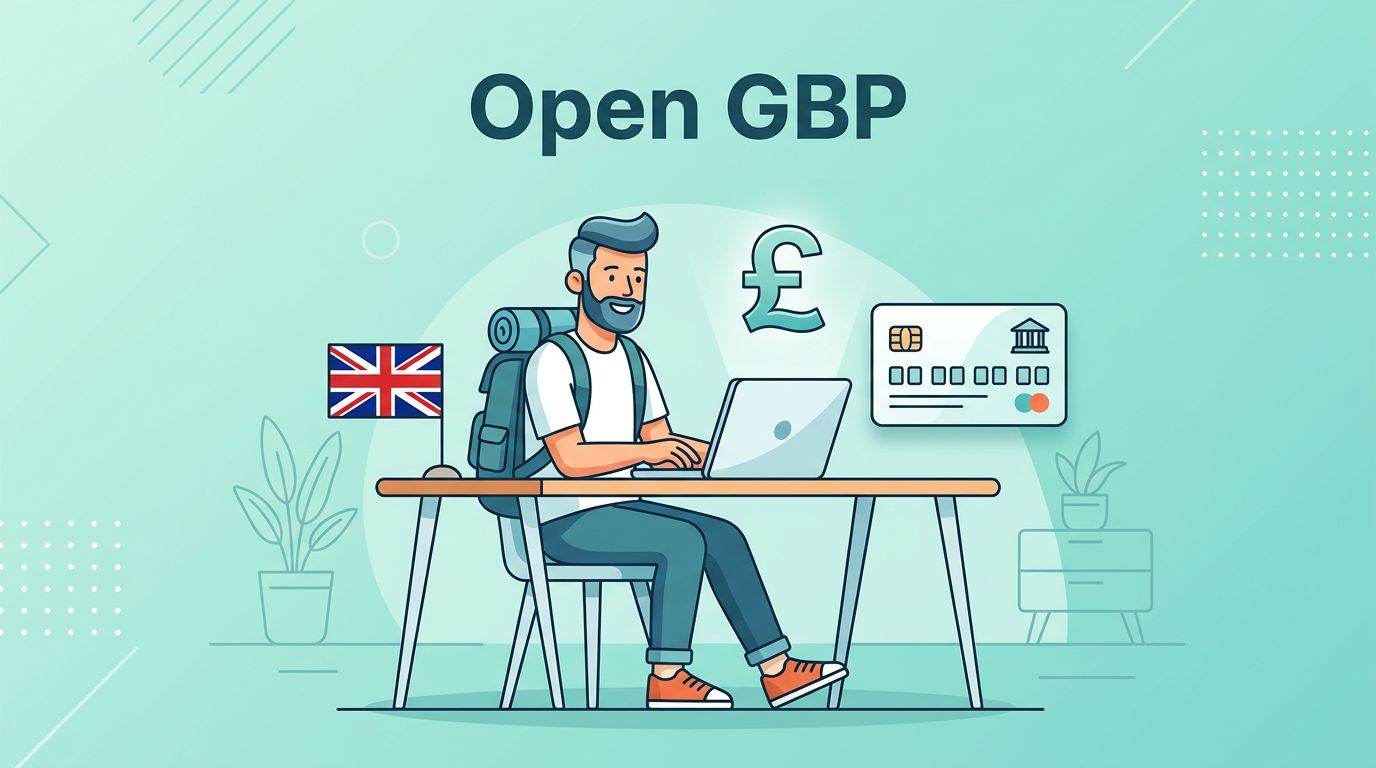
When I’m living out of a backpack, the “simple” tasks can turn into puzzles. Getting paid by a UK client through international money transfer from abroad. Paying a UK invoice. Setting up a subscription that insists on UK bank details. Those little friction points add up fast.
The good news is that a Wise GBP account can give me UK bank details I can use for GBP payments, without moving to the UK or visiting a branch. In this guide, I’ll walk through what you actually get with this multi-currency account, how to open it from abroad, and the limitations to check before you depend on it.
What you actually get with a Wise GBP account (and what you don’t)
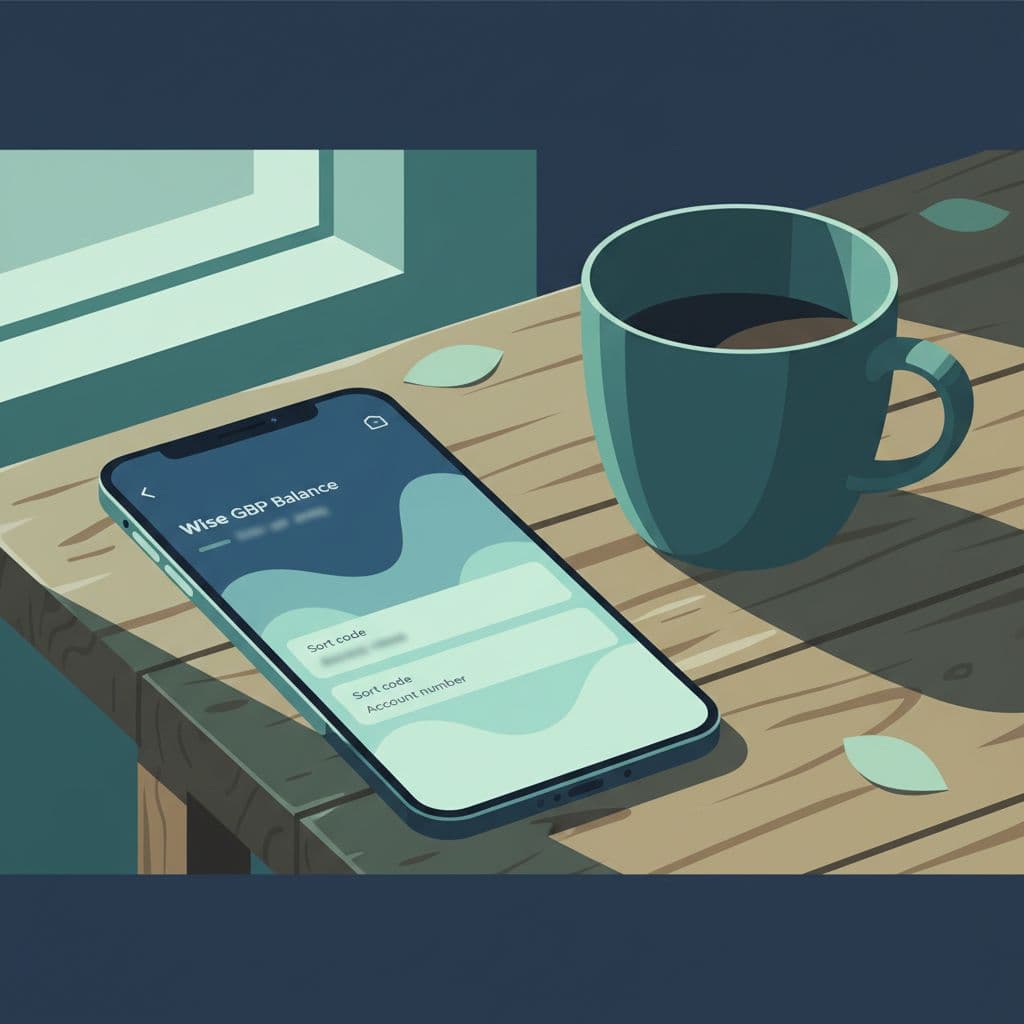
A Wise GBP balance comes with UK account details (typically an account number and sort code) that allow you to receive money in GBP like a local. These form part of Wise’s global account details, and for many digital nomads, that is the real win: the money arrives as a UK transfer, not as an expensive international wire.


Still, I treat it like a tool, not a fairy tale. Wise is a regulated multi-currency account provider that uses safeguarded funds to protect user balances. It is not a traditional local bank account found on a high street with branches, overdrafts, and loans. It focuses on holding, receiving, converting, and sending money across borders. That difference matters when a landlord, broker, or platform asks for a “UK bank account” and means something very specific.
Here’s the practical comparison I keep in mind:
| Feature | Wise GBP account | Traditional UK bank account |
|---|---|---|
| Open from outside the UK | Often possible (country-dependent) | Often difficult without UK residence |
| UK account details for GBP | Usually available | Yes |
| Branch access | No | Sometimes |
| Overdrafts/loans | No | Sometimes |
| Acceptance for strict checks | Varies by company | More widely accepted |
If you want a second perspective on how Wise fits into nomad life, I like this overview: Digital Nomad World’s 2026 Wise review. I don’t follow any single review blindly, but it helps set expectations.
Step-by-step: opening your Wise GBP account from abroad
Opening a Wise account feels more like setting up a secure app than opening a bank account in a suit-and-tie office. That said, identity checks are real, and I plan for them like I plan for airport security: have the documents ready, and don’t rush.
The setup steps I follow
- Create a Wise account using the Wise app (or on Wise.com). I choose Personal unless I truly need a business account.
- Enter my legal name and personal details. I match my ID exactly, including spacing and middle names.
- Add my current address (outside the UK is fine). Wise may ask for proof later, so I use an address I can document.
- Verify my identity, which may include 2-step verification or 2FA for security. This usually means a passport (or another accepted ID) plus a selfie or short video check.
- Upload proof of address if requested. A recent bank statement or utility bill often works, but requirements can vary.
- Open a GBP balance inside Wise. Once GBP is enabled, I look for the option to view account details.
- Check my GBP account details. I confirm I can see the sort code and account number, then I save them in a secure password manager.
As of March 2026, eligibility can depend on where I live. Some locations have special restrictions, and Wise updates availability over time. So I always confirm the latest rules inside the Wise app and Help Center before I plan around it.
For another walkthrough (and screenshots that can help if menus change), see Exiap’s step-by-step Wise guide.
Important: Even with UK details, I never promise a client, employer, or landlord that they’ll accept them. I ask what they require, then test with a small transfer first.
Using your UK account details for salary, rent, and client payments
Once my GBP details are live, I treat them like a set of keys. They can open doors, but only if the lock matches.

Getting paid in GBP (without the usual friction)
When a UK client asks for bank details, I share:
- Account holder name (mine, exactly as shown)
- Sort code
- Account number
- Sometimes a payment reference (especially for invoices)
This setup allows them to make bank transfers directly, so I can receive money in GBP seamlessly, without the usual friction.
If I’m dealing with payroll, I ask in advance whether they accept e-money account details. Some payroll providers are picky, even when the details look “normal.”
Paying UK bills and subscriptions
For rent, utilities, or online services, I usually have two options:
- Pay from the GBP balance using bank transfer
- Pay by debit card or digital card (if the merchant accepts cards and the Wise card is available to me)
I like keeping a small GBP buffer for recurring bills. It’s the money version of carrying a spare charger. When moving funds out of the GBP balance to other currencies or countries, I use international money transfer. The multi-currency card also shines as the physical tool for spending abroad.
Simple habits that prevent headaches
I’ve learned a few small habits that save time later:
- I keep my Wise profile updated (name, address, and phone number), because mismatches can slow verification.
- I avoid mixing personal and business flows. If I’m invoicing clients as a company, I consider a business account, but requirements differ.
- I don’t use Wise as my only lifeboat. I keep a backup way to get paid, because payment platforms can change rules fast.
If you want a nomad-focused checklist of what to expect during setup, this is a helpful companion read: Nomad Gate’s Wise account walkthrough.
Fees, limits, and gotchas I check before I rely on it
Wise is often inexpensive compared to old-school banking for core functions like sending money abroad, but “cheap” isn’t the same as “free.” Costs depend on what I’m doing: holding money, converting it, sending it, or receiving it. Wise emphasizes cost transparency by using the mid-market exchange rate without exchange rate markups.
The fee reality (in plain language)
- Opening and holding a personal account is typically free, with no monthly fee for many users.
- Currency conversion incurs conversion fees or foreign transaction fees that vary by currency pair and amount, but relies on the mid-market exchange rate (also called the mid-market rate) to avoid hidden exchange rate markups.
- Local GBP receiving is often free when it’s a standard UK transfer, but transaction fees can apply for certain routes or message types.
- Large transfers may include a transfer fee and trigger extra checks, which can slow things down even if nothing is wrong.
Because fees and limits can change, I always confirm the current numbers inside the Wise app before a big move.
Country and compliance limits matter more than most people think
Wise availability depends on my country or state of residence. Also, some countries can face pauses or extra limits at different times. That’s not personal, it’s compliance.
Here are the limitations I keep on my radar:
- Not a full bank: no overdrafts or credit products.
- ATM withdrawals: free up to a monthly limit, with transaction fees applying afterward.
- Acceptance varies: some institutions won’t accept e-money accounts for certain uses.
- Interest feature: available for holding balances in select currencies, but with eligibility rules.
- Verification isn’t optional: Wise may request more documents for higher activity.
- Business accounts differ: business setup and eligibility can require extra paperwork.
If I’m comparing options beyond Wise, I use guides like this as a starting point: UK bank account options for non-residents. Then I verify everything directly with the provider.
My rule: if the payment is important (salary, rent deposit, tax payment), I test the process early and keep a backup route.
Conclusion
A Wise GBP account is one of the easiest ways I’ve found to get UK-ready GBP details while living abroad. This reliable international account suits those using online banking to manage their finances globally. The setup is usually quick, but the smart move is planning for verification, country rules, and occasional acceptance issues. Before I depend on it for something time-sensitive, I confirm requirements in the Wise app and with the payer. Once fully verified and funded, it’s easy to send money abroad. If you’re nomading long-term, a calm, tested money setup beats a last-minute scramble every time.