How to Automate Menu Updates Across Platforms With Twin.so
A single menu change can create five separate tasks. Update the POS, website, delivery apps, ordering portal, and in-store screens. Miss one, and customers see the wrong price or order an unavailable item. To automate menu updates across th...

A single menu change can create five separate tasks. Update the POS, website, delivery apps, ordering portal, and in-store screens. Miss one, and customers see the wrong price or order an unavailable item. To automate menu updates across these channels, you need more than a connector. You need clean menu data, clear approval rules, and a way to verify every result.
Twin.so can fit into that workflow as an automation layer. It can help move approved menu changes through the systems your account and connected tools support. The exact process depends on its current connectors, permissions, and available actions. Build the workflow around confirmed capabilities, not assumptions.
Why Multi-Platform Menu Changes Fail
Most menu errors start with inconsistent source data. One manager edits a spreadsheet. Another changes the POS. A third updates a delivery app from a phone. Each platform then stores a different version of the menu.
The differences are easy to miss:
- An item has a new price on the website but not on a delivery app.
- A seasonal dish remains visible after the promotion ends.
- A modifier group exists on one channel but not another.
- A location sells out of an item, but the item stays available online.
- A menu description contains an allergen or ingredient error.
- A category name changes in the POS but fails to map to the ordering platform.
The problem gets worse across multiple locations. A price may be correct for one restaurant but wrong for another. A breakfast menu may apply only during certain hours. A central update can overwrite a local exception if the workflow doesn’t protect location-level settings.
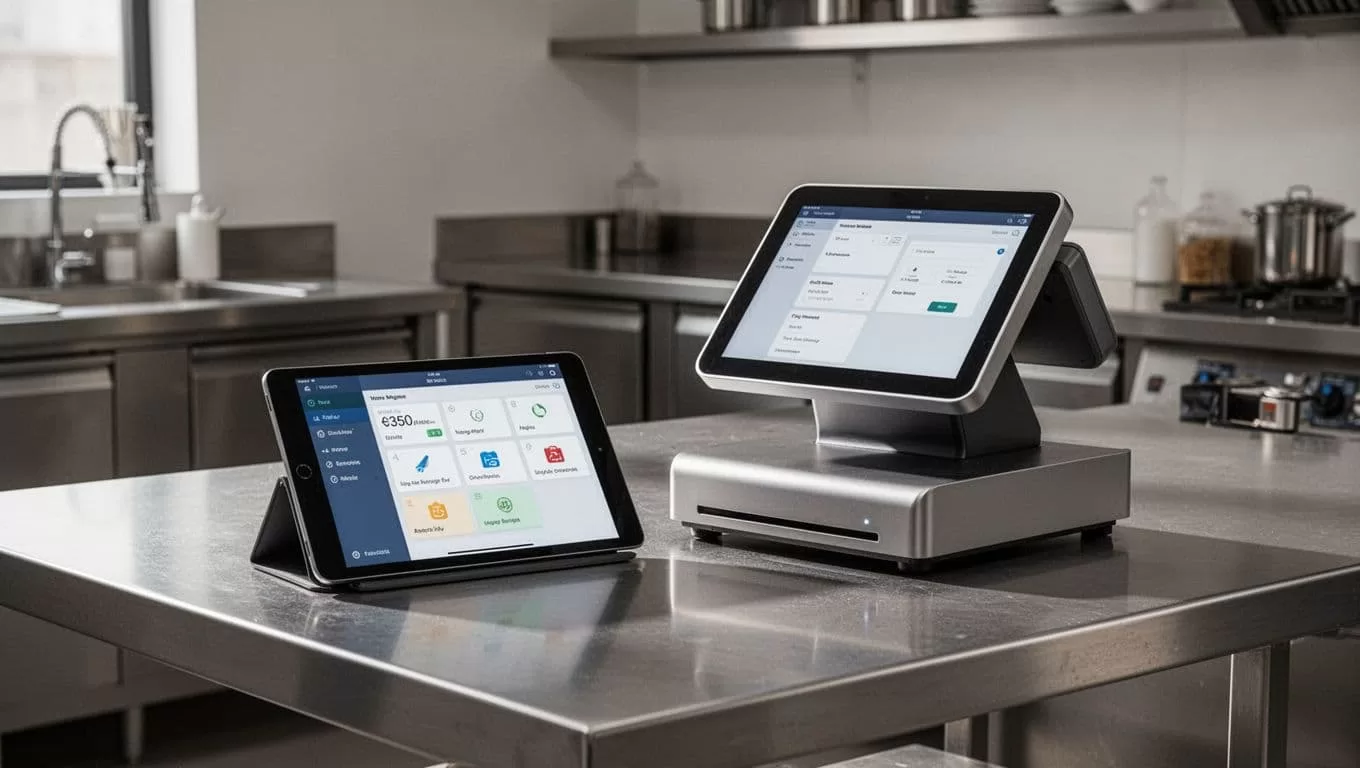
Start by defining which system owns each field. Your POS may control prices and taxes. Your menu database may control descriptions and images. An inventory tool may control availability. Twin.so should move approved values between systems without creating a second source of truth.
Restaurant APIs can expose menu retrieval and ordering functions, but API access doesn’t solve field mapping or approval control by itself. GloriaFood’s food ordering API illustrates the type of access a restaurant platform may provide. Review each system’s permissions before deciding which tool should write menu data.
How to automate menu updates across platforms with Twin.so
Treat Twin.so as the control layer for your update process. The workflow should read a known menu record, check the proposed change, send it to approved destinations, and return a status for each destination.
Don’t begin by connecting every platform. Begin with one menu type and one location. This limits the impact of a bad mapping and makes testing easier.
Your basic workflow can follow this sequence:
- A manager submits a menu change using a standard form or structured record.
- Twin.so reads the relevant fields and identifies the affected location and channels.
- The workflow checks required values, price formats, dates, and availability rules.
- An approved user reviews the change.
- Twin.so sends the update to the connected systems supported by your setup.
- The workflow records success, failure, or a required manual action.
- A team member verifies the customer-facing result.
The key is the structured record. Avoid sending loose instructions such as “update the chicken sandwich everywhere.” Use a record with a stable item ID, channel list, location, effective date, and exact values.
Use item IDs instead of item names as the main reference. Names change. Stable IDs prevent an update from reaching the wrong item.
Before configuring Twin.so, document the access model for each destination. Confirm whether the platform supports an API, webhook, approved export, or another supported update method. Confirm whether the connection can read data, write data, or perform both actions.
A platform may expose menu data without allowing automated edits. Another may accept price changes but not modifier updates. Your workflow must separate these cases instead of treating every destination as identical.
A menu management system may connect POS tools, delivery platforms, and digital channels through an API. Trabon’s menu management guidance provides useful context when you compare centralized menu control with separate platform edits.

Create a field map before you connect anything
A field map shows how one menu record translates to each channel. Include fields such as:
- Item ID
- Item name
- Description
- Category
- Base price
- Tax treatment
- Modifier groups
- Availability status
- Service hours
- Location
- Effective date
- Image reference
- Allergen and dietary information
Record differences beside each field. A delivery app may require a different category structure. A digital menu may support longer descriptions. A POS may use a tax code that customers never see.
Set clear handling rules for missing fields. If a destination doesn’t support an allergen field, don’t silently discard the information. Route the update to manual review or maintain a separate compliance step.
Use location overrides carefully. Central defaults should apply only where the item, price, and availability are genuinely shared. Store local prices and hours separately so a regional change doesn’t overwrite a store-specific rule.
Build approval controls before publishing
Automation reduces manual work. It doesn’t remove accountability. A menu update still needs an owner, a reason, and a review record.
Separate low-risk and high-risk changes. A spelling correction may need one reviewer. A price increase, allergen change, or item deletion should receive a second review.
A practical approval process looks like this:
- The requester enters the change and selects the affected locations.
- The system checks whether required fields are complete.
- A reviewer compares the new values with the approved source record.
- The reviewer confirms the effective date and channels.
- The update publishes only after approval.
- The workflow stores the request, reviewer, timestamp, and outcome.
Add a preview step when possible. The reviewer should see the final item name, price, modifiers, service hours, and channel list. This catches errors that a field-level comparison may miss.
Use scheduled publishing for planned events. A summer menu can be approved in advance and activated at a defined time. A sold-out item needs a faster path, but it should still create a log entry and notify the responsible team.
Don’t allow staff to edit the same item in multiple places without a rule. Decide which system wins when values conflict. Then restrict write access on secondary platforms where possible.
You can also compare restaurant platforms by API support, but treat directory listings as an initial research step. GetApp’s restaurant management software API listings can help identify systems for review. Confirm technical details with each provider before deployment.
Handle seasonal items, availability, and prices correctly
Seasonal menus need dates, not memory. Every temporary item should include a start date, end date, service window, and affected locations. The workflow can then publish or retire it according to the approved schedule, if the connected platform supports those actions.
Availability needs a separate rule. A product can remain part of the permanent menu while being unavailable for a few hours. Marking it as sold out is usually different from deleting it. Deletion can remove modifiers, analytics history, or customer-facing references.
Use these rules for availability:
- Pause the item when stock is temporarily unavailable.
- Keep the item active when the kitchen can sell it later.
- Remove the item only after an approved menu change.
- Apply availability by location when stock differs between stores.
- Check breakfast, lunch, dinner, and late-night service windows separately.
Pricing requires similar control. Store the base price, location price, service type, and effective date as separate values. Delivery prices may differ from dine-in prices, but that difference should be intentional and documented.
Avoid broad price changes based on item names. “Burger” may match several products. Use the item ID and location code. Require approval for changes above a defined threshold, such as a percentage increase or a fixed currency amount.
When a platform rejects a price because of formatting or policy limits, don’t retry indefinitely. Send the exception to a queue. A failed update that looks successful creates a larger customer service problem later.
Monitor the result, not only the workflow
A successful automation run doesn’t always mean the menu changed correctly. The destination may accept a request and still display a delayed, incomplete, or incorrectly mapped result.
Create a monitoring routine with two parts. First, inspect the workflow log. Second, check the customer-facing menu.
Track:
- Update status for each destination
- Item ID and location
- Previous and new values
- Approval user
- Publication time
- Error message
- Retry count
- Manual follow-up
- Verification result
Set alerts for failed writes, missing fields, rejected prices, and unexpected response times. Keep a daily exception queue for issues that need human attention.
Run a post-publish check after every high-impact change. Open the website, ordering portal, and delivery apps as a customer would. Confirm the item appears in the correct category. Check the price, modifier choices, image, service hours, and availability status.
Use a small audit sample for routine updates. Select several locations and items each day. Compare the source record with the live channel. Increase the sample when you change mappings or add a new platform.
Keep rollback data. Store the previous approved value before publishing a new one. If a price or description is wrong, the operator should be able to restore the prior state without rebuilding the record.
Roll out the workflow in controlled stages
Start with one location and a small set of low-risk items. Test descriptions, prices, modifiers, availability, and scheduled changes before adding more channels.
Use a staging or test environment if the platform provides one. If it doesn’t, schedule the first test during a quiet operating period and select items that won’t disrupt peak ordering.
Measure practical results:
- Time required to publish a menu change
- Number of failed updates
- Number of manual corrections
- Price mismatches found after publishing
- Unavailable items shown to customers
- Time required to resolve exceptions
Add one destination at a time. Document the fields that work, the fields that need manual review, and the permissions required. Keep that documentation with the workflow, not in a personal notebook.
Review the process monthly. Remove unused mappings. Check whether platform APIs or permissions changed. Confirm that staff still understand who submits, approves, verifies, and resolves menu updates.
Conclusion
Restaurant teams don’t need more places to edit the same menu. They need one controlled source, clear field mappings, approval rules, and reliable verification.
Twin.so can fit between the approved menu record and the systems that need the change, provided its current connectors and permissions support the actions in your workflow. Start with one location, test every field, log every result, and expand only after the exceptions are understood.
The goal isn’t to publish blindly. It’s to automate menu updates while keeping prices, availability, modifiers, and customer-facing details under operational control.
