How to Automate Batch Image Editing on Twin.so
Product teams rarely lose time on one difficult image. They lose it on hundreds of small edits that follow the same rules. Batch image editing removes that repetition by applying a defined process to every file in a collection. Twin.so can...
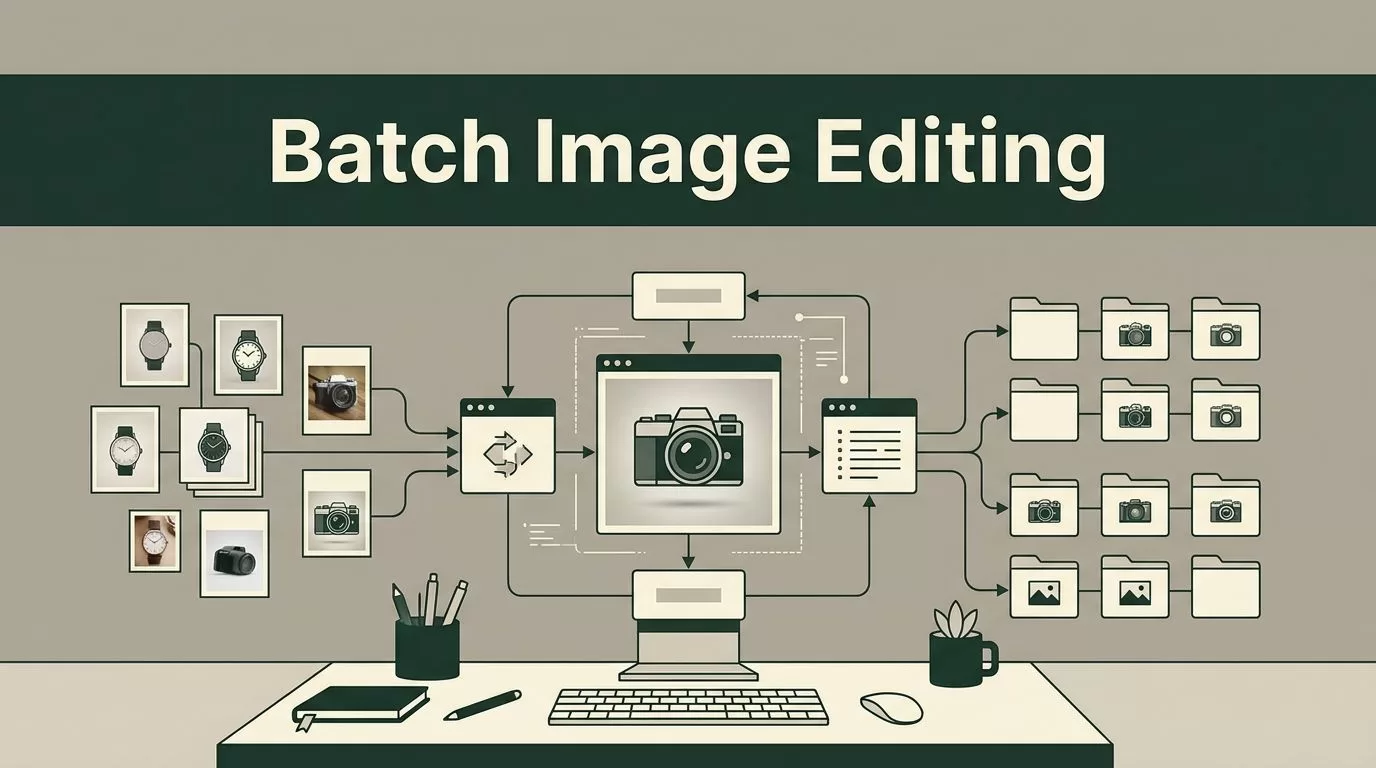
Product teams rarely lose time on one difficult image. They lose it on hundreds of small edits that follow the same rules. Batch image editing removes that repetition by applying a defined process to every file in a collection.
Twin.so can sit at the center of that process. You connect the source, define the editing sequence, route the output, and send exceptions for review. The goal isn’t to remove judgment. It is to reserve human attention for images that need it.
Decide What Your Workflow Should Automate
Start with tasks that follow a stable pattern. Good candidates include resizing, format conversion, file renaming, compression, cropping, and routing files into folders. These actions have clear inputs and measurable outputs.
Background removal, color correction, and watermark placement can also fit an automated process when the connected image tool handles them consistently. Check the results before you move the workflow into production.
Some jobs need manual review. Product photos with unusual angles, transparent packaging, reflections, embedded text, or people near the subject can produce inconsistent results. A workflow should flag those files rather than force every image through the same treatment.
Use this rule:
Automate the decision when the input and output are predictable. Route the file to a person when quality depends on visual judgment.
Marketing teams can use automation for campaign assets with fixed dimensions. E-commerce operators can prepare product images for multiple storefronts. Content teams can create standard formats for blog headers and social media posts.
Do not begin with every image operation your team performs. Pick one repeatable workflow. Prove that it works. Add more actions after you understand the failure cases.
Plan the Batch Image Editing Workflow Before Opening Twin.so
A reliable process starts with an input contract. Write down what the workflow accepts and what it must produce.
For example, a product-image workflow might accept JPG, PNG, and WebP files from an Incoming/Spring-Catalog folder. It might produce a 1200 by 1200 WebP file, preserve the product’s proportions, add the SKU to the filename, and save the result in Ready/Storefront.
Your contract should cover:
- The accepted file types and maximum file size.
- The required output dimensions and format.
- The naming pattern for completed files.
- The destination folder or application.
- The conditions that send an image to manual review.
- The information recorded when a file fails.
Treat each image as a record with useful fields. The filename, SKU, campaign name, source folder, and processing status can help Twin.so route the file correctly. Avoid relying on a human to remember these details during every run.
Next, put the editing actions in the right order. A common sequence is:
- Read the incoming file and its metadata.
- Create a working copy so the original remains untouched.
- Apply the crop or resize rule.
- Convert the file and apply the compression setting.
- Build the final filename.
- Save the output and write the processing status.
- Send failed or uncertain files to a review queue.
Preset-based image systems follow the same logic. Cloudinary’s Image API documents automated transformations that use reusable configurations. The lesson is practical: store editing rules in one place instead of rebuilding them for every campaign.
Configure Twin.so Around Clear Stages
Build the workflow in Twin.so as a sequence of small stages. Each stage should have one job and a visible result.
Start by choosing the source trigger available in your setup. That may be a new file, a scheduled run, or an event from another business system. Use a dedicated source folder during testing. Mixing test images with production assets makes it difficult to identify which files the workflow processed.
Add the input fields next. Map the file location, filename, SKU, project name, and any other value the next action needs. If the source does not provide a required field, route the item to an error state instead of creating an incomplete output.
Then configure the image actions in order. Keep transformations predictable. For example, resize after cropping if the crop defines the final composition. Convert after the visual edits if the conversion process changes quality or transparency.
Set a destination that is separate from the source. This prevents accidental overwrites and gives your team a clean comparison between original and processed images.
Finally, define the result states. A useful setup has at least three:
- Completed files move to the approved output location.
- Files that fail a technical check move to an error folder with the reason recorded.
- Files that need visual judgment move to a manual review queue.
The exact connector and field names depend on your Twin.so configuration. Use only actions exposed by the tools connected to your workflow. If a condition cannot be checked reliably, send the file to review.

Test With a Small Batch Before Scaling
Do not start with your full catalog. Use a controlled test set of 10 to 20 images that represents the real workload.
Include different file sizes, orientations, backgrounds, and product types. Add at least one image that should fail or require review. A workflow that only works on clean, identical files has not been tested properly.
Compare every output with its original. Check whether the subject remains intact, the crop matches the intended composition, and the file opens in the target application. Review transparent edges, small text, shadows, and fine product details.
Test the workflow more than once. A second run can reveal duplicate files, naming conflicts, or a trigger that processes the same asset twice. Keep the original files in place until the results pass review.
Record the results in a simple log:
- Number of files received.
- Number completed successfully.
- Number sent to manual review.
- Number that failed.
- Reason for each failure.
- Time required for human review.
This information gives you a baseline. It also shows whether the automation reduces work or only moves it to another queue.

Keep Manual Quality Checks in the Workflow
Automation can confirm technical conditions. It cannot always confirm that an image looks right.
Use automated checks for dimensions, file type, file size, filename structure, and output location. Use manual checks for composition, subject identity, readable text, brand consistency, and visual defects.
A full manual review may be appropriate for a small set of high-value campaign images. For a large product catalog, use a review sample and route exceptions based on known risk factors.
For example, review every image when the workflow detects:
- A transparent background.
- A face or person in the frame.
- Text near the crop boundary.
- An unusually small source image.
- A missing SKU or product identifier.
- An output that falls outside the expected file-size range.
Image recognition can help classify or route files before editing. Google Cloud Vision describes APIs for extracting visual information from images. If you use a similar connected service, treat its result as a routing signal, not final approval.
Review the first production batch closely. After the workflow proves stable, reduce the manual sample only when your quality data supports that decision.
Example: A Weekly E-Commerce Catalog Workflow
Assume an e-commerce team receives 250 product photos every Monday. The team needs square storefront images, lighter web versions, and a consistent filename for each SKU.
The operator places the original files in a dedicated incoming folder. Twin.so detects the new files and reads the SKU from the filename or mapped metadata. The workflow creates working copies, applies the defined crop, creates the required dimensions, converts the files, and saves the outputs in separate storefront and web folders.
The workflow also records the source filename, output path, processing status, and error message. Images with missing identifiers or unusual transparency move into a review queue. The original files remain unchanged.
A connected service such as Claid may support parts of an e-commerce image process through an API. Its e-commerce image workflow overview describes common operations such as cleanup and product-visual preparation. Use that type of service only for the actions available in your own connected setup.
The operator then reviews a sample of completed images. They check the crop, product edges, color, and file display on the storefront. Approved outputs move forward. Failed images return to the review queue with a clear reason.
This process removes repetitive preparation without pretending that every product photo has the same visual needs.
Measure Results and Improve the Process
Track the workflow after launch. The useful metrics are operational:
- Total files processed per run.
- Average processing time.
- Failure rate.
- Manual review rate.
- Duplicate or overwritten files.
- Number of outputs rejected during quality checks.
- Human minutes spent correcting results.
Look for repeated failure patterns. If many files fail because filenames lack SKUs, fix the intake rule. If crops cut off products, revise the crop method or route those images for review. If compression creates visible artifacts, change the output settings.
Increase the workload gradually. Run one campaign, then a larger catalog, then multiple sources. Keep the process easy to pause. A fast workflow that cannot be stopped or audited creates avoidable operational risk.
Document the final rules in the Twin.so workflow description. Record the input folder, output locations, connected tools, naming convention, review conditions, and owner. A documented process is easier to maintain when the campaign changes or another operator takes over.
Make Batch Image Editing a Controlled System
The best batch image editing workflows don’t try to automate every visual decision. They automate stable tasks, preserve originals, record outcomes, and give people a clear review queue.
Twin.so can coordinate that process when you define the input, action order, output rules, and failure paths before deployment. Start with a narrow workflow. Test it with representative files. Scale only after the results meet your quality standard.
A clean pipeline turns repetitive image work into a repeatable operating process. Your team spends less time resizing and renaming files, while manual attention stays focused on the images that need it.
