How to Create an Instagram Reels Voiceover in Speechify
A strong Reel can lose viewers before the first cut if the voice sounds flat, rushed, or difficult to understand. Speechify Studio gives you a faster way to create a clean Instagram Reels voiceover without recording in a treated room. The p...
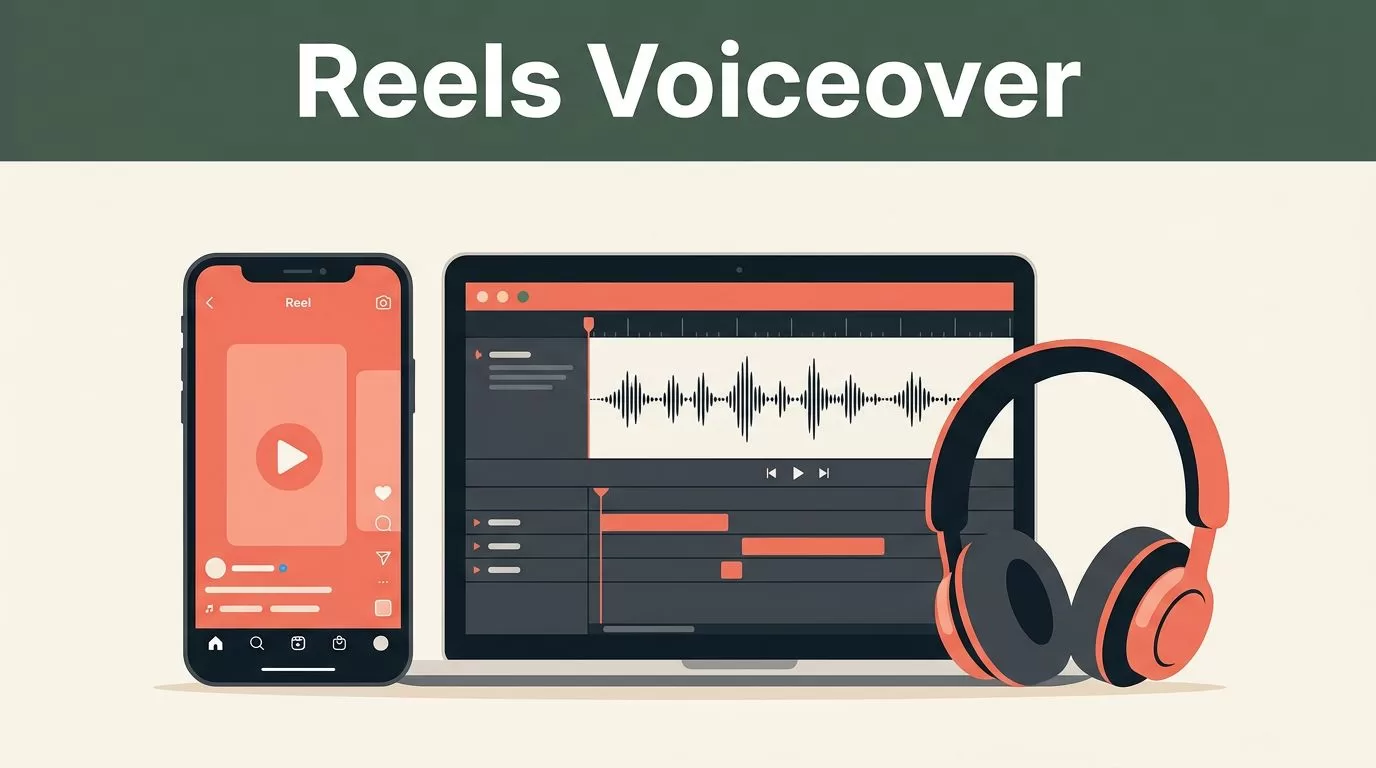
A strong Reel can lose viewers before the first cut if the voice sounds flat, rushed, or difficult to understand. Speechify Studio gives you a faster way to create a clean Instagram Reels voiceover without recording in a treated room.
The process is simple: write a short script, choose a suitable voice, adjust the delivery, export the audio, and sync it with your video. The quality depends less on the AI voice and more on your script, pacing, volume, and final edit.
Key Takeaways
- Use Speechify Studio, not the standard Speechify reading app, for social media voiceovers.
- Write for speech with short sentences, natural pauses, and one clear idea per line.
- Export MP3 or WAV, then align the voiceover with your Reel in a video editor.
- Keep music below the narration and review captions for accuracy and accessibility.
- Check commercial-use terms, voice permissions, and Instagram music rules before publishing.
Use Speechify Studio for the Voiceover
Speechify is available as a mobile app, browser extension, and desktop tool. Those versions are useful for listening to documents and web pages. Speechify Studio is the correct workspace for creating voiceover audio for Reels, Shorts, and other video content.
Speechify Studio includes a large voice library with options across multiple languages and speaking styles. The available voices and controls can change, so review the current options inside your account before selecting one for a campaign.
Open Speechify Studio and select New Project. Choose Voice Over or open the Playground tab, depending on the version of the interface you see. You can paste your script into the editor or import a supported document.
Speechify Studio can split imported text by paragraph or sentence. Sentence-level sections give you better control when you need to change one line, insert a pause, or match narration with a specific video cut.
The standard reading app and Studio have different purposes. Do not build your workflow around the reader app if you need downloadable audio, voice controls, and timeline editing.
Speechify also provides a social media video maker for users who want to combine video, images, and audio in one browser-based project. You can use it for a complete edit, or export the voiceover and finish the Reel in CapCut, Premiere Pro, or another editor.
Prepare a Script That Sounds Natural
Text-to-speech tools read exactly what you give them. A paragraph that looks fine on screen can sound stiff when spoken aloud.
Start with the spoken version of your message. Remove long introductions, repeated claims, and words that don’t help the viewer. Most Reels need one clear point, not a complete explanation of your business.
Write short lines. Use punctuation to control the delivery. A comma creates a small pause. A period gives the voice room to reset. A line break can separate two ideas or create space before a call to action.
For example, this script is difficult to deliver:
Our platform helps small businesses manage customer communication, automate follow-ups, track leads, and improve conversion rates across multiple channels.
Break it into smaller units:
Small businesses lose leads when follow-ups happen too late.
Our platform tracks each inquiry.
It sends the next message automatically.
Your team can focus on qualified conversations.
The second version gives Speechify clearer instructions. It also gives the editor clean points for visual cuts and captions.
Keep the opening direct. The first sentence should tell viewers what they will gain, what problem they will avoid, or what mistake they need to fix. Avoid starting with your company history unless the story itself is the reason people should watch.
Read the script aloud before generating audio. If you run out of breath, stumble over a phrase, or need to reread a sentence, rewrite it. AI narration still needs human editing.
A useful script structure for a business Reel is:
- State the problem in one sentence.
- Give the useful answer or process.
- Add one proof point, example, or result.
- End with one action, such as saving the Reel or visiting your profile.
Keep the call to action specific. “Learn more” is weak. “Save this checklist before your next product launch” gives the viewer a clear reason to respond.
Generate and Edit the Speechify Audio
Paste the final script into the Speechify Studio project. Select a voice that matches the content and audience. A calm voice fits an explainer. A brighter voice can work for a product demonstration. A serious delivery is better for compliance, finance, or security content.
Listen to the full script before adjusting individual lines. You need to hear the voice’s pronunciation, energy, and pacing as one piece.
Speechify Studio provides controls for speed, pitch, volume, emotion, pronunciation, and pauses. Expression controls are available only for voices that support them. Test small changes first. A five to ten percent speed adjustment can change the delivery without making it sound artificial.
Keep the speed close to normal for educational or B2B content. Faster narration can fit more information, but it reduces comprehension. If the Reel feels too long, cut the script before pushing the speed too high.
Use the pronunciation library for brand names, product terms, acronyms, and industry vocabulary. Write a word phonetically only when the default pronunciation is wrong. Then preview the affected sentence, not only the individual word.
Add pauses where a viewer needs time to process the point. You can use punctuation, line breaks, or the Studio pause controls. A short pause before the key benefit often works better than adding more emphasis.
Voice cloning is another option. Speechify Studio can create a clone from a short recording or uploaded sample, but use it only with clear permission from the speaker. Don’t clone an employee, customer, creator, or public figure without the required rights.
When the delivery sounds correct, export the file as MP3 or WAV. Use 44.1 kHz or 48 kHz based on your video editor’s project settings. If you plan to mix music and sound effects later, keep normalization off during export when that option is available.
You can review Speechify’s tutorial video maker for the current import and editing workflow.
Match the Voiceover to Your Reel
Import the Speechify audio into your video editor. CapCut is common for short-form content, but the same process works in Adobe Premiere Pro, DaVinci Resolve, and mobile editing apps.
Place the voiceover on its own audio track. Add your video clips above it. Then align the first spoken phrase with the first relevant visual instead of placing the narration at the start by default.
Trim silence before the first word. Remove long gaps after the final sentence. Keep natural pauses inside the narration because they help viewers follow the message.
Use the waveform to find each sentence. Cut visual clips at meaningful changes in the script. If the voice says “three steps,” show the first step immediately after that phrase. The visual and narration should deliver the same idea at the same time.
Set the voiceover as the primary audio. Music should support the narration, not compete with it. Reduce the music until every word remains clear on a phone speaker. Listen with headphones and without them because viewers use both.
Sound effects need the same treatment. A click, whoosh, or notification sound can mark a transition. It shouldn’t cover a product name, number, or instruction.
Keep the opening tight. Remove empty frames before the first visual movement or spoken word. Add a new visual when the information changes. Static footage can work, but the voiceover needs a reason to stay on screen.
Export a draft and watch it on a phone. Check three points:
- The first sentence is understandable without rewinding.
- The narration stays clear when music is playing.
- The final call to action appears long enough to read.
Don’t judge the mix only from your editing timeline. Instagram compresses uploaded media, and small volume problems become more obvious after publishing.
Add Captions and Check Accessibility
Captions are not a replacement for clear audio. They give viewers a second way to follow the Reel when sound is muted or the speaker’s pronunciation is unfamiliar.
Instagram can generate captions for Reels, and many editors can create captions before export. Either workflow can work. Review every caption manually before publishing. Automatic tools often misread names, numbers, acronyms, and technical terms.
Break captions into short lines. Keep each phrase on screen long enough to read. Place text away from Instagram’s interface areas, including the lower caption area and the right-side action icons.
Use strong contrast between text and footage. A solid background or shadow can help when the video has changing colors. Avoid placing white captions over bright footage without a readable background treatment.
Match captions to the voiceover. Don’t add a rewritten summary when the goal is accessibility. If you shorten the spoken wording, preserve the meaning and important details.
Check the Reel with captions turned on and audio turned off. Then watch it with audio on and captions off. Both versions should communicate the main point.
Speechify can help with multilingual content, but translation still needs review by a fluent speaker. Pronunciation, product names, local expressions, and calls to action can change meaning across languages.
Review Rights Before Commercial Publishing
AI-generated audio is not automatically cleared for every business use. Review Speechify’s current terms for the plan, voice, export type, and intended use before using an Instagram Reels voiceover in paid marketing or client work.
Voice availability also doesn’t create endorsement rights. A recognizable celebrity-style or named voice can create confusion about who approved the message. Don’t imply that a public figure supports your brand unless you have a separate legal agreement.
Treat voice cloning as a rights-sensitive feature. Get written consent from the speaker and store a record of that consent. Restrict access to the clone inside your team account.
Instagram music has separate rules. A track available inside Instagram may have limits for business accounts, branded content, advertisements, locations, or campaign types. Review the applicable Instagram music licensing rules before publishing, especially when you plan to boost the Reel.
Use original music, properly licensed tracks, or audio cleared for your exact use case. Don’t assume that crediting the artist gives your business permission.
Keep a simple asset record for each Reel. Store the script, generated audio, music source, voice license information, consent records, and final export. This reduces delays when a client asks for proof or a platform flags the audio.
Conclusion
A reliable Instagram Reels voiceover starts with a script written for speech. Speechify Studio handles the generation, but you control the result through voice selection, pacing, pronunciation, pauses, and audio mixing.
Build the Reel in a video editor, keep music below the narration, and review captions on a phone before publishing. Check voice, music, and commercial-use permissions first. A clean voiceover doesn’t need to sound dramatic. It needs to make every important word easy to hear.
