How to Deploy Mida.so for Conversion Tracking
A test can lift conversions on paper and still fail in production if the tracking setup is wrong. Mida.so helps you connect page changes to outcomes such as signups, purchases, revenue, and cart activity. The important distinction is simple...

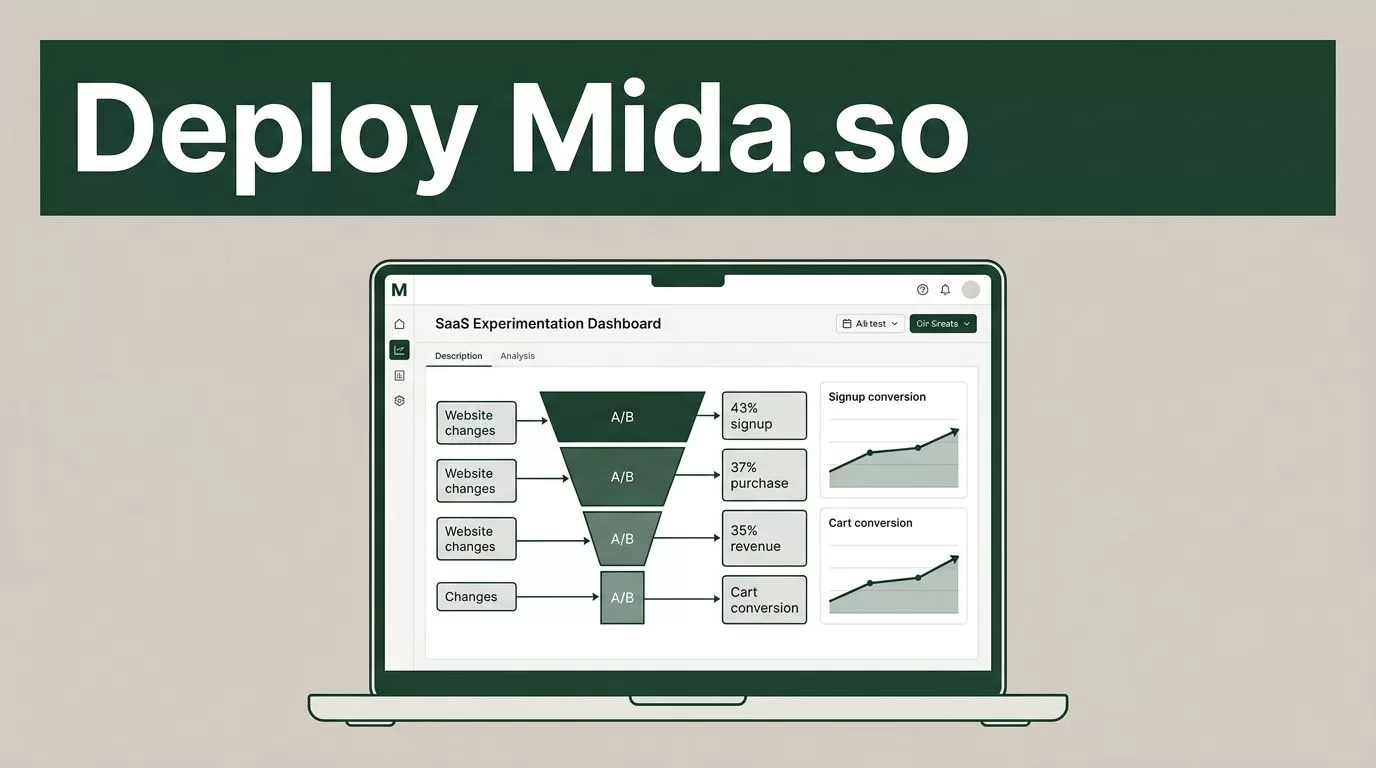
A test can lift conversions on paper and still fail in production if the tracking setup is wrong. Mida.so helps you connect page changes to outcomes such as signups, purchases, revenue, and cart activity.
The important distinction is simple. Mida.so is an experimentation platform, not a standalone conversion tracking system. It runs A/B tests, redirects, feature changes, and personalization while analytics and payment tools provide the underlying event data.
Key Takeaways
- Use Mida.so to test website changes and measure their effect on conversion outcomes.
- Connect the right analytics or payment source before judging experiment results.
- Define one primary conversion event and secondary metrics before launch.
- Install the Mida script or platform-specific pixel, then validate traffic and events.
- Stop weak tests without deleting their results, and document every implementation change.
Understand What Mida.so Measures
Mida.so is built for A/B testing, URL redirect testing, feature flagging, and website personalization. You create variants, split visitors between them, and compare performance. The platform then connects those variants to conversion data.
That data can include conversion rate, average order value, cart activity, total revenue, signups, and checkout completions. The exact metrics depend on your website, connected tools, and account setup.
Mida.so does not replace event collection in every situation. You still need a reliable source for the action you want to measure. For many websites, that source is Google Analytics 4. For Paddle-based checkouts, Mida.so can measure checkout starts, completions, and revenue milestones through the relevant integration.
Shopify stores need extra care. Pricing tests should use revenue per visitor rather than conversion rate alone when the variant changes price. A lower conversion rate can still produce more revenue if the average transaction value increases.
Before installing anything, confirm the measurement path:
- A visitor enters the experiment.
- Mida.so assigns that visitor to a variant.
- The visitor completes an action.
- Your analytics or payment system records the event.
- Mida.so associates the outcome with the correct variant.
If one step fails, the result is incomplete. Use a conversion tracking best practices checklist to review the wider measurement process before you launch.
Prepare Your Conversion Plan Before Deployment
Do not start by changing a button or publishing a test. Start with the conversion definition.
Write down the business action that decides whether the test succeeded. For a SaaS website, that could be a completed signup or booked demo. For an online store, it could be a completed purchase or revenue per visitor. For a content site, it may be a subscription or qualified lead form.
Choose one primary metric. Keep secondary metrics for context.
Your plan should include:
- The primary conversion event
- The page or funnel stage where it occurs
- The analytics or payment system that records it
- Secondary metrics such as revenue, AOV, cart starts, or checkout completion
- The audience, device type, location, or traffic source under test
- The person responsible for approving the result
Use the same event definition across the control and variants. If the control measures completed purchases but a variant measures checkout starts, the comparison has no operational value.
Check the current site before deployment. Record the existing conversion rate, traffic volume, page load behavior, and event names. Capture a few real test conversions and confirm that they appear in the source analytics system.
Consent and privacy settings also matter. Your installation must follow the rules that apply to your visitors and business. Shopify teams should review customer event tracking guidance before adding or changing tracking behavior.
Keep the first experiment narrow. A single landing page and one primary action are easier to validate than a full-site rollout.
Deploy Mida.so Step by Step
1. Create or select the project
Open the Mida.so dashboard and select the website project you want to test. Keep projects separated by production site, staging site, or business unit when your account structure requires it.
Review the project settings before installing the script. Confirm the site domain, data region, and user permissions. Mida.so supports US and EU API regions, so use the region assigned to your project when working with the API.
2. Install the tracking script or pixel
Choose the installation method that matches your platform. Mida.so supports common website platforms including Shopify, WordPress, Webflow, and WooCommerce.
For Shopify, install the Mida.so pixel through the Shopify admin panel. For other platforms, follow the current Mida.so installation instructions for the project script. The dashboard may provide different instructions based on your site configuration.
Do not copy a script from another project. Each project uses its own configuration.
After installation, load the live site in a private browser window. Check that the page loads correctly. Test both the control experience and the variant experience if an experiment is already active.
3. Connect the measurement source
Connect Google Analytics 4 when GA4 is your primary event source. Select the conversion events that match your measurement plan, then confirm that Mida.so can receive or associate those events with experiment results.
Use Paddle when the checkout flow depends on Paddle and you need checkout or revenue milestones. Payment events often happen outside the main website, so test the complete route instead of checking the landing page alone.
Do not assume an integration is working because the connection status says active. Complete a test action and verify the event in the source system and in Mida.so.
4. Build the experiment
Create the experiment in the Mida.so editor. Use the visual editor for no-code page changes or the code editor when the test requires custom behavior.
Define the control first. Then create the smallest change that tests your idea. Set the audience and traffic allocation according to your plan. Avoid changing copy, layout, pricing, and checkout behavior in one test unless you can isolate each factor.
Set the experiment status to 1 when you want Mida.so to split traffic and collect results. Set it to 0 when you want to stop data collection while preserving the existing results.
Mida.so also includes AI-assisted test idea and variant generation. Treat those suggestions as starting points. Review every proposed change before publishing it to production.
5. Confirm the API configuration when needed
Technical teams can retrieve experiment results through the Mida.so API. The quickstart requires the project key and API key available under Dashboard > Settings > API.
The result endpoint follows this structure: https://api-{region}.mida.so/v2/project/{KEY}/experiment/{ID}/result
Replace the region, project key, and experiment ID with values from your account. Store API credentials in a server-side secret manager. Never place a private API key in browser code or public documentation.
Consult Mida.so documentation or support if your dashboard uses different labels, regions, permissions, or authentication requirements. Account-level settings can change the correct implementation path.
Validate Events Before Trusting Results
Validation should happen before the experiment collects meaningful traffic. A clean launch with a broken event is still a failed deployment.
Run this short check:
- Open the page on desktop and mobile.
- Confirm the Mida.so script or pixel loads once.
- Enter the control and each active variant.
- Complete the primary conversion action.
- Check the event in GA4, Paddle, or the connected source.
- Check that Mida.so displays the visitor and conversion under the expected variant.
- Confirm revenue and cart values when those metrics apply.
Use browser developer tools to check failed requests, blocked scripts, and JavaScript errors. Test with browser privacy controls and consent states that your users commonly have. A conversion that appears only after unrestricted tracking is not a complete validation.
Allow for attribution and reporting delays. Don’t compare a fresh dashboard result with a finalized finance report and assume they should match immediately. Compare the same date range, event definition, timezone, and currency treatment.
Troubleshooting common deployment problems
No visitors appear: Check the project key, domain configuration, script placement, and consent behavior. A cached page can also hide a recent installation.
Visitors appear but conversions do not: Confirm the event name in the source analytics tool. Then complete a new conversion after the integration is active. Check whether the event fires on a separate checkout or confirmation page.
Conversions show under the wrong variant: Review redirects, duplicated scripts, and assignment logic. Test from a clean session and record the assigned variant before completing the action.
Revenue is missing: Confirm that the payment integration passes the required transaction data. For Shopify pricing tests, inspect revenue per visitor and order values instead of relying on conversion rate alone.
Results differ from another platform: Compare attribution windows, consent handling, timezones, filters, and event deduplication. A difference doesn’t automatically mean one tool is broken. The systems may be answering different measurement questions.
For paid campaigns, compare Mida.so results with your advertising platform only after the event definitions match. A PPC community discussion on [Google Ads conversion tracking](https://www.reddit.com/r/PPC/comments/1qjoz0m/ best_ways_to_track_google_ads_conversions_for/) can provide practical context, but your own event logs and account configuration should decide the diagnosis.
Use Conversion Data to Make Better Decisions
A Mida.so result is useful only when it changes a decision. Don’t launch tests without defining the action that follows a positive or negative result.
For a winning landing page variant, publish the change only after checking the primary metric and the guardrail metrics. A signup increase with a drop in qualified demos may not be a real improvement. A pricing test with fewer orders can still work if revenue per visitor rises without harming refunds or support volume.
Keep an experiment log with the following details:
- Hypothesis and change
- Launch date and stop date
- Primary and secondary metrics
- Audience and traffic allocation
- Analytics event names
- Variant IDs or URLs
- Decision and owner


Keep the implementation stable while the test runs. Don’t rename events, change checkout tools, or alter traffic rules halfway through the experiment unless you record the change and restart the analysis.
Use Mida.so for the decision layer and your analytics or payment platform for the source record. That division gives marketing teams a clear workflow without treating one dashboard as the complete accounting system.
Conclusion
Mida.so is not a replacement for every conversion tracking tool. It is a testing and personalization platform that connects page variants to conversion, revenue, cart, and checkout outcomes through tools such as GA4 and Paddle.
Define the event first. Install the correct script or pixel. Validate the full visitor path before collecting serious traffic. When the tracking data is trustworthy, Mida.so can turn website changes into measurable decisions instead of guesswork.

