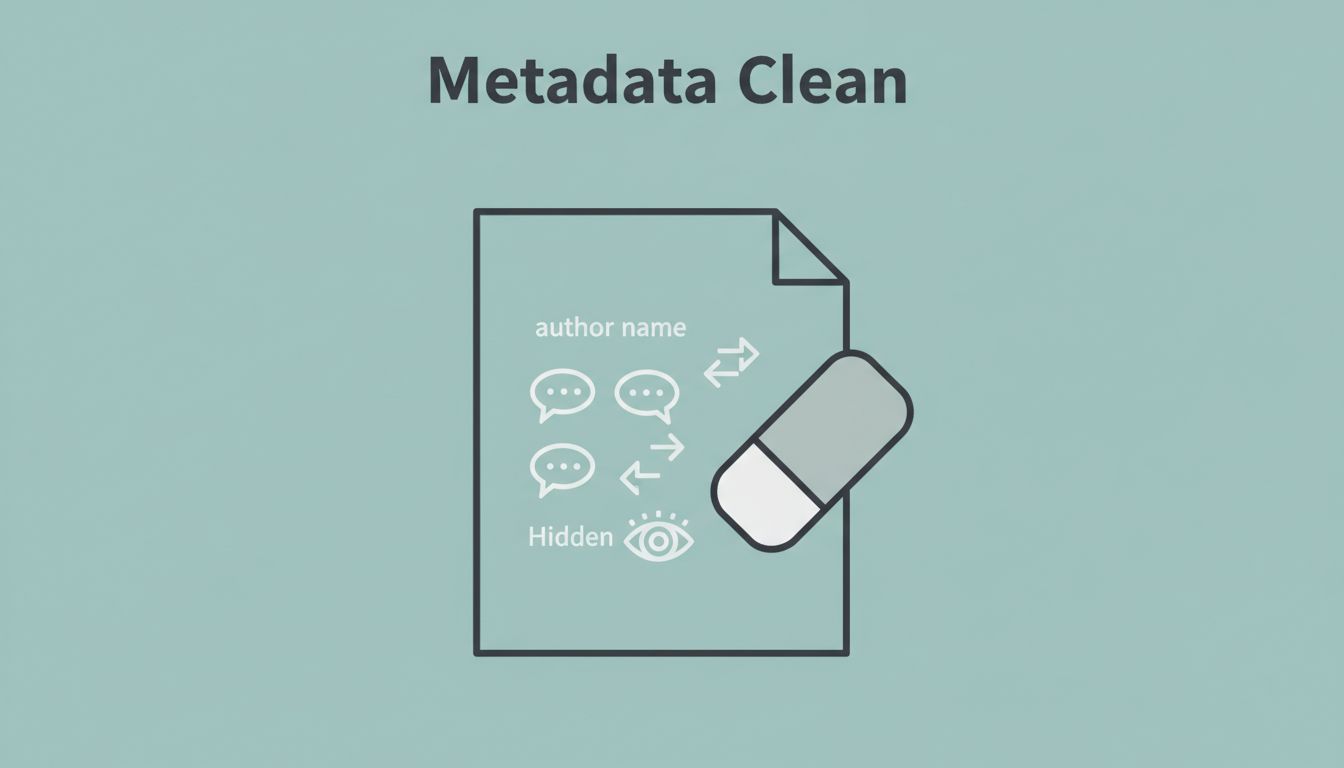
One Word file can carry more than the page shows. If I send it too soon, I may pass along my name, company, comments, tracked edits, and other hidden details without meaning to.
That risk grows when I’m sharing drafts, contracts, or client work. I clean the file first, then I check it again, because a document can look finished and still hide old information underneath.
What Word metadata can reveal about your file
When I strip metadata, I’m not chasing one single thing. I’m clearing the small traces that travel with the document.
The main items I look for are:
- Author name and company, which often live in document properties.
- Title, subject, and tags, which can describe the file more than I want.
- Comments and replies, which may expose internal notes.
- Tracked changes, including deletions and insertions.
- Hidden text and markup, which can sit in the file without showing on the page.
- Version history, when the file lives in OneDrive or SharePoint.
Accepting changes and deleting comments helps, but it doesn’t always clear every trace.
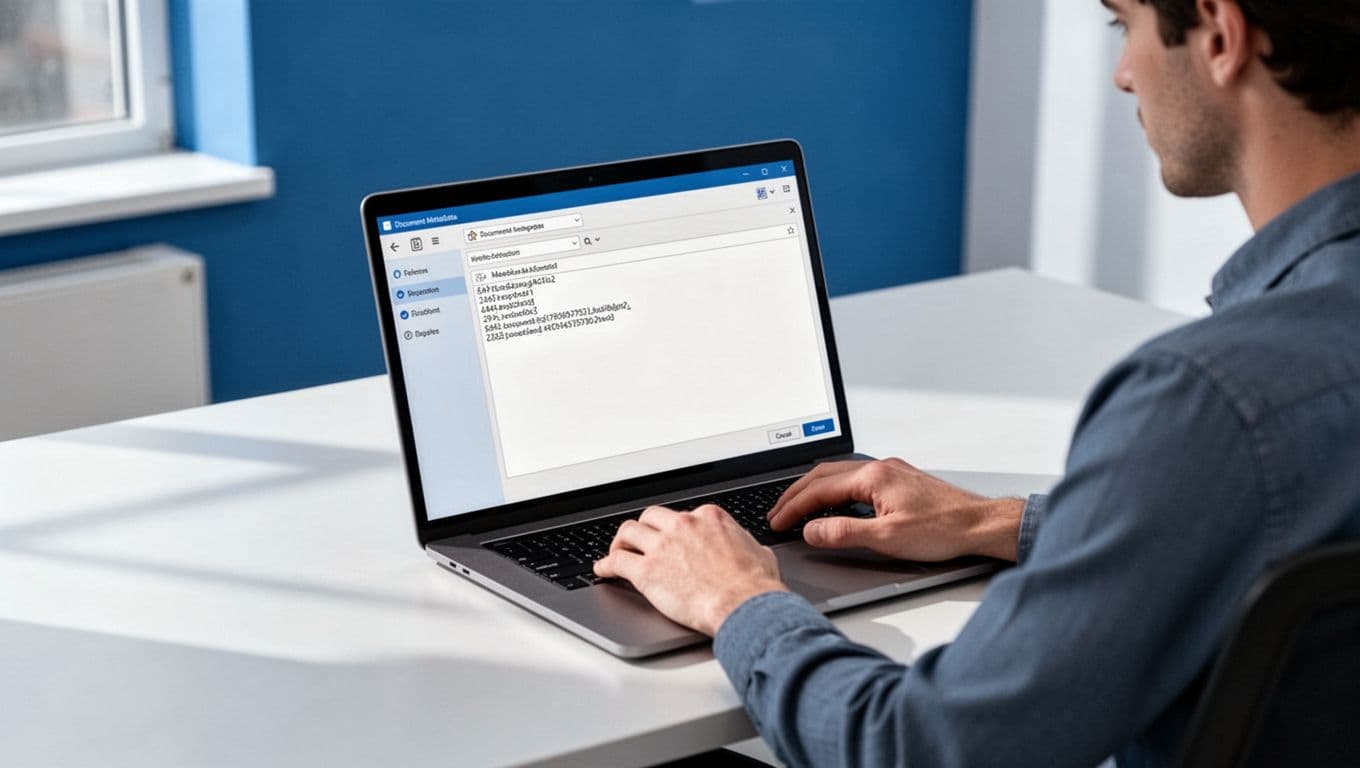
Microsoft’s official hidden-data instructions match the process I use. When I want a second reference, I keep this plain-English Document Inspector guide handy.
Remove metadata from Word files on Windows
On Windows, I use the built-in Document Inspector in desktop Word. The path is the same in Microsoft 365, Word 2021, and Word 2019, while older versions may place the command a step deeper in the File menu.
- I save a copy of the file with a new name.
- I open File > Info > Check for Issues > Inspect Document.
- I leave the categories selected that I want Word to scan.
- I click Inspect, then review each result.
- I choose Remove All for anything I don’t want to send.
- I save the cleaned copy, close it, and reopen it to confirm the file stayed clean.

After that, I scan the document one more time. If I still see comments, tracked edits, or hidden text, I repeat the inspection before I share anything.
Clean a Word document on Mac
On Mac, I do the same cleanup in the desktop app. The menu labels can shift a little between Microsoft 365 and older releases, so I focus on the inspection tool itself, not the exact wording.
- I open the file in Word for Mac and save a duplicate first.
- I look under File or Tools for Document Inspector or Inspect Document.
- I run the inspection and let Word list the hidden items it finds.
- I remove the metadata and markup I don’t want to share.
- I save, close, and reopen the file to make sure the clean version is the one I send.
Word on the web doesn’t give me the same control, so I finish this job in the desktop app. That saves time later, especially when a client, partner, or regulator may review the file.
My final check before I send the file
A clean inspection is the start, not the finish. Before I email or upload a Word file, I run through one last pass.

- I confirm the author, company, title, and subject fields are empty or correct.
- I make sure comments, tracked changes, and hidden text are gone.
- I reopen the file and skim it like a stranger would.
- I check OneDrive or SharePoint version history if the file lived there.
- I save the final copy under a clear new name.
- I review the sharing path before I send it, and if I’m moving it through Drive, I also follow Google Drive sharing security best practices.
That last step matters because a cleaned file can still leak through loose sharing settings. I keep the file clean and the access tight.
Send the clean copy, not the draft
When I remove metadata before sending, I lower the chance of a stray name, old comment, or tracked edit slipping out. The process takes a minute, but it protects my work and the people reading it.
I treat the cleaned file as the only version worth sharing. Everything else stays in my draft folder, where it belongs.