Silence Removal Software for Transistor.fm Podcasts
Long pauses can make a strong podcast sound unfinished. Too much automated cutting can make it sound unnatural. The right setup is simple: use silence removal software during editing, review every automated cut, then upload the approved aud...
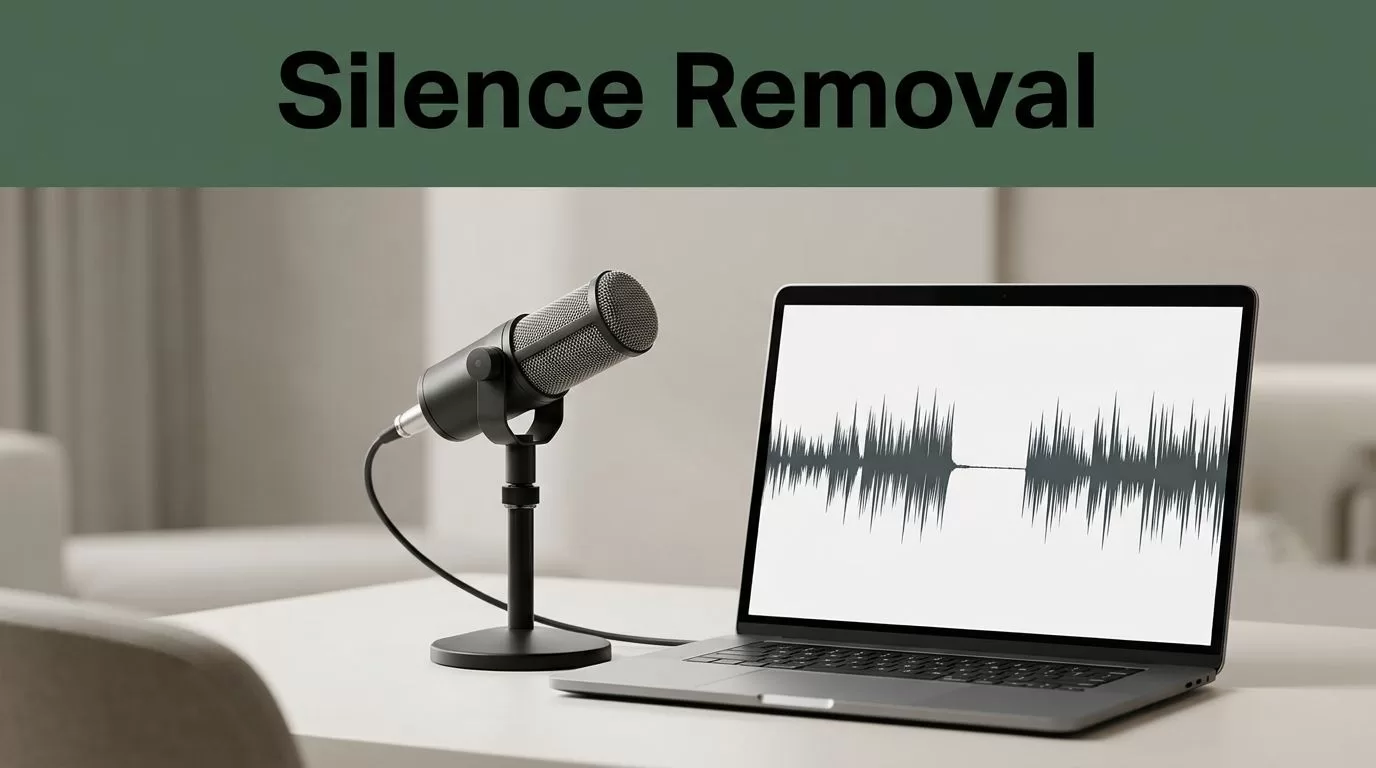
Long pauses can make a strong podcast sound unfinished. Too much automated cutting can make it sound unnatural.
The right setup is simple: use silence removal software during editing, review every automated cut, then upload the approved audio to Transistor.fm. Transistor.fm is normally the hosting and distribution layer, not the place where silence is removed.
A reliable process keeps episodes concise without stripping out the pauses, reactions, and timing that make conversations sound human.
Key Takeaways
- Silence removal usually happens before the episode is uploaded to Transistor.fm.
- Start with conservative settings that shorten long gaps instead of deleting every pause.
- Review automated edits for clipped words, missing reactions, awkward transitions, and damaged speaker changes.
- Use separate speaker tracks when possible. A mixed interview track gives silence removal software less control.
- Store the raw recording, edited project, approved master, and published file as separate assets.
Keep Transistor.fm in the Publishing Layer
Transistor.fm helps you host podcast episodes, manage shows, publish through an RSS feed, and distribute episodes to listening platforms. You upload the finished audio file, add the episode details, and publish or schedule it through the platform.
Silence removal is typically handled before that upload.
Unless you have verified a specific editing feature in your account, don’t assume Transistor.fm will scan the file and remove pauses automatically. The safest workflow is to finish the audio in an editor, export the final master, and then upload that file to Transistor.fm’s podcast platform.
This separation prevents several common problems. You won’t publish an unreviewed edit by mistake. You won’t need to change an episode after listeners have already downloaded it. You also keep the original production file outside your hosting account.
The audio workflow should look like this:
- Record and save the original files.
- Edit mistakes, interruptions, and unwanted sections.
- Apply silence removal with conservative settings.
- Listen to the edited file from beginning to end.
- Complete noise reduction and loudness processing.
- Export the approved master.
- Upload the master to Transistor.fm.
- Add show notes, artwork, links, and timestamps after the audio is final.
Create timestamps after silence removal. Automated edits can change the position of every later segment. If you write timestamps before editing, they may no longer match the published file.
Transistor.fm should receive the final approved file, not an unfinished recording that still needs editorial work.
Choose Silence Removal Software Based on Your Audio
Different podcast formats need different editing controls. A solo show, a two-person interview, and a panel discussion won’t respond well to the same settings.
For basic waveform editing, Audacity is a practical starting point. Its Truncate Silence effect can reduce quiet sections based on a volume threshold and duration. It gives small teams direct control without requiring a paid editing suite.
Descript uses a transcript-based workflow. You can edit spoken sections by changing text, then shorten gaps between words or phrases. This approach works well when the main goal is to remove long pauses, repeated phrases, and obvious verbal mistakes from a clean recording. It also lets you review edits against the transcript instead of relying only on the waveform.
Adobe Audition is better suited to teams that need detailed multitrack control. You can inspect each speaker, adjust silence manually, and keep music, room tone, and voice tracks separate. That control matters when an automatic tool starts removing pauses that carry meaning.
Auphonic is useful for post-production tasks such as loudness correction, leveling, and noise processing. It can fit into a larger automated workflow, but don’t treat any audio processor as a replacement for editorial review. Check the current feature set before depending on it for silence removal.
Use this basic selection logic:
- Choose Audacity when you need a free editor with manual silence controls.
- Choose Descript when transcript editing is central to your production process.
- Choose Adobe Audition when your show uses multiple tracks or complex audio.
- Add Auphonic when loudness, leveling, and repeatable audio processing are the main priorities.
The tool matters less than the settings and review process. A paid editor can still produce poor results when it deletes every quiet section.
Configure Silence Removal Without Flattening the Conversation
Silence removal software usually looks for audio below a chosen volume threshold. It then deletes or shortens quiet sections that pass a minimum duration.
That sounds simple. Podcast dialogue isn’t.
A pause can mean the speaker is thinking, the host is reacting, or the guest is leaving room for an answer. Some pauses also separate ideas. Removing them all creates a rushed rhythm and can make the speakers sound nervous.
Start with a conservative edit. For clean spoken audio, test settings that affect pauses longer than roughly 0.8 seconds and reduce them to about 0.25 to 0.4 seconds. Treat those values as a starting point, not a fixed rule. Noisy rooms, soft speakers, compression, and microphone distance all affect the result.
Use a short test section before processing the full episode. Include a normal answer, a longer pause, a sentence with a quiet ending, and a section where two people speak close together. Export the test and listen on headphones and ordinary speakers.
Check four things:
- Does the speaker’s breathing still sound natural?
- Does each sentence keep its intended rhythm?
- Are words cut off at the beginning or end?
- Do replies still sound connected to the question?
If the result sounds rushed, increase the minimum silence duration or leave more silence after processing. If long gaps remain, lower the volume threshold slightly or increase the minimum duration that qualifies for removal.
Avoid aggressive settings when the recording contains room tone. A tool may cut between words because the room noise drops below the threshold. That produces a noticeable jump in background sound. Noise reduction and silence removal should work together, but they shouldn’t be applied blindly in one pass.
Two-track interviews need extra care. If the host and guest have separate tracks, you can edit each speaker without treating the other person’s speech as silence. A single mixed track gives the software less information. A pause on one side may contain a quiet response on the other.
Review Every Automated Edit Before Uploading
Automation can reduce editing time. It doesn’t understand the purpose of a pause.
Review the complete episode after the silence pass. Don’t check only the sections that look unusual in the waveform. Short cuts can affect the pacing of the next sentence, and a small edit can change how a reply sounds.
Listen for clipped consonants. Words that begin with “s,” “f,” or “t” can disappear when the software cuts too close to the speech boundary. Also check quiet sentence endings. A speaker may lower their voice without finishing the thought, and the tool can mistake that drop for silence.
Pay close attention to interviews. Automated editing can remove a guest’s short laugh, a host’s acknowledgment, or a brief “yes” that makes the exchange feel natural. Those sounds may look unimportant in the waveform. They still help listeners follow the conversation.
Mark any section that needs manual correction, then return to the project file. Don’t keep exporting new MP3 files and editing those exports. Make changes in the original session, then create a new approved master.
A useful review pass has three stages:
- Visual scan: Check for unusually tight gaps, abrupt waveform cuts, and sections with missing room tone.
- Focused listening: Review every automated edit with headphones.
- Full playback: Listen to the entire episode without skipping. Check pacing, continuity, and listener fatigue.
Use normal playback speed for the final review. Fast playback helps locate mistakes, but it hides timing problems.
If a listener can hear the edit, the setting is too aggressive for that section.
Keep a comparison copy of the pre-silence version. Label files clearly, such as episode-042-edited-before-silence.wav and episode-042-approved-master.mp3. This makes it easy to restore a pause when a producer or host rejects an automated cut.
Build a Repeatable Pre-Transistor Workflow
Small teams save more time by standardizing file handling than by testing a new editor every week.
Create separate folders for raw recordings, working sessions, approved masters, and published assets. Keep raw files read-only once the editing session starts. Store the project file with the audio assets it needs, or use a shared storage location that every producer can access.
A basic folder structure is enough:
01-raw02-editing03-approved04-published
Use one naming format for every episode. Include the show name, episode number, guest name, and version. Avoid names such as final-final-new.mp3. Use a format like show-042-guest-name-approved.mp3.
For recurring episodes, save a production template with your normal track layout, loudness settings, intro, outro, and export format. Keep silence removal as a separate step. This makes it easier to compare the raw edit with the processed version.
The approved file should pass a final technical check before upload. Confirm that:
- The file opens and plays from start to finish.
- The intro and outro are present.
- No speaker is clipped.
- The file has the expected sample rate and channel format.
- The loudness is consistent with the rest of the show.
- The filename identifies the correct episode.
Many podcast teams target around -16 LUFS for stereo audio or -19 LUFS for mono audio, but use the loudness standard already defined for your show. Check the result with a loudness meter instead of relying on the editor’s volume display.
Export a high-quality working file first if you still need another processing step. Create the delivery MP3 only after editing and mastering are complete. Then upload that approved file to Transistor.fm and confirm the episode details before publishing.
Add Automation Only After Editorial Approval
Automation works best when it moves files and sends alerts. It should not make publishing decisions without a review step.
You can connect a shared storage folder to an automation tool that notifies the producer when a new recording arrives. Another step can create a task for silence processing. A later step can move the approved file into the publishing folder.
Keep the approval gate manual. A producer should confirm that the audio sounds natural before the workflow sends the file to Transistor.fm. If your team uses the Transistor API or an integration service, restrict the publishing action to approved files and approved users. Review the current Transistor support documentation before configuring an automated upload.
Don’t overwrite the raw recording. Don’t trigger publishing when a file is merely exported. Use a clear status system such as raw, editing, review, approved, and published.
You can automate reminders, naming checks, storage transfers, and notifications. Keep editorial judgment with a person, especially for interviews, narrative shows, and episodes with emotional or dramatic pacing.
This approach gives you the time savings without turning the podcast into a mechanical sequence of clipped sentences.
Conclusion
Silence removal software belongs in the editing workflow before an episode reaches Transistor.fm. Use it to shorten long gaps, not to erase every pause. Start with conservative settings, test a short section, and review the full episode before export.
Transistor.fm can then handle hosting and distribution with a clean, approved master file. The best workflow is not the one that removes the most silence. It’s the one that removes wasted time while preserving the way real people speak.
