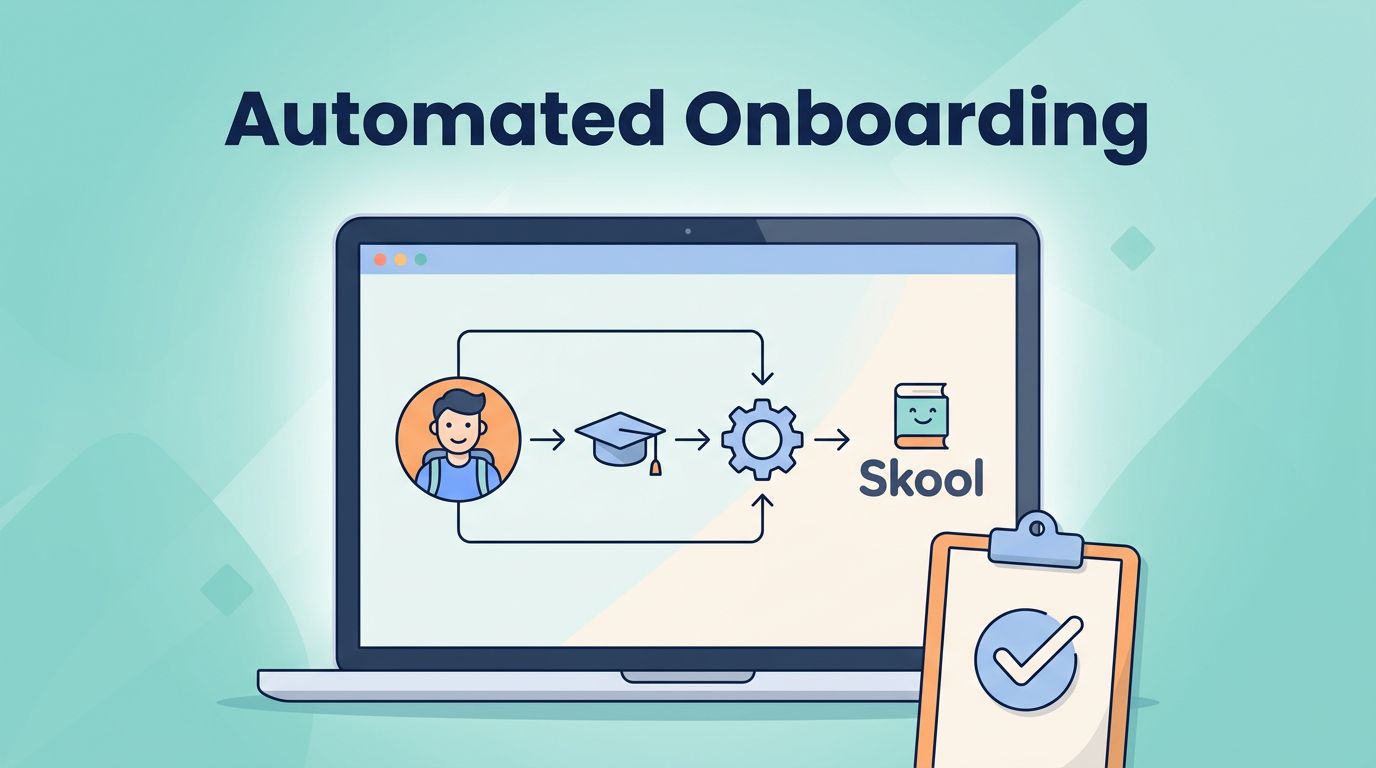
New students join my Skool community every week. I used to spend hours sending invites, emails, and setup instructions manually. That changed when I built automations that handle it all.
You run courses or coach groups on Skool too. Manual onboarding leads to delays, forgotten steps, and frustrated members who drop off early. I fixed this with simple workflows that activate students fast.
I’ll show you my exact setup. We start with what Skool does natively, then add tools for full automation.
Skool’s Built-In Tools for Quick Starts
Skool handles basic student onboarding right out of the box. I turn on invites in settings, and new payments trigger access. No extra apps needed for starters.
Go to your community settings first. Under “Members,” enable auto-approval for paid levels. Students buy through Stripe integration and join instantly. I set this up in five minutes.
Pin a welcome post on the feed. Mine says, “Post your top goal here. I’ll reply personally.” It sparks replies right away. Add a “Start Here” module in Classroom with a short video. I record mine on my phone: two minutes on navigation and first steps.
Skool tracks progress too. Use levels to gate content. New students see level one until they complete an intro task. This nudges action without overwhelming them.
For groups over 50 members, I assign roles natively. Students get “Member” status; VIPs get extras like private chats. Check the API docs for custom tweaks if you code.
These features cut my manual work by half. Still, for emails and data sync, I reach outside Skool.
When Native Skool Falls Short and Why Automate More
Skool shines for community basics. It lacks deep email sequences or CRM ties, though. That’s where automation shines.
I noticed 20% of students ignored my pinned post. They needed personalized nudges. External tools fixed that.
Think of onboarding like a conveyor belt. Skool starts it; automations keep it moving smooth. Payments hit, then emails fire, data saves, access grants. No drops.
Tools like Make.com connect everything. Free tier handles 100 tasks a month. I use it because Zapier limits grew tight.
One catch: Skool webhooks need setup. Copy the URL from settings. Paste it into your automation tool. Test with a dummy email first.
This combo boosts activation. Students log in within hours, not days.
Building Your Automated Welcome Path
I built my flow around triggers like Stripe payments or form submits. Here’s the step-by-step.
First, pick a tool. Make.com works best for me. Create a scenario: new payment as trigger.
Next, add modules:
- Pull student data: name, email from Stripe.
- Send to Skool webhook: adds them with role.
- Log in Airtable: tracks join date, course.
- Fire welcome email via Kit or Mailchimp.

Delays matter. Wait 5 minutes post-join for the first email. Then sequence over seven days.
I test every flow. Submit a test payment. Watch logs. Fix breaks fast.
For contracts, add PandaDoc. It fills templates auto. Students e-sign before Skool access.
Slack pings my team: “New student Alex joined.” Keeps us looped in.
This setup runs 24/7. I onboard 10 students weekly without touch.
My Seven-Day Onboarding Sequence That Sticks
Emails drive engagement. I send a drip campaign post-join.
Day zero: “Your login link. Check the pinned post now.”
Day one: “Watch this two-minute Classroom intro.” Link direct.
Day two: “Share your goal in feed. Tag me.”
Day three: Quick win. “Use this template for your first task.”
Day four: Poll. “What’s your biggest hurdle?”
Day five: Resource drop. “Top three lessons for fast results.”
Day seven: Recap. “Reply if you hit your goal.”
Generate copy with ChatGPT. Prompt: “Write Day 1 email for fitness coach course.”
Kit.ca handles sends cheap. Connect via webhook.
Track opens in the tool. Low rates? Tweak subjects.
This sequence lifts first-week logins by 40%. Students feel guided, not lost.
For details on email best practices, check this guide to automating student onboarding sequences.
Native Versus External: My Tool Stack Choices
Skool does invites, levels, and feeds well. Use it for core access.
External shines for:
- Email drips: Kit or Mailchimp.
- Data: Airtable base.
- Alerts: Slack.
- Forms: Typeform to trigger.
| Task | Native Skool | External Tool | Why External |
|---|---|---|---|
| Add member | Yes, via payment | Make.com webhook | Custom roles, tags |
| Welcome email | No | Kit.ca | Sequences, personalization |
| Track progress | Levels | Airtable | Reports, exports |
| Team notify | No | Slack | Real-time |
| Contracts | No | PandaDoc | E-sign |
Start native. Add one tool at a time. I went Make.com first.
Free tiers cover small groups. Scale pays off.
If you manage retention next, see my tips for improving student retention on Skool.
Boost Activation and Retention With Smart Tweaks
Automation sets the stage. Tweaks make it stick.
Require an intro post for level two. Skool enforces it.
Reward early action. Give points for first reply.
Personalize. Use merge tags: “Hi [Name], your goal was [goal].”
Monitor drop-off. Airtable flags no-logins after day three. I DM them.
Run a weekly welcome thread. Newbies post; oldies cheer.
For community setup basics, read my Skool community guide.
These steps raise retention 25%. Students stay because they connect fast.
Test polls in feed. Ask, “What held you back week one?” Fix gaps.
Conclusion
Automated onboarding in Skool frees me to teach, not admin. Native tools start strong; Make.com and Kit finish it.
You get instant invites, email nudges, and tracked progress. Activation jumps, retention holds.
Pick one trigger today. Build the flow. Watch students engage from day one.
Your community thrives when onboarding works. Start small, scale as members grow.