You’ve built a Skool group full of active members. Now you want to pull them together for a live session that sparks real conversations and drives sales. I faced that exact need last year. External tools like Zoom felt clunky; they pulled people away from my community.
Skool changed everything with its native Skool webinars. These let me broadcast directly to thousands without leaving the platform. No extra logins or fees. In this guide, I walk you through my exact steps for setup, running sessions, and follow-up that boosts retention.
Let’s start with the basics of what Skool offers.
Skool Webinars Explained: Broadcasts Meet Community Focus
Skool rolled out native live streaming in late 2025. By May 2026, it includes two options: Skool Calls for group chats and Skool webinars for one-to-many broadcasts. I use webinars when I need control, like product launches or Q&A sessions.
Webinars differ from calls in key ways. In a call, anyone can unmute and share video. Webinars keep the host in charge; I decide who joins the stage. Members watch, chat, and react, but the flow stays mine. This setup suits my coaching groups perfectly.
Both features live in the Calendar tab. Admins and mods start them. Members join via a simple link that shows in their local time. No caps on duration or attendees, even on basic plans. Webinars require Pro, though, at $99 monthly.
For details on creating events, check Skool’s official guide on webinars. I rely on it weekly.
This native approach cut my tool stack in half. Before, I’d juggle Zoom links in posts. Now everything stays inside Skool.
Setting Up Your First Skool Webinar
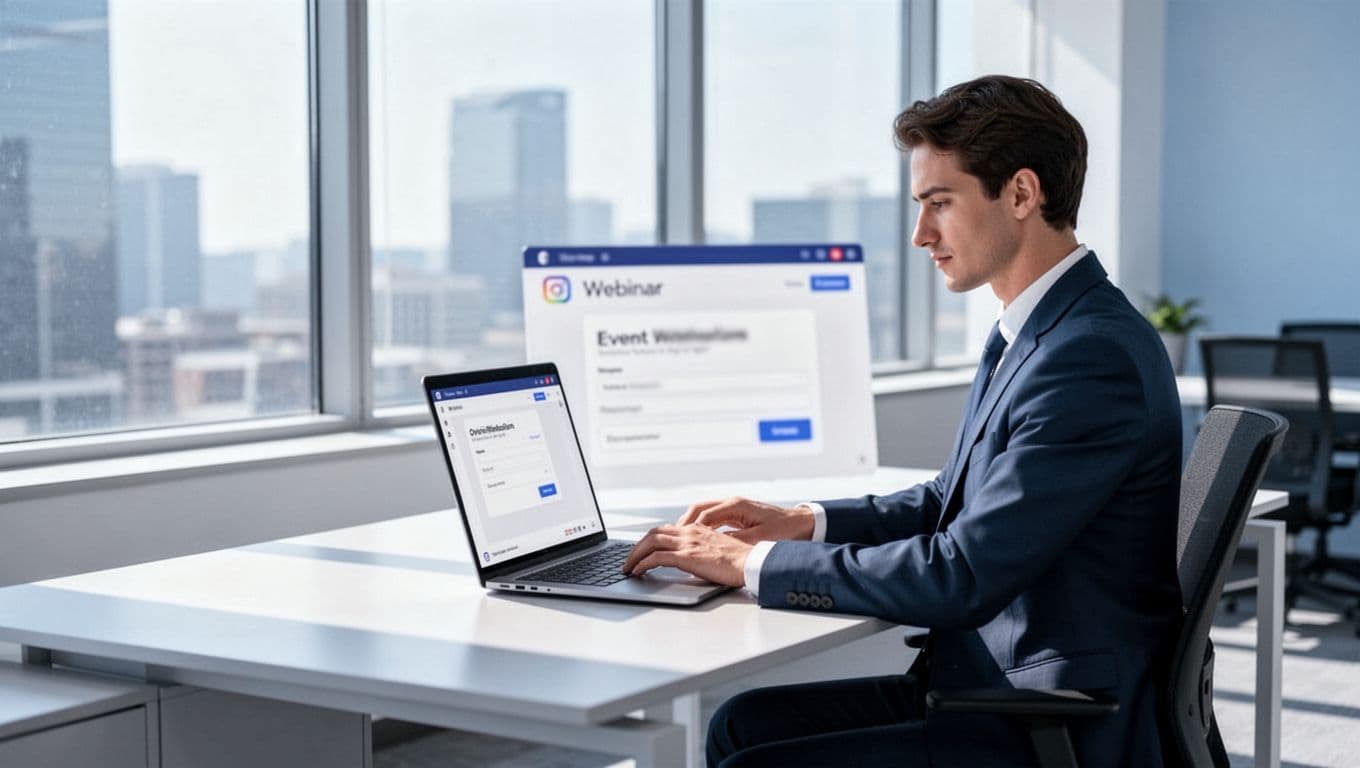
I schedule webinars the same way I plan any community event: through the Calendar. Click the plus button or “Create new event.” Pick your date and time; Skool adjusts for members’ timezones automatically.
Next, choose “Skool Webinar” from the type dropdown. Add a clear title, like “Live Q&A: Scale Your Membership to 100.” Write a short description with what they’ll gain. Upload a cover image that matches your branding; it makes the event pop on the calendar.
Set visibility to all members or a specific course. Save, and it appears instantly. Members get notifications. Their calendars update too.

This process takes under five minutes. I test every setup by inviting a mod first. If you’re new to Skool communities, my guide to launching and growing Skool groups covers the full setup.
Reminders fire automatically. Members see a countdown in the app. No extra emails needed.
Running Your Live Skool Webinar Smoothly
At go-time, head to the Calendar and click “Join Webinar.” Your unique link, like skool.com/live/[code], opens the session. Confirm your mic and camera. Share your screen if needed.
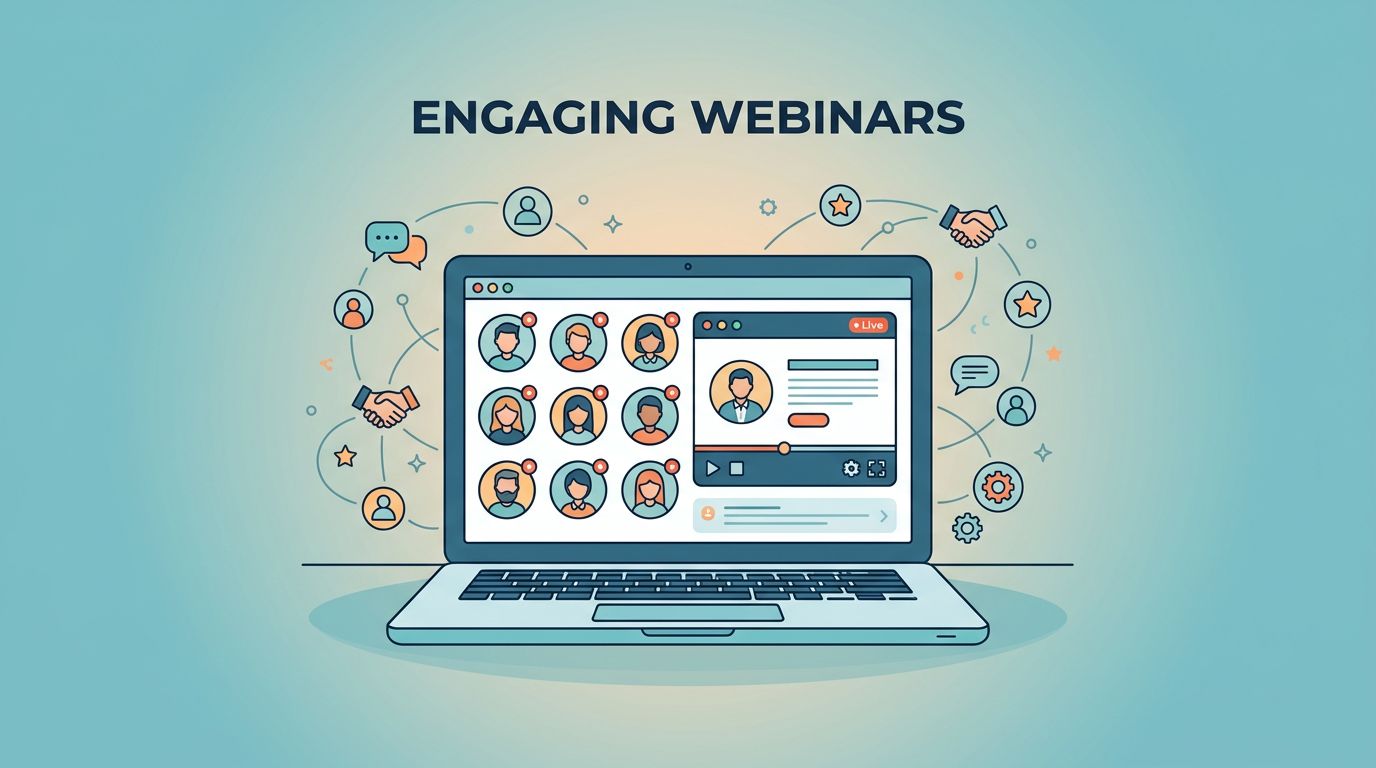
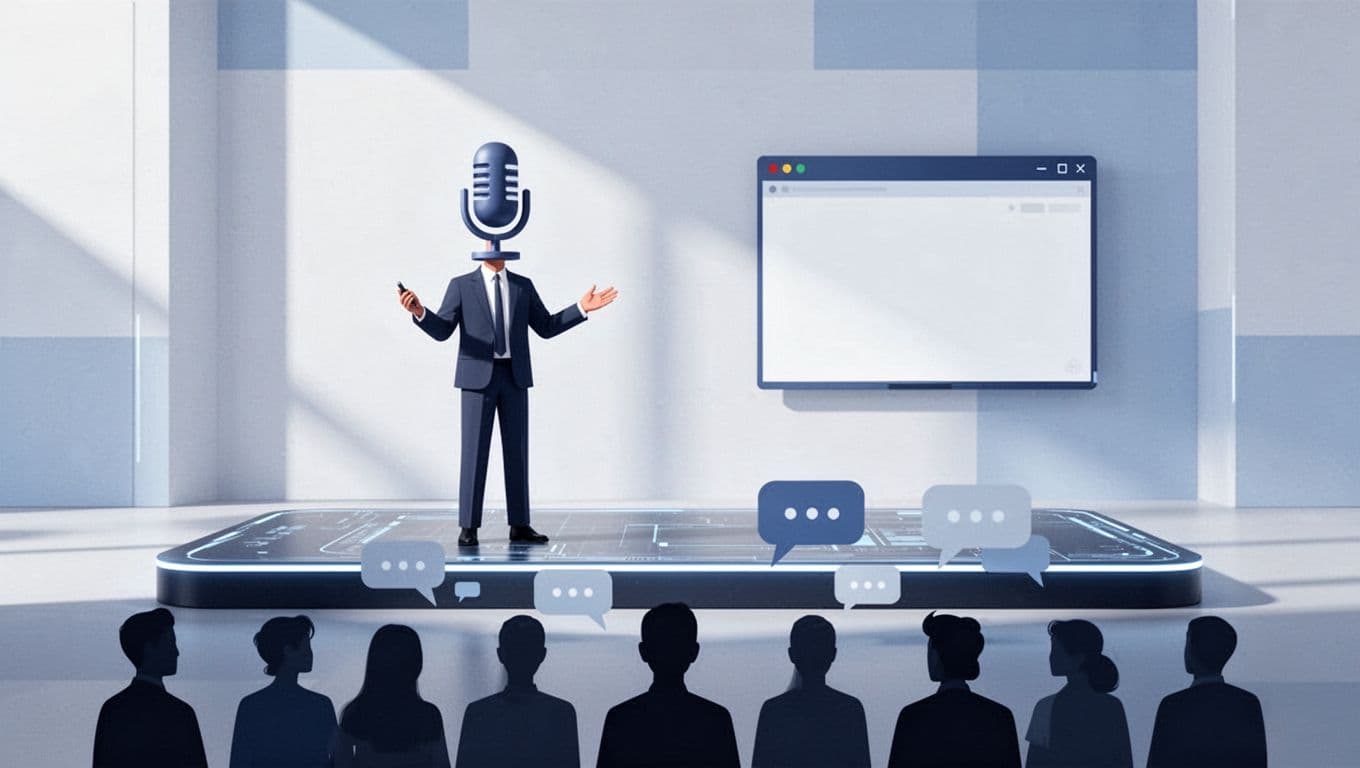
The interface feels clean. My video stays center stage. Chat flows below with reactions. I spot questions fast and invite key members onstage for spotlights.
I start with a quick poll in chat: “What’s your biggest challenge today?” It hooks them right away. Mute noisy lines with one click. Screen share pulls up slides seamlessly.
For big crowds, up to 10,000 join without lag. I hosted one last month; 450 showed, zero drops. End by toggling record if you want a replay.
Pro tip: Practice solo first. Check lighting and pacing.
Boosting Interaction in Skool Webinars
Chat is the heartbeat of my Skool webinars. Members type questions live. I pin top ones or shout them out. Reactions like thumbs-up show agreement fast.
Invite participants onstage for live demos. A client shared her sales funnel once; it doubled my conversions that week.
Use polls for quick feedback. “Yes or no: Does this tool save you time?” Results appear real-time. It keeps energy high.
Permissions help too. Mute all on entry, then unmute speakers. No one talks over you.
After 45 minutes, I open full Q&A. Scan chat, pick three deep questions. Answer directly. This builds trust.
For more on events, see Skool’s Calendar help.
Replays and Post-Webinar Conversions
Recordings save automatically if I choose. Replays land in the Calendar and post feed. Members watch anytime, with chat preserved.
I follow up fast. Post a dedicated thread: “Webinar Replay + Action Steps.” Link the video, list three takeaways, add a buy button for my course.
Email doesn’t work here; Skool’s notifications push harder. Track views in analytics. Low replay rates? Shorten future sessions.
One replay got 200 views overnight. It converted 15% to paid members. Tie replays to Skool membership retention tips for steady revenue.
Pros and Cons of Native Skool Webinars
Skool webinars shine for simplicity. No integrations mean fewer logins. Everything’s free beyond Pro fees. Replays and chat stay native.
Pros:
- Unlimited scale and time.
- Built-in reminders and timezone fixes.
- Chat and reactions boost engagement.
- Replays auto-save.
Cons:
- Pro-only for webinars (Calls work on Basic).
- No advanced polls or breakout rooms yet.
- Relies on browser; occasional mic glitches.
Compared to Zoom, Skool wins on community stickiness. I ditched externals after one test.
Details on recent launches appear in this Skool webinar announcement.
Tips for Webinar Success and Follow-Up
Prep slides ahead; keep them visual. Start on time, end early. Tease one big win upfront.
For conversions, end with a pitch. “Join my Pro tier now for templates.” Link checkout directly.
Test on mobile; half my audience joins there. Announce in feed 48 hours early.
Handle no-shows with replay hype. “Missed it? Watch and reply your wins.”
Track metrics: attendance, chat volume, sales. Adjust next time.
Spontaneous “Go Live” Calls fill gaps between scheduled webinars.
Key Takeaways on Skool Webinars
Native Skool webinars let me host broadcasts that feel like home. Setup takes minutes, interactions flow naturally, and replays close sales.
I save hours weekly without tool switches. My community grows tighter.
Try one this week. Your members wait for that live spark.
(Word count: 1487)