Build a Smart Home Automation Bot With Twin.so
A smart home automation bot can handle routine device tasks without forcing you to build a complex flowchart. It can check device status, respond to commands, trigger actions on a schedule, and ask for approval before changing anything sens...
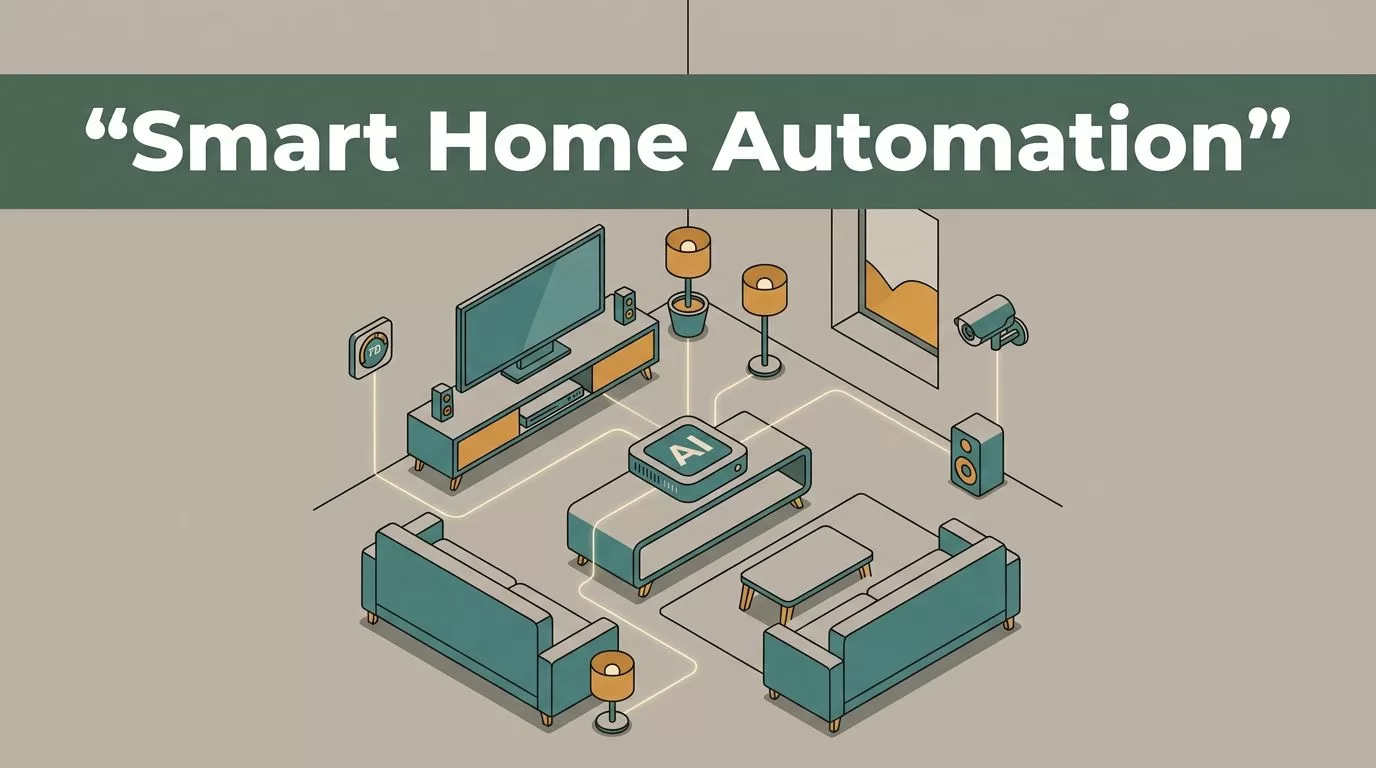
A smart home automation bot can handle routine device tasks without forcing you to build a complex flowchart. It can check device status, respond to commands, trigger actions on a schedule, and ask for approval before changing anything sensitive.
Twin.so fits this use case because it combines AI agents, app integrations, APIs, webhooks, and browser automation. You describe the result you want, connect the required tools, and define the limits. Start with one reliable workflow, then expand it after the first version works.
What Twin.so Adds to Home Automation
Traditional home automation depends on fixed rules. You select a trigger, choose an action, and connect both with a rigid workflow. That works for simple routines, but it becomes difficult when the bot needs to inspect several conditions before acting.
Twin.so uses an agent-based model. You describe the outcome in plain language, then the agent plans the required steps. It can use an API when a service provides one. It can also work through a browser when the required dashboard or portal doesn’t offer a usable API.
The official Twin.so platform currently promotes thousands of app integrations. Its capabilities include scheduled runs, webhook triggers, browser actions, and connections to business tools such as Google Sheets, Slack, Notion, Airtable, and Supabase.
For a smart home project, Twin can coordinate three layers:
- A command or event starts the workflow.
- The agent checks information from your connected devices or home platform.
- The agent performs an allowed action and returns the result.
The device layer still matters. Twin isn’t a replacement for a smart home hub, lighting bridge, thermostat controller, or security system. It acts as the decision and coordination layer around those systems.
Use direct APIs for device control whenever possible. A browser agent can operate a web dashboard, but dashboard layouts can change. Browser automation also requires an accessible login and may be unsuitable for safety-critical actions.
Define the Bot Before You Open Twin.so
Don’t begin with a broad instruction such as “automate my home.” That request leaves too many decisions to the agent. Define one job with a clear trigger, a short action list, and a known completion state.
A good first workflow is an evening shutdown routine. The bot checks the state of selected lights, confirms that the office is empty, turns off approved devices, and reports what happened.
Write the workflow in this format:
- The trigger is a scheduled time, webhook event, or chat command.
- The inputs are device names, current states, occupancy data, and user preferences.
- The actions include only approved device changes.
- The result is a short status message.
- The exception path tells the bot what to do when data is missing.
Keep your first version narrow. Control two or three lights before adding locks, garage doors, alarms, or heating systems. Each added device increases the number of failure cases you need to test.
Your instruction should also state what the agent must not do. For example, it shouldn’t unlock a door because a message sounds urgent. It shouldn’t keep retrying a failed command without reporting the error. It shouldn’t change a thermostat beyond a defined temperature range.
A useful starting prompt looks like this:
Create an agent called HomeOps. When I send the command “good night” or the scheduled evening trigger runs, check the status of the living room and office lights. Turn off only those lights. Report each device result. If the device status is unavailable, stop and report the issue. Never unlock doors, open the garage, disable alarms, or change heating settings without my approval.
This prompt gives Twin a role, an event, a device scope, an error rule, and a safety boundary.
Build a smart home automation bot in Twin.so
The build process has five practical stages.
1. Create the agent and describe the outcome
Open Twin and create a new agent. State the workflow in plain language. Name the agent based on its job, such as HomeOps, OfficeClose, or EnergyCheck.
Use direct instructions. Say what the agent should read, what it can change, and what it should return. Avoid asking it to “figure out everything” because broad autonomy makes testing harder.
Twin’s quickstart documentation shows the basic pattern for creating agents and triggering them through connected events. Use that flow as the starting point, then add your device tools.
2. Connect the smart home service
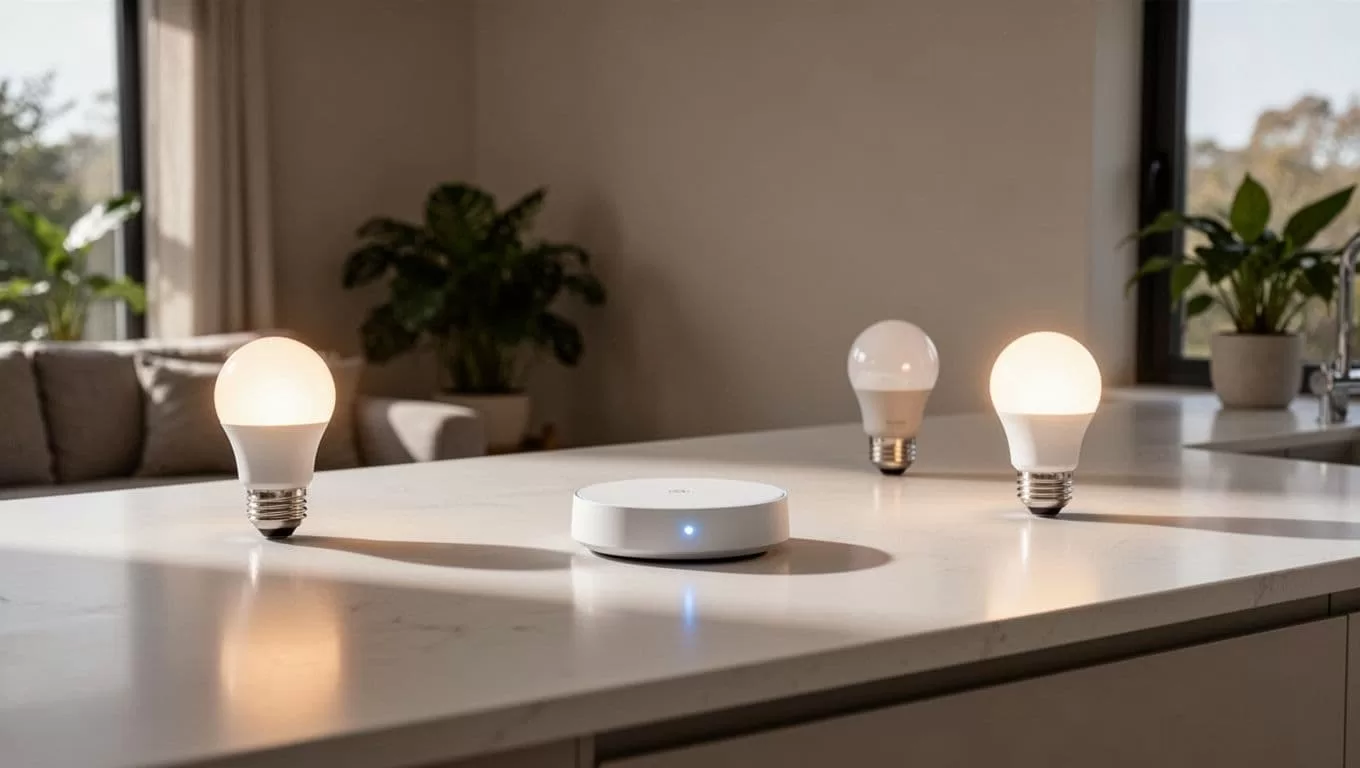
Choose the integration that exposes your devices. This may be a supported app connector, a smart home platform, or a custom service with an API.
An API is a structured way for one system to request data or send an instruction to another system. For example, the agent can request the current state of a light, then send a separate request to turn it off.
If your home system provides a webhook, use it as an event entry point. A webhook is a web address that receives a notification when something happens. A motion sensor, door contact, or energy monitor can call the webhook and start the Twin agent.
Authentication proves that the request is allowed. The connection may use OAuth, an API key, or another access token. Connect credentials through the platform’s authentication settings. Don’t paste secrets into the agent prompt or store them in a plain text document.
A home device on your local network may not be reachable by a cloud-based agent. Use a supported connector or a controlled HTTPS relay when needed. Don’t expose your hub’s administrator port directly to the public internet.
3. Add the trigger
Twin supports scheduled runs and event-based triggers. The Twin trigger guidance lists schedules, webhooks, inbound messages, form submissions, and other events as common starting points.
Use a schedule for predictable routines:
- Run the office closing workflow at 7:00 p.m.
- Check the energy dashboard every morning.
- Review devices that remained active overnight.
Use a webhook when the event comes from a device or another service:
- A door sensor reports that the door opened.
- A temperature service reports a threshold breach.
- An occupancy system marks the office as empty.
Use a chat channel for direct commands. Twin materials describe Telegram bot workflows that can answer questions and perform connected tasks. If Telegram is available in your workspace, it can provide a simple interface for commands such as “check the office” or “turn off the meeting room lights.”
Don’t rely on natural-language commands alone for high-impact actions. Require a confirmation phrase or approval step before the agent changes locks, alarms, garage doors, or heating equipment.
4. Define the action sequence
Tell the agent to inspect state before changing anything. The sequence should be:
- Receive the trigger and identify the requested location.
- Read the current status of each allowed device.
- Skip devices that already match the target state.
- Apply only the approved changes.
- Return a result for every device.
- Stop and report an error when the device data is missing.
This approach prevents unnecessary commands and makes failures easier to diagnose.
For example, the agent should report “Living room light was already off” instead of sending another off command. It should report “Office light could not be reached” instead of claiming the routine completed.
5. Test with safe devices first
Run the workflow manually before enabling a schedule. Test normal conditions, missing data, expired credentials, unavailable devices, duplicate triggers, and partial failures.
Start with lights or a non-critical smart plug. Add thermostats and access controls only after the agent consistently reports accurate results.
Add Security and Confirmation Safeguards
A home automation agent has access to physical systems. Treat its permissions like employee permissions, not like a casual chatbot connection.
Use least privilege. Give the agent read access to sensors and write access only to the devices it needs. A bot that controls living room lights doesn’t need access to door locks or security cameras.
Store credentials inside the connected account or secret-management settings. Don’t include API keys in prompts, chat messages, spreadsheets, screenshots, or shared documentation. Rotate tokens when a team member leaves or when a connection may have been exposed.
Use confirmation safeguards for high-impact actions. Require approval before the agent:
- Unlocks a door or opens a garage.
- Disables an alarm or security camera.
- Changes heating or cooling beyond a fixed range.
- Activates an appliance with a heating element.
- Runs a command that affects an entire building.
The approval message should show the action and target. “Approve unlocking the front door for user Alex?” is better than “Approve action?” The person approving must understand what will happen.
Use fixed allowlists for device names and acceptable values. For example, permit thermostat settings between 18 and 24 degrees Celsius. Reject unknown device names instead of guessing.
Keep a record of each run. Record the trigger, device state, requested action, result, and error message. Twin can retry some operations and surface exceptions for review, but retries need limits. A failed light command may be safe to retry once. A lock command shouldn’t repeat indefinitely.
Deploy, Monitor, and Improve the Workflow
Enable automation only after the manual tests pass. Start with a schedule that runs once per day or a command that you control directly. Avoid launching multiple triggers until you know how duplicate events are handled.
Track four operating measures:
- Successful runs.
- Failed device actions.
- Incorrect or unexpected actions.
- Actions that required human approval.
Review the first week of run history. Remove unnecessary steps and tighten the prompt when the agent makes assumptions. If a device has inconsistent names, create a fixed naming map such as “living room light” and “office light.”
Add one capability at a time. A useful progression is:
- Read device status.
- Control lights.
- Send status reports.
- Add occupancy or temperature conditions.
- Add approval-based controls.
- Add business workflows for offices or rental properties.
A small-business operator can use the same structure for an after-hours office routine. The agent can check meeting room lights, confirm the building status, update a Google Sheet, and send a Slack report. Keep physical controls and business reporting in separate steps so one failure doesn’t hide another.
Conclusion
A smart home automation bot works best when it has a narrow job, clear permissions, and a defined error path. Twin.so provides the agent layer for connecting triggers, device services, APIs, webhooks, browser actions, and reporting.
Start with read-only checks and low-risk devices. Add write actions after testing. Store credentials securely and require confirmation for locks, alarms, garage doors, and high-impact equipment. The reliable build is not the one with the most connected devices. It’s the one that performs a small set of actions accurately every time.
