Download the Speechify Image to Speech App
A printed page, screenshot, or photo can become difficult to read when your eyes are tired or the text is too small. The Speechify image to speech app solves that problem by extracting words from an image and reading them aloud. You can use...
A printed page, screenshot, or photo can become difficult to read when your eyes are tired or the text is too small. The Speechify image to speech app solves that problem by extracting words from an image and reading them aloud.
You can use it for textbook pages, work documents, menus, signs, and screenshots. The process is simple: download the correct app, upload or capture an image, then start playback. These steps show how to set it up and use it safely.
Key Takeaways
- Speechify uses OCR to detect printed text inside images.
- The app then converts the extracted text into spoken audio.
- Android and iPhone users should download Speechify from their official app stores.
- Clear, well-lit images produce better reading results.
- Avoid uploading private documents unless you understand how the app handles them.
How the Speechify Image to Speech App Works
Speechify uses two systems to turn a picture into audio. The first is optical character recognition, commonly called OCR. OCR identifies letters and words inside an image and converts them into editable text.
The second system is text-to-speech technology. Speechify sends the detected text to its speech engine, which creates spoken audio. You can then listen through your phone, computer, or connected headphones.
The app doesn’t describe every object in a photograph. It focuses on readable text. A photo of a textbook page can work well. A photo of a person or landscape won’t automatically produce a detailed visual description.
Speechify reads text found in an image. It isn’t a general image-description tool.
The image-to-speech workflow usually follows this order:
- You open Speechify on a supported device.
- You upload an image or take a photo.
- OCR detects and transcribes the visible text.
- Speechify converts the text into audio.
- You adjust playback and listen.
Printed documents usually provide the best results. Blurry photos, curved pages, shadows, small fonts, and handwritten notes can reduce OCR accuracy. You should review the extracted text when accuracy matters, especially for contracts, medical information, or financial records.
Speechify also supports documents, web pages, PDFs, and other reading formats. That makes the image feature useful when a file doesn’t offer selectable text. Instead of typing the content manually, you can capture it and let the app process the words.
Download Speechify on Android, iPhone, or Computer
Start with the device you use for reading. Downloading from an official store reduces the risk of installing a fake application with a similar name.
Android download steps
Use these steps to install Speechify on an Android phone or tablet:
- Open the Speechify listing on Google Play.
- Confirm that the app name matches Speechify’s text-to-speech product.
- Tap Install.
- Wait for the installation to finish.
- Open the app and sign in or create an account.
- Allow camera or photo access when you want to scan an image.
Android menus can vary by manufacturer. A Samsung phone may show different permission screens from a Google Pixel. Read each permission request before approving it. You only need to grant access that matches your intended use.
iPhone and iPad download steps
For Apple devices, follow this process:
- Open the Speechify app on the Apple App Store.
- Tap Get.
- Authenticate with Face ID, Touch ID, or your Apple ID password.
- Launch Speechify after installation.
- Sign in and complete the requested setup.
- Grant access to the camera or photo library when you scan or upload images.
Speechify can use the camera to capture text directly. You can also select an existing screenshot or photo from your library. On supported iOS versions, Apple’s Live Text features may provide another way to identify text before you send it to a reading tool.
Computer access
If you want to read images on a larger screen, open the official Speechify website and check the current web or desktop options available for your account.
Download options can change by device and region. The web version may also have different controls from the mobile app. Check the current product page before installing software from a third-party download site.
Scan an Image and Start Listening
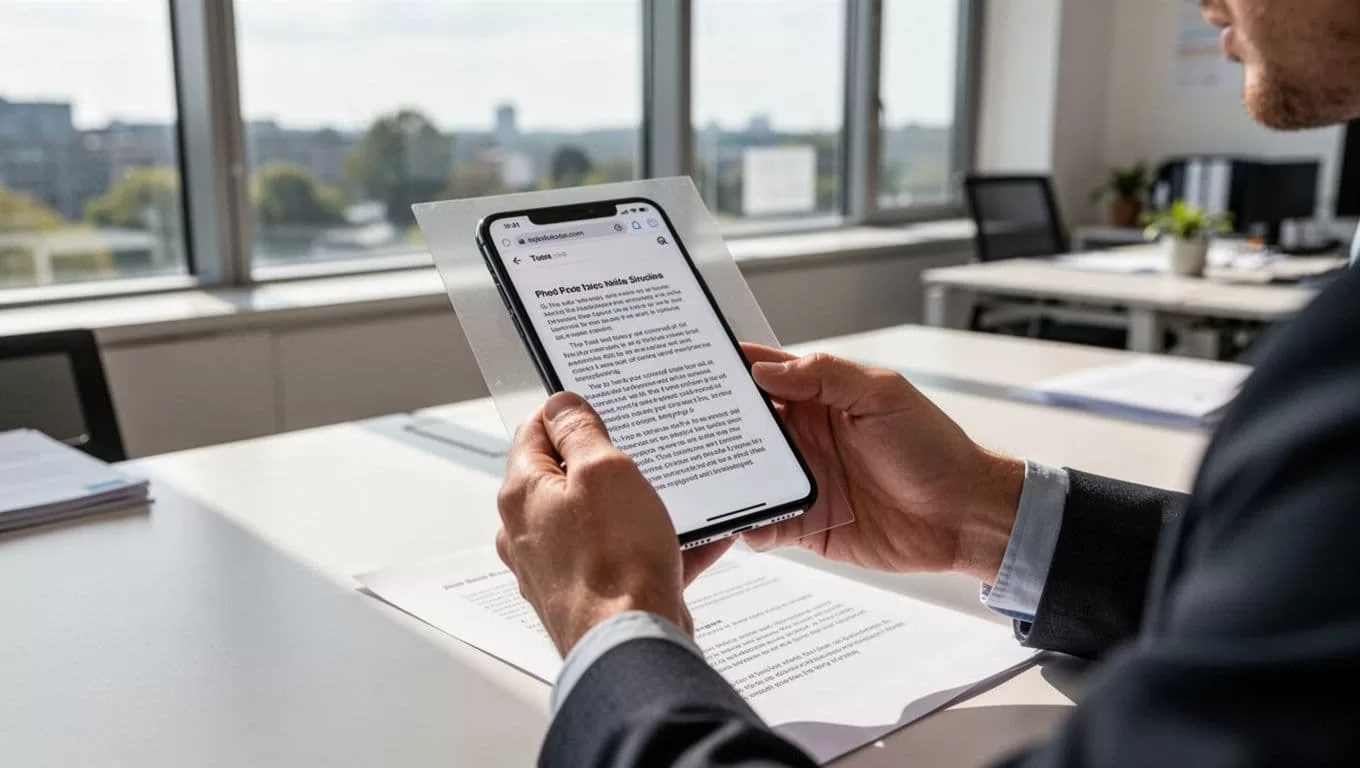
Once Speechify is installed, you can convert a photo into speech in a few steps. The exact button names may change as the app updates, but the basic workflow remains consistent.
Step 1: Prepare the image
Use a sharp image with enough light. Place the page on a flat surface. Keep the camera parallel to the page instead of holding it at a steep angle.
Remove objects that cover the words. Crop out large empty areas when possible. A tighter image gives the OCR system less irrelevant content to process.
For a screenshot, use the original screenshot instead of photographing another screen. The text will usually be sharper and easier for the app to detect.
Step 2: Open the scan or upload tool
Launch Speechify and look for the camera, scan, upload, or image option. Choose the camera if you want to capture a page immediately. Choose the upload option if the image is already saved on your device.
When using the camera, hold your phone steady. Make sure the full paragraph fits inside the frame. Take another photo if the first image has glare, blur, or missing words.
Step 3: Let Speechify process the text
Speechify uses OCR to analyze the image. Processing time depends on the image size, text amount, connection, and device.
The app may display the detected text before playback. Read through it when the content is important. Look for common OCR errors, such as a missing period, a misread number, or a letter confused with a similar symbol.
Step 4: Start playback
Tap the play control after the text is ready. Use headphones in shared spaces or when you need to focus.
Speechify lets you adjust the listening experience with controls such as playback speed and voice selection. Start at a comfortable speed. Increase it after the voice becomes easy to follow.
Step 5: Save or reuse the result
If your version of Speechify provides audio export or saved reading options, use them for repeat listening. You may want to save lecture notes, instructions, or frequently referenced documents.
Don’t create duplicate files without a reason. Store important audio in a known folder and remove sensitive copies when you no longer need them.
Accessibility Features for Students and Busy Readers
Image-to-speech is useful when reading from a screen creates friction. Students can photograph textbook pages, printed handouts, classroom whiteboards, or study notes. They can listen while reviewing material or use audio as a second way to process difficult passages.
People with dyslexia may prefer hearing text while following along visually. This can reduce the effort required to decode every line. Listening doesn’t replace visual reading for everyone, but it gives you another input method.
Users with low vision can also benefit from spoken text in printed materials. A phone camera can make a menu, label, form, or short notice easier to access. Pair the audio with larger text and stronger screen contrast when needed.
Speechify lists a broad voice and language library. Its available options include multiple languages and different speaking styles, though the exact selection can depend on your device, account, and plan. Test several voices before choosing one for long sessions.
Speed control matters as much as voice choice. A slow setting can help with unfamiliar material. A faster setting can help you review content you already understand. Use pauses and rewinds when a sentence contains names, numbers, or technical terms.
Accessibility also depends on the image itself. Ask someone to retake a photo if the page is tilted or poorly lit. A better source image often improves the result more than changing the voice.
Handle Personal Images Carefully
Images can contain more information than the words you want to hear. A document may show an address, account number, signature, student record, medical detail, or internal business data.
Use these safeguards before scanning:
- Crop out unrelated personal information.
- Don’t upload identity documents unless the task requires it.
- Avoid scanning payment cards, passwords, or confidential records.
- Review camera and photo permissions in your device settings.
- Delete temporary images from your gallery when you no longer need them.
- Check Speechify’s current privacy disclosures before processing sensitive material.
Use a company-approved account for business documents. Don’t send confidential images through a personal account without approval from your security or compliance team.
The right approach depends on the information’s sensitivity. A public menu has a low privacy risk. An employee record or customer contract requires stricter handling. If you wouldn’t email the image to an unknown service, don’t upload it without checking the service’s terms and controls.
Fix Common Image-to-Speech Problems
Speechify may misread an image when the source quality is poor. Start by retaking the photo. Use natural light, remove glare, and keep the page flat.
If only part of the text is detected, move the camera farther away or capture the page in smaller sections. Long pages can exceed what the app reads accurately in one scan.
If playback sounds incorrect, inspect the extracted text. OCR can confuse similar characters, especially in small fonts. Numbers, abbreviations, tables, and unusual formatting need extra review.
When a document contains columns, scan one column at a time if the reading order is wrong. The app may process text from multiple columns in an unexpected sequence.
Check your internet connection if processing stops. Restart the app if the scan remains stuck. Update Speechify through the relevant app store before troubleshooting further.
For recurring business use, test the workflow with five to ten representative documents. Measure how often the app detects the text correctly. This gives you a better basis for deciding whether it fits your team’s process.
Conclusion
Speechify turns a photo or screenshot with readable text into spoken audio through OCR and text-to-speech. The setup is direct: download the official app, capture a clear image, review the detected text, and start listening.
The strongest results come from clean source images and sensible privacy controls. For students, people with dyslexia or visual impairments, and busy readers, image-to-speech provides a practical way to access printed content without typing it manually.
