Speechify WordPress Plugin: What to Install Instead
If you search for a Speechify WordPress plugin inside your WordPress dashboard, you won’t find an official one-click installation. As of July 2026, Speechify’s WordPress setup requires a manual integration using its Embeddable U...

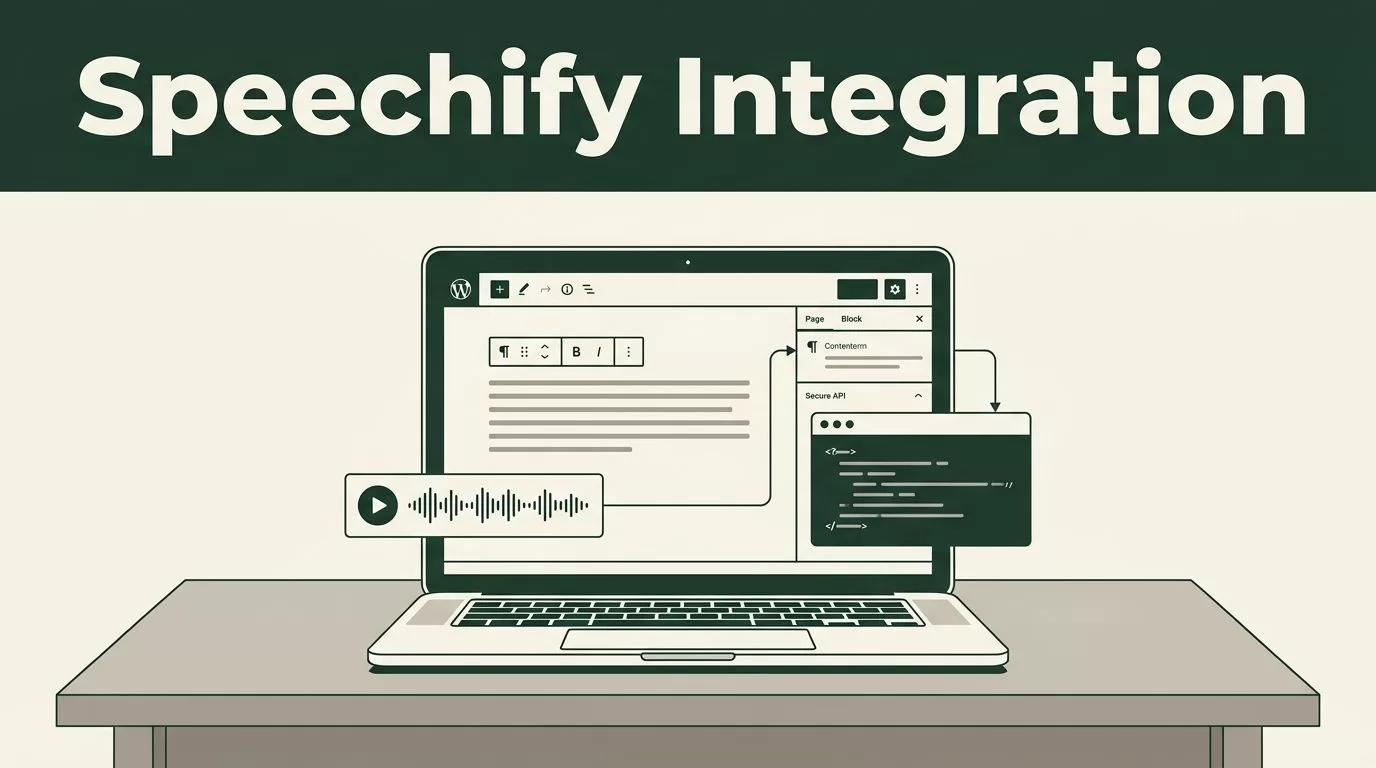
If you search for a Speechify WordPress plugin inside your WordPress dashboard, you won’t find an official one-click installation. As of July 2026, Speechify’s WordPress setup requires a manual integration using its Embeddable UI and API SDK.
That changes the implementation plan. You don’t install Speechify like a standard plugin. You confirm the integration route, keep authentication on your server, and connect the player to your WordPress content. The steps below separate confirmed Speechify requirements from general WordPress deployment work.
Key Takeaways
- Speechify doesn’t provide a dedicated official plugin in the WordPress Plugin Repository.
- The supported integration uses
@speechify/embeddable-uiand@speechify/api-sdk. - A developer must create a secure token endpoint before the player can authenticate.
- WordPress administrators can manage the custom integration through a private plugin or theme component.
- Test the player on desktop and mobile, then review keyboard access and content structure.
Why You Won’t Find an Official Speechify Plugin
WordPress plugins are normally installed through Plugins > Add New. You search the repository, select a listing, click Install Now, and activate it. That process doesn’t apply to Speechify’s current WordPress integration.
Speechify’s integration is designed for custom web development. The required packages are @speechify/embeddable-ui and @speechify/api-sdk. A developer installs those packages in a project directory with npm or Yarn, then connects the resulting player to the website.
This is different from a plugin such as GSpeech, ResponsiveVoice, or TTSWP. Those products are built around WordPress installation screens or shortcodes. Speechify’s current method requires JavaScript, a server-side authentication process, and a place in your WordPress site where the player can load.
Don’t install an unrelated plugin because its name includes “text to speech” or “Speechify.” A third-party plugin may use a different speech provider, pricing model, account system, and data process.
A search result for “text to speech” is not proof that the plugin uses Speechify.
The current Speechify setup information identifies manual API embedding as the required route. That means your first task is not activating a plugin. Your first task is confirming who will build and maintain the integration.
Prepare WordPress Before Adding the Speechify Player
A custom text-to-speech integration can affect scripts, page templates, caching, and account credentials. Start with a staging site if your host provides one. If you work directly on production, create a recent backup before changing files or installing a custom package.
Use this WordPress path to check your current installation:
- Open Dashboard > Updates and confirm WordPress, themes, and plugins are current.
- Go to Tools > Site Health > Status and review critical errors.
- Open Plugins > Installed Plugins and record active caching, security, optimization, and page-builder plugins.
- Go to Appearance > Themes and note the active theme and its version.
- Confirm that your hosting account supports the server-side work required by your developer.
Next, visit Plugins > Add New and search for “Speechify.” If no official Speechify listing appears, stop looking for a repository installation. That result is expected under the current setup.
If a developer gives you a custom plugin ZIP file, use Plugins > Add New > Upload Plugin. Upload the ZIP, select Install Now, and activate it only after testing the package on staging. This is a general WordPress upload path, not a Speechify-specific installation screen.
A private custom plugin is usually easier to maintain than edits to a parent theme. Theme updates can overwrite direct changes. A custom plugin keeps the integration separate from the site’s visual design and makes future maintenance clearer.
For general background on WordPress text-to-speech tools, review this comparison of WordPress text-to-speech plugins. It covers the wider plugin category, not a direct Speechify installation.
Install the Speechify Integration With a Developer
The confirmed Speechify implementation uses two packages. The Embeddable UI provides the player interface. The API SDK connects the integration to Speechify services.


Your developer should complete the following sequence in a controlled project environment:
- Create or open the integration project.
This may be a custom WordPress plugin project or a separate build process that generates the required JavaScript assets. - Install the required packages.
In the project directory, runnpm install @speechify/embeddable-ui @speechify/api-sdkor the equivalent Yarn command. - Import the Speechify modules.
The implementation importsinitializePlayerfrom the Embeddable UI package and theSpeechifyclass from the API SDK. - Create the client instance.
The integration creates a Speechify client withconst speechify = new Speechify();. - Build token issuance on the server.
The client requires a token. Your server must issue that token through a protected endpoint. Never place private credentials or long-term secrets inside a public JavaScript file. - Initialize the player.
The integration callsinitializePlayer(speechify)after the client is ready and authenticated. - Add the player component.
The Speechify player is embedded with the<speechify-player>component in HTML or JSX. The developer then connects that component to the content experience on your site.
The last step requires WordPress-specific decisions. The player can be added through a custom plugin, a theme template, or a custom block, depending on how your site is built. The implementation should load the required assets through WordPress rather than pasting untracked scripts into multiple pages.
If your developer packages the integration as a plugin, you manage it through Plugins > Installed Plugins. If the integration creates a block, you may insert that block through the WordPress editor. If it uses a template, the player may appear automatically on selected post types.
Ask for a clear deployment package. It should identify the plugin name, version, required settings, authentication endpoint, supported post types, and rollback procedure. You also need access to the source code or maintenance owner. A speech player without an identified maintainer becomes a liability when WordPress or the theme changes.
Configure Content and Placement
The player needs a defined content source. Your developer should decide whether it reads the article body, a selected content container, or text passed to the component. Don’t assume it will automatically understand every page element.
For a publisher site, place the player near the article title or before the main content. Readers should find it without scanning the entire page. Keep the original written article visible. Audio should add another access method, not replace the text.
Avoid placing multiple players on one page unless you have a clear use case. Duplicate players can confuse readers and make testing harder. Use one consistent position across posts, pages, and custom content types.
The WordPress editor also needs protection from accidental changes. If the player depends on a custom block or shortcode, document its use for editors. Define which templates include it automatically and which pages require manual placement.
Review your caching and optimization configuration after deployment. Go to the settings area for your caching or performance plugin and check whether JavaScript combination, minification, or delayed script loading affects the player. Change one setting at a time on staging, then test the result.
Don’t place the Speechify token in a Custom HTML block. Custom HTML is a page-content tool. It isn’t a secure location for private authentication data. Server-side token issuance belongs in the integration’s backend code.
Apply Accessibility and Testing Checks
Text to speech supports access, but it doesn’t make a website accessible by itself. Keep proper heading order, descriptive links, readable contrast, keyboard access, and useful alternative text for images.
The article must remain understandable without audio. Readers may use screen readers, browser controls, captions, or other assistive technology. A TTS player is an additional option.
Use the text-to-speech accessibility guide to review how audio tools fit into broader accessibility work. Don’t describe the Speechify player as proof of ADA or WCAG compliance. Compliance depends on the full website and its content.
Test the integration in this order:
- Open a published article on a desktop browser.
- Confirm that the player appears in the intended location.
- Start, pause, and resume playback.
- Check that the correct article text is used.
- Move through the player with a keyboard.
- Resize the browser and check that the controls remain usable.
- Open the same article on a mobile phone.
- Test both a mobile browser and the site’s responsive layout.
- Repeat the test on a short article, a long article, and a post with images or embedded media.
- Check a page where the player should not appear.
Desktop testing catches layout and script issues. Mobile testing catches cramped controls, incorrect spacing, and content-container problems. Test both before publishing the integration across a large archive.
If the player doesn’t appear, inspect the browser console and network requests. Confirm that the custom assets load and that the token endpoint returns the expected response. If playback fails after a caching change, temporarily disable the related optimization setting on staging.
If authentication fails, check the server-side endpoint and application logs. Don’t solve an authentication error by exposing credentials in the browser. If only some templates fail, compare their content structure and asset-loading rules.
If WordPress reports a plugin conflict, deactivate one nonessential plugin at a time on staging. Security, caching, page-builder, and script-optimization plugins are common places to check. Restore each setting after testing so you don’t create an undocumented production configuration.
Choose a Different Plugin When You Need No-Code Setup
Some site owners need a WordPress dashboard installation with no custom development. In that case, Speechify may not match the implementation requirement.
You can evaluate WordPress-focused tools such as GSpeech, ResponsiveVoice, TTSWP, or other plugins listed in the WordPress repository. These are separate products. Their voices, controls, integrations, account requirements, data handling, and pricing may differ from Speechify.
Use Plugins > Add New to inspect each candidate. Check the author, update history, documentation, support activity, required external accounts, and shortcode or block workflow. Install the candidate on staging before activating it on production.
A no-code plugin may reduce development work, but it still needs operational review. Confirm what text leaves your site, where API credentials are stored, which pages receive the player, and how the plugin handles content changes.
Conclusion
The current Speechify WordPress integration isn’t a normal repository plugin. You need a custom implementation with the Embeddable UI, API SDK, and secure server-side token handling.
Start with Plugins > Add New to confirm that no official listing is available. Then use a staging site, package the integration as a maintained custom component, and deploy it through the correct WordPress path.
Keep the article text available, review accessibility basics, and test the player on desktop and mobile. The right setup is not the one that appears fastest in the dashboard. It’s the one your team can secure, test, and maintain.

