Long PDFs, email threads, and research papers are easier to handle when your Mac can read them aloud. Speechify converts written content into spoken audio, so you can listen while reviewing documents, commuting, or taking a break from the screen.
The Mac installation is straightforward, but the source matters. Use the official Speechify download or the Mac App Store, check your macOS version, then grant the required accessibility permission. Follow the steps below to install Speechify safely and start listening.
Key Takeaways
- The dedicated Speechify Mac app requires macOS Ventura 13.0 or newer.
- You can install it through the Mac App Store or an official Speechify DMG file.
- Accessibility permission lets Speechify access text in other Mac applications.
- The app is free to download, while some advanced features require Premium.
- Avoid third-party download sites and modified installation files.
Check Your Mac Before Installing Speechify
Start by checking your operating system. The current dedicated Speechify Mac app requires macOS Ventura 13.0 or newer. To check your version, select the Apple menu in the top-left corner, choose About This Mac, and review the macOS name and version number.
If your Mac runs Monterey, Big Sur, or an older release, the dedicated app may not install. You can update macOS through System Settings > General > Software Update, if your hardware supports the update. Apple may use different menu names on older versions.
Speechify doesn’t list a separate Intel or Apple Silicon requirement for the Mac app. The main compatibility check is your macOS version. Keep at least a small amount of free storage available for the download and normal application files.
You have two official installation routes:
- Mac App Store: This is the simplest option for most users. macOS manages the installation, and updates appear through the App Store.
- DMG installer: This is a direct download from Speechify. It gives you the standard Mac installation file that you drag into the Applications folder.
The official Speechify Mac app page provides the current Mac download option and product details.
Download Speechify only from Speechify’s website or the Mac App Store. Don’t use software mirror sites, torrent links, or modified app packages.
Install Speechify on Mac Step by Step
The DMG method is useful when you want to download the Mac app directly from Speechify. The process follows the standard Mac application workflow.
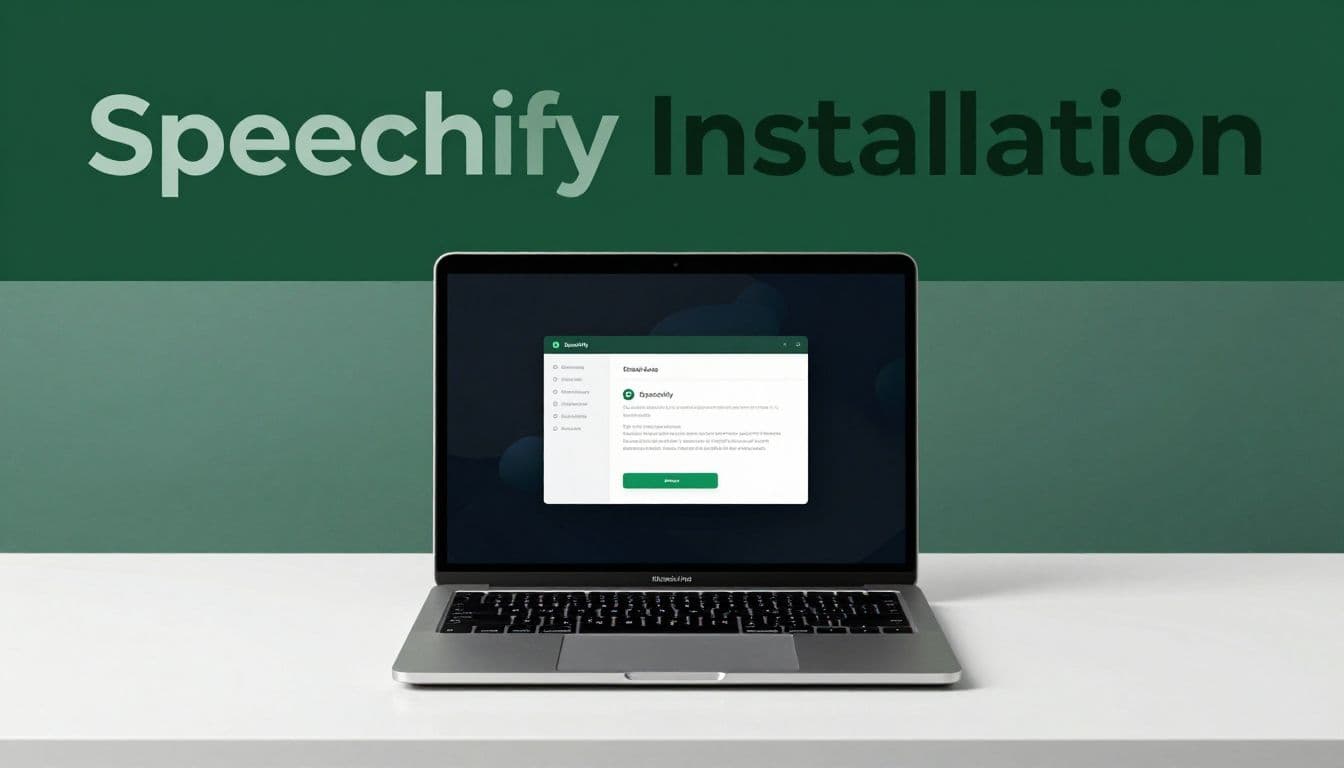
Option 1: Use the Mac App Store
- Open the App Store from your Dock or Applications folder.
- Search for Speechify.
- Select the official Speechify app in the results.
- Choose Get or the download button.
- Authenticate with Touch ID, your Apple Account password, or another requested method.
- Wait for the installation to finish.
- Open Speechify from the App Store, Launchpad, or the Applications folder.
The App Store route reduces the chance of selecting an unsafe file. It also keeps updates connected to your normal App Store workflow.
Option 2: Use the official DMG installer
- Open Speechify’s official download page in Safari or another trusted browser.
- Select the download option for Mac.
- Open your browser’s Downloads folder or the Mac Downloads folder.
- Double-click the Speechify
.dmgfile. - Drag the Speechify icon into the Applications folder shown in the installer window.
- Open Finder and select Applications in the sidebar.
- Double-click Speechify to launch it.
macOS may show a security prompt the first time you open an app downloaded from the internet. Check that the file came from Speechify’s official website before approving it. If the source is unclear, cancel the installation and delete the file.
Don’t disable Gatekeeper or other macOS security controls to force an unknown application to open. A warning from a third-party download should stop the installation, not encourage you to bypass it.
If you already have an older Speechify version, macOS may ask whether you want to replace it. Close Speechify first, then approve the replacement only if the new installer came from an official source.
Sign In and Grant Accessibility Permission
Launch Speechify after the installation finishes. The app will ask you to sign in or create an account. Use the account connected to your Speechify subscription if you already have one.
After signing in, review the setup prompts. Speechify may request accessibility access so it can detect or read text from other applications. This permission is separate from normal app installation.
On current macOS versions, open:
Apple menu > System Settings > Privacy & Security > Accessibility
Find Speechify in the list and turn on its permission. You may need to click the lock, enter your Mac password, or authenticate with Touch ID. Apple changes labels and layouts between macOS versions, so your screen may look different.
Close and reopen Speechify after granting access. This gives the app a clean connection to the updated permission.
Now test the basic text-to-speech function. Open a document or web page with a few paragraphs. Send the text to Speechify through the app’s available reading workflow, then select a voice and press Play. Adjust the reading speed until the audio remains clear.
The Mac app currently supports English with US and UK accents. Voice availability, speed controls, and other options can depend on your account and current app version.
Speechify also offers voice typing in the newer Mac app. The Option + Z shortcut can start dictation in supported applications such as Slack, Apple Mail, Pages, Microsoft Word, Notion, and Safari. Voice typing changes spoken words into written text. It isn’t the same as text to speech, which reads written words aloud. Advanced features such as Voice Typing require a Speechify Premium subscription.
Fix Common Speechify Mac Installation Problems
Most installation issues come from an unsupported macOS version, blocked permissions, or an incomplete download. Work through these checks in order.
- The installer won’t open: Delete the DMG file and download it again from Speechify’s official site. Don’t use a replacement file from a software archive.
- Speechify doesn’t appear in Applications: Repeat the drag-and-drop step. Opening a DMG file alone doesn’t install the app.
- The app says your Mac isn’t supported: Check About This Mac. The dedicated app requires macOS Ventura 13.0 or newer.
- Speechify can’t read text from another app: Return to System Settings > Privacy & Security > Accessibility. Turn Speechify off, turn it back on, then restart the app.
- There is no sound: Check the Mac volume, mute status, and selected output device. Test another audio app to confirm that the problem isn’t system-wide.
- A feature is missing: Confirm that you’re signed in to the correct account. Some tools require Premium, and feature availability can change between app versions.
If the app freezes, quit it with Command + Q and reopen it. A full Mac restart can also clear a temporary permission or audio issue. Install updates from the same official source instead of adding a second copy from another website.
Choose the Right Speechify Setup
The Mac app is the better choice when you need to listen to documents stored on your computer or access text across supported applications. It keeps reading tools close to your normal desktop workflow.
The Mac App Store is the easiest choice for most users. Use the direct DMG installer when you prefer Speechify’s official download page or when the App Store route isn’t available.
Speechify is free to download, but paid plans control access to some advanced features. Review the current plan details before purchasing. For a business or school Mac, check your organization’s software and accessibility policies before granting cross-application access.
Students can use the app for course readings and research papers. Professionals can listen to reports, drafts, and long documents. Readers with dyslexia or visual fatigue can adjust the playback speed and use audio as an alternative way to process written information.
Conclusion
Installing Speechify on Mac takes a few minutes when your system meets the macOS Ventura 13.0 requirement. Use the Mac App Store or Speechify’s official DMG file, place the app in Applications, sign in, and approve Accessibility access when requested.
The most important step is source control. A clean installation from an official channel gives you the correct app, safer updates, and a reliable starting point for Mac text to speech.