Implement Server Side NodeJS A/B Testing With Mida
Most digital teams face a frustrating paradox. You invest heavily in infrastructure to shave milliseconds off your server response times, yet your core conversion rates stubbornly refuse to climb. Visitors arrive, browse your pristine pages...
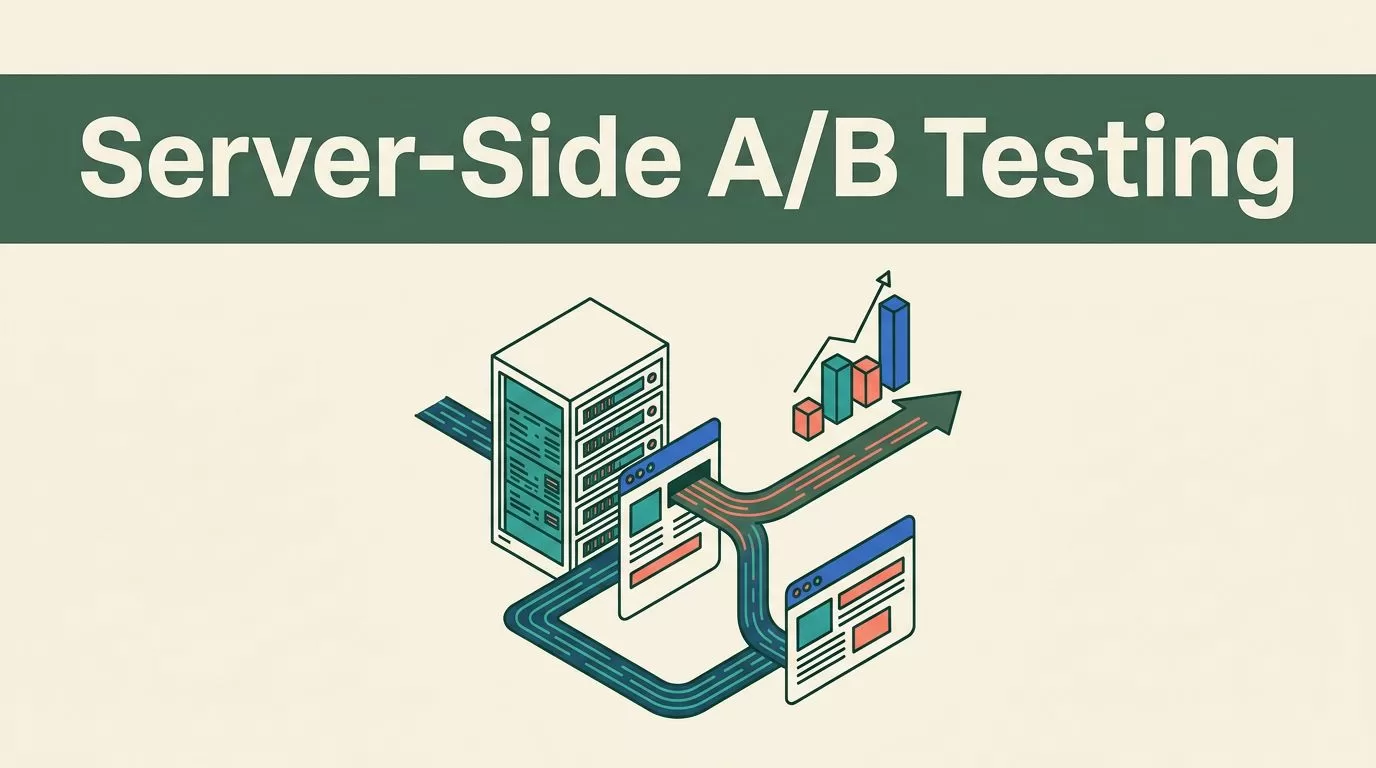
Most digital teams face a frustrating paradox. You invest heavily in infrastructure to shave milliseconds off your server response times, yet your core conversion rates stubbornly refuse to climb. Visitors arrive, browse your pristine pages, and leave without completing a purchase or booking a demo. Speed is necessary for a functional application, but it isn’t a strategy for persuasion. Pairing your backend architecture with an experimentation platform bridges that gap, allowing you to run robust server-side NodeJS A/B testing workflows.
Key Takeaways
- Initialize your NodeJS A/B testing client using secure environment variables for your project and API keys.
- Keep server-side variant assignment decoupled from your primary database queries to protect response latency.
- Monitor critical performance guardrails like server response time and error rates alongside your conversion metrics.
- Validate event payloads against your billing or CRM records before scaling any winning variant to 100 percent traffic.
Server-Side Versus Client-Side Architecture
Traditional experimentation platforms rely on heavy client-side scripts that execute in the browser. When a client downloads a massive testing bundle before rendering your layout, page load speed drops immediately. Mobile visitors on cellular connections feel this delay the most, resulting in higher bounce rates and abandoned form fields.
Server-side experimentation shifts variant evaluation directly to your backend infrastructure. Instead of letting the browser decide which experience to display, your Node application computes the assigned variant before rendering the HTML or returning a JSON payload. This approach eliminates annoying layout shifts and keeps your front-end code clean. To understand the deeper trade-offs involved in this architectural choice, review this analysis on client-side vs server-side A/B testing.
Configuring Your Mida Environment
Before writing any experiment logic, configure your credentials securely inside your project environment. Mida provides lightweight server-side SDK options for Node.js environments. You need a valid project key and API key generated from your Mida dashboard settings.
Store these credentials in your .env file rather than hardcoding them into your source code.
MIDA_PROJECT_KEY=your_project_key_here
MIDA_API_KEY=your_api_key_here
MIDA_REGION=us
Load these variables during application startup so your server instance can authenticate requests against the Mida API endpoints without exposing sensitive tokens to client browsers.
Initializing the SDK and Fetching Variants
Once your environment variables are active, you can initialize the client and request variant assignments for incoming user sessions. Create a dedicated experimentation service module in your application to handle API communication.
const MidaClient = require('@mida-so/node');


const mida = new MidaClient({
  projectKey: process.env.MIDA_PROJECT_KEY,
  apiKey: process.env.MIDA_API_KEY,
  region: process.env.MIDA_REGION || 'us'
});


async function getExperimentVariant(userId, experimentId) {
  try {
    const variant = await mida.getVariant({
      experimentId: experimentId,
      userIdentifier: userId
    });
    return variant;
  } catch (error) {
    console.error('Experiment assignment failed:', error.message);
    return 'control';
  }
}
Wrap your variant fetching logic in a reliable try-catch block. If the Mida API experiences a brief network timeout, your application must gracefully fall back to the control experience instead of crashing the request cycle.
Integrating Experiments Into Your Routing Logic
With your variant fetching function ready, integrate it directly into your Express or Fastify route handlers. When a user requests a specific page or API endpoint, your server evaluates their assigned group and modifies the response accordingly.
app.get('/pricing', async (req, res) => {
  const userId = req.session.userId || req.ip;
  const variant = await getExperimentVariant(userId, 'pricing_layout_v2');


  if (variant === 'variant_a') {
    return res.render('pricing-grid-stacked', { variant });
  }


  return res.render('pricing-grid-default', { variant });
});
Keep your routing logic modular so you can easily retire experiments once they reach statistical significance. For a broader look at how server-side routing impacts tracking accuracy, consult this guide on server-side tracking for A/B tests.
Tracking Conversions and Goal Completions
Variant assignment is only half the equation. You also need to send conversion events back to Mida whenever a user completes a target action, such as submitting a form or purchasing a subscription. Trigger these conversion calls from your backend controllers to ensure accuracy.
async function trackUserConversion(userId, experimentId, goalValue) {
  try {
    await mida.trackConversion({
      experimentId: experimentId,
      userIdentifier: userId,
      value: goalValue
    });
  } catch (error) {
    console.error('Failed to record conversion:', error.message);
  }
}
Verify that your conversion payloads match the actions you actually care about. A higher click-through rate means little if the resulting leads never convert into qualified opportunities inside your CRM.
Common Troubleshooting Steps
When implementing backend experimentation, you might encounter unexpected behaviors or data discrepancies. Walk through this quick troubleshooting checklist if your tests don’t behave as expected.
- Verify that your project key matches the target environment in your Mida dashboard settings.
- Check your server logs for network timeouts or unhandled promise rejections originating from the SDK client.
- Ensure that user identifiers remain consistent across requests so returning visitors see the same variation.
- Confirm that your server response headers don’t aggressively cache experiment HTML variants across different users.
Pre-Launch Operational Checklist
Before pushing your code changes to production, run through a final operational audit. Taking these steps prevents corrupted data and protects your user experience.
| Audit Item | What It Verifies | Potential Risk |
|---|---|---|
| Environment Variables | Confirms secure credential loading | Leaking secret API keys in client bundles |
| Fallback Logic | Ensures server resilience on timeout | Application crashes if experimentation API fails |
| Traffic Allocation | Validates clean 50/50 visitor splits | Skewed confidence intervals and biased results |
| Guardrail Metrics | Monitors server latency and error rates | Performance degradation hiding behind conversion gains |
Conclusion
Implementing server-side NodeJS A/B testing gives your engineering team precise control over user experiences without compromising page speed. By handling variant assignment and conversion tracking directly on your backend infrastructure, you protect Core Web Vitals and collect reliable data. Start with a single high-impact route, keep your experiment hypotheses narrow, and base your permanent rollouts on verified business metrics rather than short-term noise.
