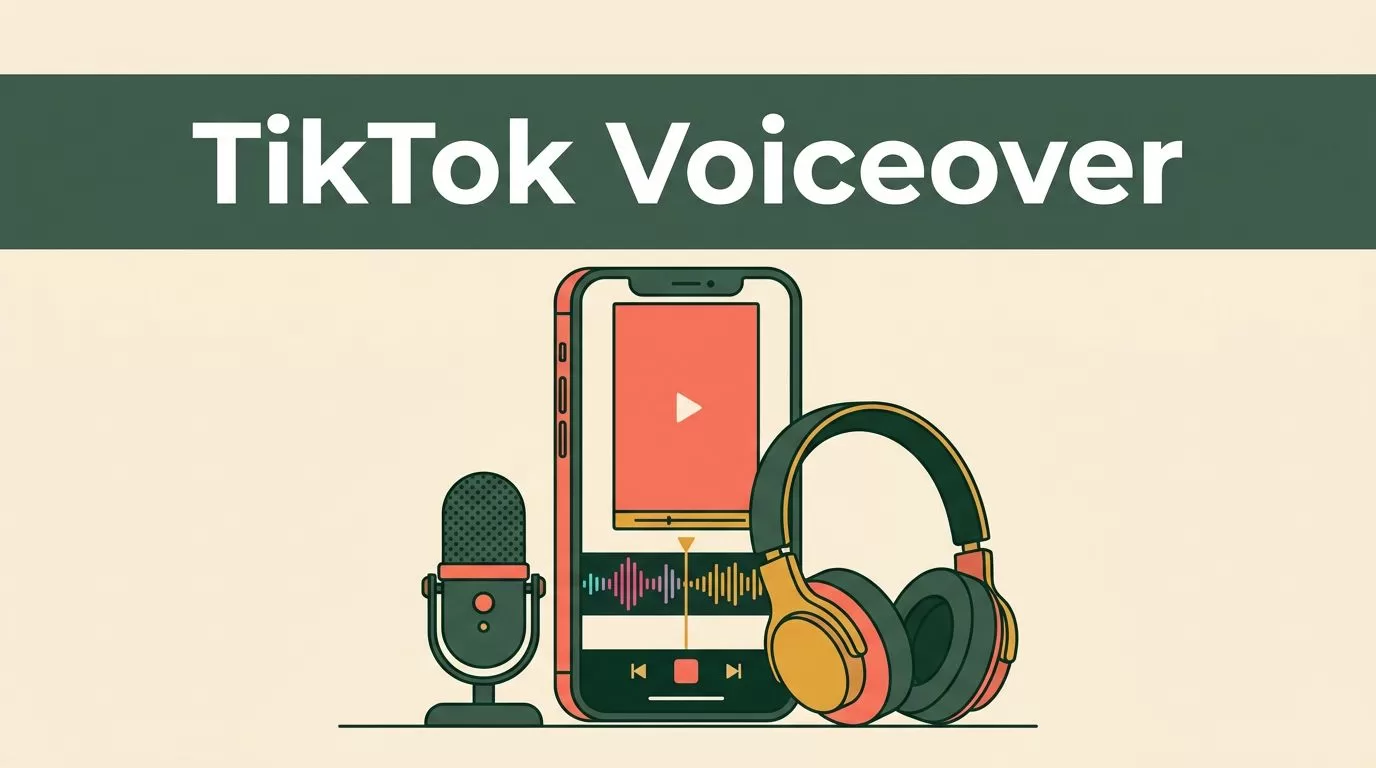
A strong TikTok voiceover can hold attention when the visual alone cannot. Speechify helps you create that narration without recording every take yourself.
The workflow happens outside TikTok. You write and generate the audio in Speechify Studio, edit it with your video, then upload the finished content to TikTok. There isn’t a confirmed native button that runs Speechify directly inside TikTok. Start with the workflow below.
Key Takeaways
- Speechify Studio creates the voiceover, while TikTok remains the publishing platform.
- Export your narration as an MP3 or WAV file, then combine it with video in TikTok or a video editor.
- Short scripts, clear pauses, and correct pronunciation produce better results than long blocks of text.
- Use captions, balanced audio, and readable pacing to improve accessibility.
- TikTok’s built-in text-to-speech is faster for simple posts, but Speechify gives you more control over production.
What Speechify Does in a TikTok Workflow
Speechify Studio is an external AI voice generator for social content. You add a script, select a voice, adjust delivery settings, generate the audio, and export the file. You then place that file under your TikTok footage.
Speechify’s social media voice generator is built around this process. It supports professional voice options, script uploads, drag-and-drop editing, word-level control, and emotional delivery settings.
That separation matters. You won’t open TikTok and find a Speechify voice listed beside TikTok’s native options. You create the narration first. TikTok receives the completed video or an audio file through the available upload and editing workflow.
Speechify is useful when you need more control over:
- Brand voice consistency across multiple videos
- Pacing and pauses
- Pronunciation of product names
- Different tones for ads, tutorials, reviews, and explainers
- Voiceovers in a production schedule
- Narration without recording in a noisy office
TikTok’s native text-to-speech tool remains useful for quick posts. You add text to a video, select the text-to-speech option, and preview the available voices. Speechify makes more sense when the voiceover is part of a repeatable content process.
Set Up the Speechify Voiceover Workflow
You can create a usable voiceover with five steps. Keep the first project short so you can test pronunciation, timing, and export quality before producing a full batch.
1. Prepare the video and script
Open the footage you plan to publish. Identify the key visual beats before writing the narration.
A product demonstration may need three lines:
- State the problem.
- Show the feature.
- Give the next step.
Don’t write the script as a paragraph from a product page. TikTok narration needs spoken language. Use short sentences and remove details that don’t support the video.
For a 15-second clip, start with a compact script. Read it aloud once before pasting it into Speechify. If you can’t say it naturally, the AI voice won’t fix the structure.
2. Open Speechify Studio
Use Speechify Studio to create a new voiceover project. Paste your script into the editor, then review the text before generating audio.
Check product names, abbreviations, numbers, and punctuation. AI voices use punctuation to interpret pauses. A comma can create a short break. A full stop creates a stronger separation.
Speechify Studio supports preset AI voices. It also supports a cloned voice workflow where that option is available to your account. Use a preset voice for most brand content unless your team has a clear reason to use a clone.
3. Select the voice and delivery
Choose a voice that matches the footage. A fast product demo needs a clear and energetic delivery. A finance explainer needs a controlled pace and steady tone.
Don’t select a voice because it sounds impressive in a sample. Select it because your audience can understand every word. Preview the entire script, not only the first sentence.
Adjust pacing and inflection where the project allows it. Add line breaks when you want a clean pause. Separate a hook from the explanation so the opening doesn’t sound like one long sentence.
4. Generate and export the audio
Generate the narration after reviewing the script and voice settings. Listen with headphones and on your phone speaker.
Speechify Studio exports audio as MP3 or WAV. WAV files preserve more audio data, while MP3 files are smaller and easier to move between devices. Either format can work for a social video workflow.


5. Combine the audio with the footage
You can use TikTok’s editing tools where the current app workflow supports your file. For more precise timing, import the Speechify file into CapCut, Adobe Premiere Rush, or another editor.
Place the voiceover on the timeline. Cut the video to match the narration instead of forcing the narration to follow unedited footage. Then export the finished video and upload it to TikTok.
Speechify creates the audio. Your video editor controls the timing.
A marketer’s practical review of Speechify for social media marketing also covers related uses such as voice creation, cloning, translation, and voice cleaning. Review your organization’s privacy requirements before uploading internal or confidential material to any AI service.
Write a Script That Fits Short-Form Video
The script controls the final quality more than the selected voice. A polished voice cannot rescue a weak opening or a sentence packed with five ideas.
Use this structure for most TikTok voiceovers:
- Hook: Identify the problem or promise in the first line.
- Proof: Show the product, process, or result.
- Action: Tell the viewer what to do next.
For a software feature video, use a direct script:
“Still copying campaign data by hand? Connect your ad accounts, map the fields, and send every new lead to your CRM automatically.”
For a short tutorial, keep each instruction tied to a visible action:
“Open the project settings. Select captions. Choose your brand font, then review every line before you publish.”
For a product comparison, avoid vague claims:
“Tool A takes three clicks to export a report. Tool B requires a manual CSV download. Here is the difference in the final workflow.”
These examples use spoken language and visible actions. The viewer can match each sentence to something on screen.
Write numbers in the format the voice should say them. Test abbreviations such as “SaaS,” “API,” and “CRM.” If Speechify pronounces a term incorrectly, rewrite it phonetically or spell it out. Generate a short test before building the entire video.
Keep one idea per sentence. Replace long clauses with full stops. Use questions for hooks when they sound natural, but don’t turn every video into a question.
Make the AI Voice Sound Natural and Accessible
Natural delivery starts with editing the script for speech. Add punctuation where a human speaker would pause. Split lines when the tone should change.
Avoid placing a URL, email address, or long string of numbers in the narration. Put that information in captions instead. The voiceover should communicate the idea while the screen carries details that viewers may need to read.
Use emphasis with restraint. Capital letters can produce awkward delivery. Punctuation and sentence structure usually give you better control.
Listen for five common problems:
- Words run together because the sentences are too long.
- The hook sounds flat because it has no pause after the opening phrase.
- Brand names receive the wrong pronunciation.
- The voice speaks faster than the visual action.
- Background music covers the final words.
Accessibility requires more than adding narration. Add accurate captions and keep enough contrast between text and the background. Captions should match the spoken words, including important numbers and product names.
Use plain language. Replace “utilize” with “use.” Replace “commence the process” with “start.” A clear voice and clear script help viewers who are listening without sound, reading captions, or processing information in a second language.
Voice selection also affects access. A low, dramatic voice may sound polished but become difficult to understand over music. Choose intelligibility first. Then adjust personality.
Finish the Video and Publish It
After adding the Speechify audio, balance the track against music and original footage. The voice should remain clear when the video plays through a phone speaker.
Lower the original clip audio when it competes with narration. Keep background music at a supporting level. Listen to the first three seconds and the final sentence because those areas often lose clarity during editing.
Review the complete export before uploading. Check that:
- The voice starts when the first relevant visual appears.
- Captions match the narration.
- No sentence ends after the related visual disappears.
- The final call to action remains on screen long enough to read.
- Music and sound effects don’t cover the narration.
- The export has no silent gap at the beginning or end.
TikTok’s own text-to-speech tool is a practical alternative for quick content. Upload or record a video, add text with the “Aa” tool, press and hold the text box, then select text-to-speech. The exact labels and available voices can change with app updates.
Use TikTok’s native option when speed matters more than voice control. Use Speechify when you need repeatable brand narration, cleaner pacing, or a voiceover that you want to edit before publishing.
For teams, store the final script, source audio, video export, and caption file together. Use consistent filenames such as campaign-feature-01-voiceover.wav. This reduces rework when a product detail changes or a video needs a second version.
Speechify’s official social media updates can help you monitor product announcements, but verify the features shown in your own Studio account before planning a production workflow around them.
Conclusion
Speechify works as a TikTok voice generator through an external production workflow. Write the script, create the narration in Speechify Studio, export the MP3 or WAV file, align it with the footage, and upload the finished video.
Use short sentences, deliberate pauses, accurate captions, and balanced audio. That process gives you more control than relying on a single in-app voice, while keeping TikTok as the final publishing channel.