Speechify Voice Cloning: A Practical Setup Guide
Most voice projects fail before the AI does. The recording has echo, background noise, or inconsistent delivery. Speechify voice cloning gives creators, educators, marketers, and accessibility teams a faster way to produce narration in a fa...
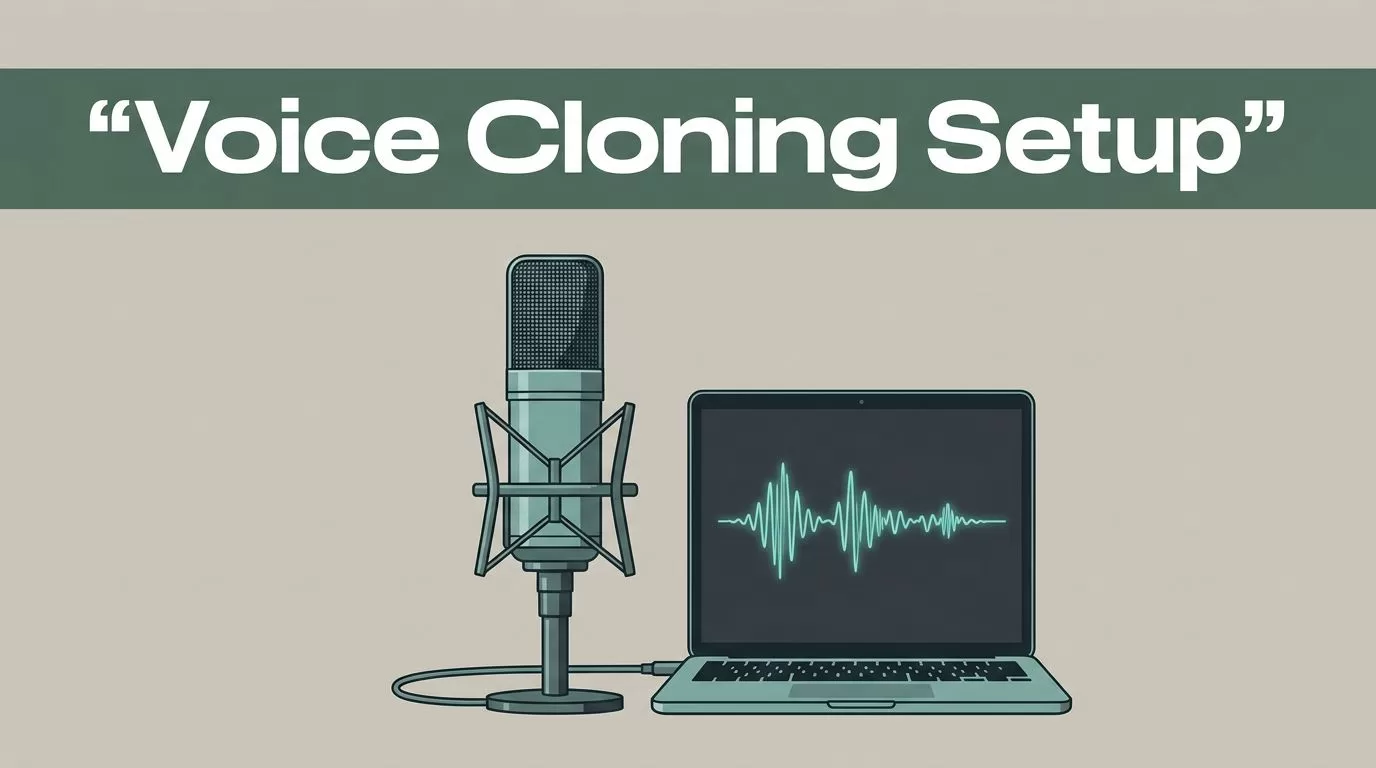
Most voice projects fail before the AI does. The recording has echo, background noise, or inconsistent delivery.
Speechify voice cloning gives creators, educators, marketers, and accessibility teams a faster way to produce narration in a familiar voice. You provide a short sample, Speechify analyzes its sound patterns, and the system creates a voice model for text-to-speech output.
The process is fast, but the result depends on your audio, permissions, and workflow settings. Use this guide to set up a responsible voice clone and avoid common quality problems.
Key Takeaways
- Speechify can create a voice clone from a short recording or uploaded audio file.
- Use only your own voice or a voice you have explicit permission to clone.
- A quiet room, clear microphone, and natural delivery produce better output.
- The instant cloning flow typically uses a 10 to 30-second sample under 5MB.
- API users need an API key, an eligible plan, consent details, and the correct voice model.
How Speechify Voice Cloning Works
Speechify uses audio processing, deep learning, and neural networks to study a speaker’s vocal characteristics. The system analyzes pronunciation, pitch, accent, timing, and speaking style. It then creates a synthetic voice that can read new text.
The process has three practical stages. First, you record or upload a sample. Next, Speechify processes the audio and separates the speaker’s voice from unwanted noise. Finally, the model generates speech from written text using the cloned voice.
You don’t need to record hours of narration for the instant browser workflow. Speechify’s current voice-cloning guidance uses a 10 to 30-second sample, with the file kept under one minute and below 5MB. The sample must contain one speaker and clear speech.
You can start through Speechify’s browser-based voice cloning page. The basic browser flow can allow a short recording without an account. A free account helps you save voice models for later projects. Features can change by plan, so check access before building a production workflow.
Speechify also supports voice cloning through its API. The API creates a voice resource and returns a unique voice_id. You use that ID in later synthesis requests to generate audio in the cloned voice. The current endpoint is POST /v1/voices.
For a broader look at the browser product, see Speechify’s web app guide.
Prepare Your Voice Sample Before Uploading
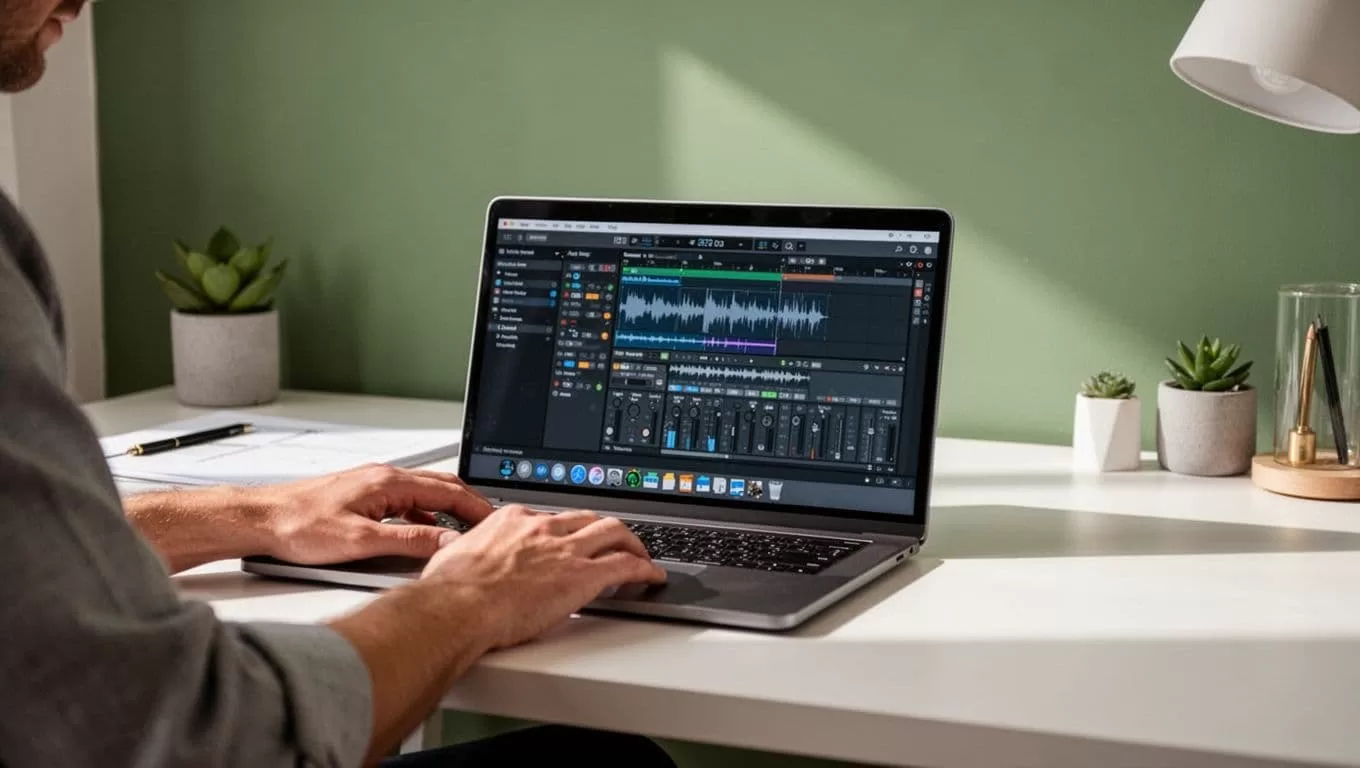
The recording is the main input. Poor audio gives the model less useful information. A high-end microphone won’t fix a room with loud fans, hard echoes, or other voices.
Record in a quiet room with soft surfaces. Curtains, carpets, and furniture reduce reflections. Turn off notifications, air conditioning, and nearby appliances where possible.
Use one microphone and keep your mouth at a consistent distance. A USB microphone usually gives better results than a laptop microphone. A modern phone can also work if you record in a quiet space.
Speak naturally. Keep your pace steady and your volume consistent. Don’t whisper, shout, imitate a character, or add dramatic effects. Avoid music, reverb, long silences, and heavy breathing.
Use this short recording standard:
- Record one speaker only.
- Keep the audio clear and free from music.
- Avoid pauses longer than two seconds.
- Speak complete sentences with varied sounds.
- Save the file in a supported format and keep it below the size limit.
A short script should include different vowels, consonants, numbers, and common words. Don’t rush through it. The model needs clean examples of how you pronounce sounds.
A 20-second sample is enough for a quick clone. Longer and more varied recordings can support higher-quality results when the selected Speechify workflow accepts them. The instant cloning endpoint still has its own short-sample limit, so follow the requirements shown in your account or API documentation.
Permission is not optional. Clone your own voice, or obtain explicit permission from the person whose voice you want to use. Keep a written record of that permission if the voice will appear in client work, paid media, courses, podcasts, or public content.
Don’t use a clone to impersonate someone, mislead an audience, approve transactions, or create deceptive calls. Speechify’s API requires consent information for the speaker, including a full name and email address. Users must also be at least 18 years old for Speechify voice cloning.
How to Clone Your Voice with Speechify
The browser workflow is the simplest option for a creator or educator. The API is better when you need repeatable production inside another system.
Browser workflow
- Open Speechify’s voice-cloning page in your browser.
- Choose the option to record a sample or upload an audio file.
- Give the browser microphone permission if you record directly.
- Submit the sample and wait for Speechify to process it.
- Enter a short test sentence and generate the first audio file.
- Listen for pronunciation, pacing, missing words, and unnatural emphasis.
- Save the voice to your account if you want to reuse it.
Use a short test sentence first. Don’t upload a 30-minute script before checking the model. A five-second test can reveal whether the voice sounds correct and whether the system handles your preferred language.
Android workflow
Speechify also provides a voice-cloning flow through its Android app. Install the current Speechify app from Google Play, open the voice-cloning section, and record the sample in a quiet location.
The mobile microphone can work for a quick test. For recurring production, record with a better microphone and upload the file when the app or web interface supports that option. Keep the speaker, room, and recording distance consistent across future samples.
API workflow
API deployment requires a Speechify API key and a plan that includes voice cloning. Send the audio sample to POST /v1/voices as a multipart request. Include the required consent data for the person whose voice is being cloned.
The response returns a voice_id. Store that ID in your application database with the project name, consent record, creation date, and deletion status. Don’t expose the API key in browser code or public repositories.
Use the voice_id in later speech synthesis requests. If your request returns 402 voice_cloning_not_included, the current plan doesn’t include the feature. Resolve the plan issue before debugging your audio or application code.
Speechify’s documentation also identifies model compatibility as a deployment detail. Simba 3.2 supports cloned voices, while Simba 3.0 doesn’t accept them. Select the supported model before testing an API integration.
An operational setup should include access controls. Limit who can create, export, or delete voice models. Store consent records with the associated voice ID. Delete the model when permission expires or the project ends.
Use Cases and Limits to Plan For
A personal voice clone can reduce repetitive recording work. A podcaster can generate corrections without re-recording an entire episode. An educator can produce updates to a course. A marketer can create approved variants for different campaigns.
Accessibility teams can use a consistent voice for text-based content, internal training, or reading support. A company can also use a founder’s approved voice for product explainers, provided the speaker gives permission and reviews the output.
The clone isn’t a perfect copy of the original speaker. It can mispronounce names, acronyms, technical terms, or words from another language. Emotional delivery can also sound flatter or less consistent than a human recording.
Review every important file before publishing. Check names, numbers, dates, medical terms, financial claims, and calls to action. Add human review when the audio supports education, accessibility, customer service, or regulated content.
A clone also depends on the input text. Punctuation affects pacing. Short paragraphs usually sound better than dense blocks. Write the script for speech, not for a screen. Spell out unusual abbreviations when the model reads them incorrectly.
Voice models remain on an account until they are deleted. Treat them like other sensitive assets. Don’t share access casually, and don’t store voice IDs in public project files.
An independent Speechify voice cloning walkthrough provides another view of the sample-upload process. Use third-party guides for orientation, then confirm limits and account requirements in your current Speechify workspace.
Speechify Voice Cloning Troubleshooting
The upload fails. Check the duration, file size, format, and speaker count. Remove music, long silence, and background voices. A file under 5MB and under one minute fits the instant cloning requirements reported for the current workflow.
The clone sounds robotic. Record again in a quieter room. Move closer to the microphone without speaking directly into it. Keep your pace and volume stable. Echo is difficult to remove after recording.
The voice pronounces words incorrectly. Rewrite the sentence with clearer punctuation. Spell out acronyms and test difficult names separately. Use a human recording for sensitive words that still sound wrong.
The API rejects the request. Confirm the API key, plan access, consent JSON, and endpoint. Check that the request uses a supported cloned-voice model. A voice_cloning_not_included response points to plan access, not an audio problem.
The saved voice is missing. Confirm that you signed into the correct account and stored the returned voice ID. Check whether another team member created or deleted the model. Keep a small internal voice inventory for production projects.
For current product and plan notes, review this 2026 Speechify feature guide before committing to a larger implementation.
Conclusion
Speechify voice cloning is practical when you treat it as an audio production system, not a shortcut around consent or review. Use a clean sample, verify the output, protect the voice ID, and document permission before publishing.
Start with one approved voice and a short test script. If the sample is clear and the workflow uses the right model, you can build repeatable narration without recording every revision by hand.
