OpusClip with Transistor.fm: A Practical Workflow
You do not need a video studio or a complicated editing setup to turn a podcast episode into short clips. You do need a clear moment, clean source audio or video, and a human review before anything goes live. This guide explains the general...
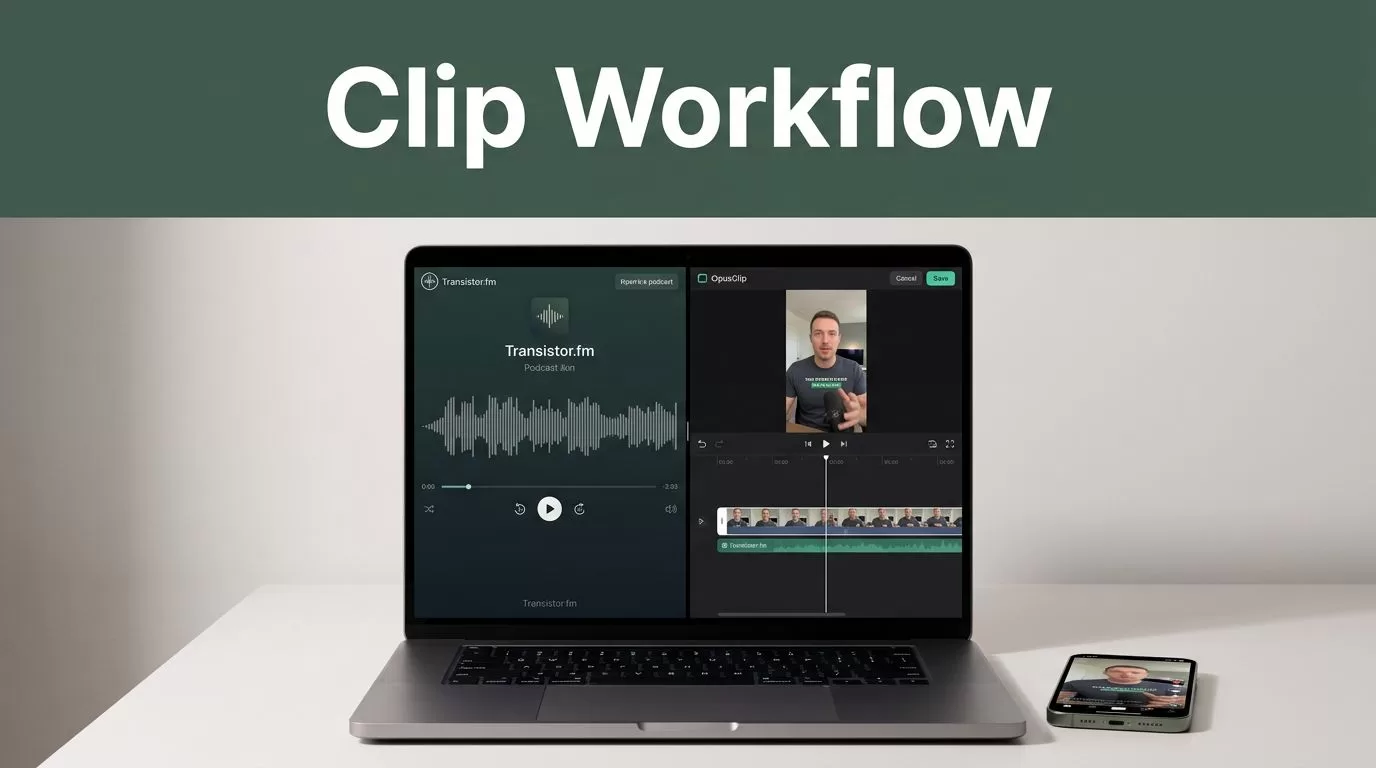
You do not need a video studio or a complicated editing setup to turn a podcast episode into short clips. You do need a clear moment, clean source audio or video, and a human review before anything goes live. This guide explains the general podcast-clipping process, then shows how to use a Transistor.fm episode with OpusClip. It covers audio-only shows, clip selection, captions, formats, distribution, measurement, and current product limits. The time and number of clips depend on your source and review standards, so there is no fixed 20-minute promise.
Quick answer: Choose one episode, find a complete point worth sharing, import its audio or video into a clipping editor, review and edit the suggested moments, export a format for each platform, then link back to the full episode. If you use Transistor.fm, use your original episode file or an export you can access. OpusClip also lists audio uploads and several public sources as supported options. If a URL is not accepted, upload a supported file instead.
How podcast clipping works, from any host
The basic process is the same whether your podcast is hosted on Transistor.fm, another podcast host, or a local drive. A host stores and distributes the episode. A clipping tool helps you locate moments and turn them into short edits. The host and clipping tool do not have to be connected for the workflow to work.
- Choose an episode. Start with an episode that has one or more clear ideas, stories, useful answers, or strong examples. A long episode is not automatically a good source for clips.
- Get the source ready. Use the final video recording when you have one. For an audio-only show, use the finished audio file or an audio-to-video workflow.
- Find promising moments. Read the transcript, scan the recording, or use an AI tool to suggest sections. Suggestions are a starting list, not a quality guarantee.
- Shape and review each clip. Set the start and end points, check the words and sound, and make sure the excerpt makes sense without the rest of the conversation.
- Export for the destination. Choose a suitable frame, caption placement, and crop. Make another version if a single export does not fit each platform well.
- Publish with a route back to the show. Add a clear call to action and a trackable episode link where the platform allows it.
AI clipping can reduce the time spent searching and making a first cut. It does not remove the need to review the edit. A clip can look polished and still start in the middle of a thought, miscaption a name, or leave out a detail that changes the meaning.
Where Transistor.fm and OpusClip fit
Transistor.fm is the podcast host in this example. OpusClip is the editing and repurposing tool. Treat them as separate steps unless your current accounts show a direct integration. Do not assume that an RSS feed, private dashboard page, or Transistor episode page can be pasted into OpusClip as a video source.
OpusClip’s current help pages list local audio-to-video options for common audio formats, including MP3, M4A, WAV, AAC, FLAC, OGG, and WEBA. Its supported import list also includes public podcast and video sources. Available features can vary by tool mode and plan, so check the live import screen and OpusClip’s supported import sources before preparing a batch.
For a video podcast, use the original camera file if you have it. Transistor.fm’s video features are documented as a beta for Professional plans and higher. Its help page currently lists MP4 and MOV uploads, with a 30 GB maximum for dashboard uploads. Because beta limits can change, confirm the latest Transistor.fm video FAQ before relying on that route.
For an audio-only episode, try OpusClip’s audio-to-video mode with a copy of the final audio file. Check the duration limit first: OpusClip’s current FAQ lists this mode for audio recordings up to 10 minutes. For a longer episode, split the audio into shorter sections or create a simple MP4 in a video editor using the audio and a static cover image or waveform, then test that file against the current upload limits. A waveform or still image makes the episode shareable as video, but it does not provide the facial expressions and camera changes that can help a video clip hold attention.
A practical Transistor.fm to OpusClip workflow
Keep the workflow simple the first time. Use one episode and test one import method before planning a large batch. The steps below avoid depending on a link that may be private or unsupported.
- Pick the published episode in Transistor.fm. Confirm that it is the final version, not an early draft or a file with unfinished edits. Keep the original recording or exported master in a folder you control.
- Get the source file. If you already have the final MP3 or video file, use that. If you need to retrieve it from your Transistor.fm account, use the episode’s available media or download controls. If you cannot access a downloadable copy, return to the original recording or editor export. Do not treat the public episode page or RSS feed as a guaranteed clipping input.
- Choose your import route. In OpusClip, select an audio-to-video workflow for an audio file, or upload the video file for a video episode. You can also try a source URL that OpusClip currently lists as supported. Make sure the link is public or otherwise accessible to the connected service.
- Use a transcript to find moments. Transistor.fm offers AI transcription as an add-on and lets users upload transcripts made elsewhere. Its help page lists 60 trial credits for up to one hour of audio, then paid options of $5 per month for 300 minutes or $20 per month for 1,200 minutes. Check the current transcription instructions because credits and add-ons may change. You can also use a transcript from another tool or your own notes.
- Generate a small set of candidates. Try a topic prompt or selected time range if the tool offers it. Do not judge the workflow by how many clips it creates. Judge it by how many clips are clear, accurate, and useful to someone who has not heard the episode.
- Edit, export, and save the source details. Review each candidate, correct captions, check the crop, and save the final clip with the episode title and timecode. Keeping the timecode makes it easier to revise the excerpt later.
How to pick a clip that works on its own
A strong clip is a short, complete idea, not just a burst of energy. A quiet explanation can be more useful than a loud reaction if it answers a real question. Read the proposed clip as text, then watch or listen to the whole selection. Ask whether a new viewer can understand the point without knowing what came before.
- Enough context: The viewer knows what the speaker is responding to. Add a brief lead-in if needed, or choose a section that names the subject.
- A clear opening: The first line introduces a question, claim, problem, or useful detail. Remove long greetings and setup that do not help the point.
- One complete idea: The clip develops one point and gives enough explanation to support it. Avoid stitching together lines that were separated by unrelated discussion.
- Accurate captions: Check names, numbers, acronyms, product terms, and punctuation. Correct errors in the editor rather than expecting viewers to infer the words.
- A clean ending: Keep the full final sentence. Do not cut off a qualification, a key example, or the speaker’s conclusion.
- Sound that feels natural: Listen for clipped breaths, abrupt noise changes, overlapping speech, or gaps caused by removing filler words. Undo edits that make the speaker sound unnatural.
- Fair context: Make sure the edit does not change the speaker’s meaning or turn a qualified statement into a certainty.
AI scores and automatic moment rankings can help you sort a long recording. They cannot reliably predict how an audience will respond. Check the actual idea, context, and edit before you publish. If none of the suggested clips passes this list, go back to the transcript and select a different section.
Choose the aspect ratio, captions, and speaker framing
Do not assume that one export will look right everywhere. Vertical video is a common starting point for TikTok, Instagram Reels, and YouTube Shorts. Square or landscape layouts may suit other placements, including a podcast website, a YouTube episode page, or a professional network feed. Check each platform’s current video specifications and the export options in your editor before you render a batch.
| Check | What to review | Why it matters |
|---|---|---|
| Aspect ratio | Use a vertical, square, or landscape canvas that matches the placement. Preview the actual export on a phone. | A crop that works on one app may hide a face or important visual on another. |
| Captions | Keep text away from the top and bottom interface areas. Use readable size, strong contrast, and short caption lines. | Buttons, descriptions, and app controls can cover captions near the edges. |
| Speaker framing | Check that the active speaker stays in frame. For two-person conversations, inspect each speaker change and split-screen crop. | Automatic tracking can choose the wrong face or crop a second speaker out. |
| Visual layout | Check backgrounds, borders, logos, and any B-roll. Remove visuals that distract or imply something the speaker did not say. | Decorative edits should support the conversation, not compete with it. |
| Separate exports | Make another version when the opening, crop, caption placement, or call to action needs to change for a platform. | One file may technically upload everywhere but still look poorly fitted. |
Keep the speaker’s face, captions, and key visual inside a central safe area. Watch the exported file with sound on and off. That catches both framing problems and caption errors before the post is public.
AI clipping versus manual editing
AI tools are useful when you need help finding moments in a long episode or making a first pass at captions and crops. Manual editing gives you more direct control over pacing, context, and the exact in and out points. Neither route guarantees a good clip, and AI output should not be treated as ready to publish without review.
| Approach | Time | Control | Cost trade-off |
|---|---|---|---|
| AI first, human review | Can speed up searching and first drafts. Review time still depends on episode length and the number of candidates. | Good for a starting point. You still need to fix selection, captions, framing, and pacing. | May use a free allowance or a paid plan. Check processing credits, export limits, and watermark rules. |
| Manual editing | Can take longer, especially when you must scan the full episode and make several versions. | Direct control over every cut, caption, and graphic. | May avoid a clipping subscription if you already own an editor, but your time is still a cost. |
| Hybrid workflow | Use a transcript or AI suggestions to find candidates, then edit the best few by hand. | Balances fast discovery with careful final review. | Often a sensible test before paying for more processing capacity. |
Track your actual time on one episode. Include upload, processing, reviewing suggestions, caption corrections, exports, and scheduling. This gives you a useful comparison for your show instead of relying on a generic claim that every episode takes a fixed number of minutes.
Publish clips as a path to the full episode
A clip can earn attention without sending many people to the podcast. Make the next step clear. Use a short spoken or on-screen call to action such as “Listen to the full conversation,” then put the episode link where the platform and post format allow it. That may be the caption, a pinned comment, a profile link, or a dedicated episode page. Do not rely on viewers to search for the show name on their own.
Use a trackable link when practical. Add campaign tags or send each platform to a simple landing page with links to the podcast apps. If the platform limits clickable links in captions, use a consistent profile link and name the episode clearly. Make the link work on mobile, and check it after publishing.
Measure views separately from podcast listening
Keep social metrics and podcast metrics in separate columns. Views, watch time, completion rate, comments, shares, and saves describe how a clip performed on a social platform. Clicks on the episode link describe visits. Downloads or listens in your host analytics describe activity on the podcast feed, but they do not always identify which clip caused a listener to arrive.
- Clip discovery: views, reach, watch time, and completion rate.
- Audience response: comments, shares, saves, and follows.
- Episode interest: tracked link clicks and visits to the episode page.
- Podcast activity: episode downloads or listens in your host analytics, plus subscribers when the host reports them.
Compare the same episode over a consistent period and note the link used for each platform. Treat a rise in views as a rise in clip reach, not proof that podcast listening grew. Attribution can be incomplete because people may see a clip and later find the show through another route.
A manageable one-week posting plan
You do not need to post every clip on every platform at once. Start with a small batch and adjust to your time and audience response. Here is one example for three approved clips:
- Monday: Publish the clearest standalone takeaway. Link to the episode in the caption or profile destination.
- Wednesday: Share a different moment with a new opening line and a platform-specific crop.
- Friday: Post the strongest story, practical tip, or answer. Use a pinned comment or episode page link if the platform supports it.
- Following week: Review views, watch time, engagement, link clicks, and episode activity. Reuse a clip only if it still adds value and does not feel repetitive.
This is a sample rhythm, not a rule. One well-reviewed clip may be a better use of your time than a daily post you cannot maintain. Give each clip enough room to collect useful feedback before changing the entire workflow.
Check current pricing, processing, and limits
Prices and plan limits change. The details below were checked against official product pages on September 23, 2026. Confirm them again before subscribing or planning a recurring workflow.
| Service | Verified detail | What to confirm before you commit |
|---|---|---|
| Transistor.fm hosting | Plans are based on monthly downloads. Current plan names and prices are on the official pricing page. | Plan price, monthly download allowance, and whether your chosen plan includes video features. |
| Transistor.fm AI transcription | The help page lists 60 trial credits for up to one hour, then $5/month for 300 minutes or $20/month for 1,200 minutes. | Current add-on availability, renewal terms, and how credits apply to your account. |
| Transistor.fm video | The video FAQ describes beta access for Professional plans and higher, with MP4 or MOV uploads up to 30 GB through the dashboard. | Beta access, upload limits, storage, resolution, and distribution rules may change. |
| OpusClip | Official pages list an audio-to-video workflow and supported source imports. Plan allowances and editing tools depend on the current offer. | Monthly processing minutes or credits, supported inputs, watermarking, export formats, storage, and branding controls. |
Check Transistor.fm pricing, its AI transcription help page, the video beta FAQ, and OpusClip pricing. Do not compare plans by headline price alone. Compare the amount of source material you can process, whether exports carry a watermark, which aspect ratios are available, and how long projects and files remain available.
Common problems and practical fixes
- The episode URL will not import. Confirm that the source type appears in OpusClip’s current import list and that the link is public. If not, upload the original supported file or make a simple MP4 from the audio.
- The audio upload does not show the option you expect. Check that you selected an audio-to-video tool, rather than a video-only workflow. Confirm the supported file type and account limits in OpusClip’s current help pages.
- Captions miss names or numbers. Correct them manually and replay the sentence. A transcript helps with searching, but speech recognition can still mishear unusual names and overlapping voices.
- The clip feels confusing. Add context by extending the start, or choose a different moment. Do not use a caption that changes the meaning of the speaker’s words.
- The crop loses a speaker. Change the layout or reframe the shot. Review every speaker transition in a panel, interview, or split-screen recording.
- Exports look repetitive or crowded. Reduce captions and graphics, vary the selected moments, and create a separate edit when the platform calls for a different crop.
Conclusion: test one episode before scaling up
Podcast clipping is a repeatable process, but it is not a one-click guarantee of audience growth. Use a transcript or AI suggestions to find possible moments, then check context, captions, audio, and framing yourself. An audio-only show can still make clips with an audio-to-video tool or a simple video canvas. A video show gives you faces and gestures, but it still needs careful editing.
Test the workflow on one episode. Record how long each step takes, how many candidates you reject, and which finished clips earn meaningful engagement or episode-link clicks. Then compare those results with podcast activity in your host analytics. Keep the steps that save time and help listeners discover the full show. Change the rest.
